Figma
How to add SVG Icons to Figma
In this article we'll explain how to add SVG icons to Figma in three different ways.

September 21, 2023

In this article we'll explain how to add SVG icons to Figma in three different ways.
Scalable Vector Graphics (SVG) icons are necessary tools that offer boundless creative possibilities in the world of design. Figma features allow you to take these SVG icons from any source/website you like, and place them in your project.
We can do this in several ways, including SVG code, normally importing SVG files as well as using the Figma plugin Convertify. Read on if you're eager to level up your design game by adding SVG icons to your Figma projects.
How can I copy the code of an SVG Icon?
After you have set your eye on the icon of your choice, right-click anywhere on the webpage and choose Inspect from the menu. This is for Google Chrome – but other search engines such as Firefox or Safari have their own similar tools.

When the menu shows up, click the Inspect Element icon on the top left corner.
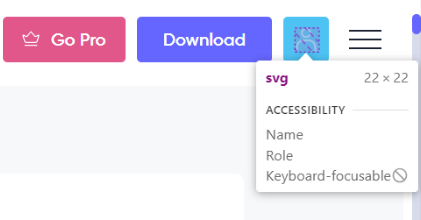
Hover over the SVG Icon of your liking, and click on it. Make sure that the icon you have chosen is SVG because icons can also be IMG or PNG. In that case, you will not get an SVG code in the Inspect menu.
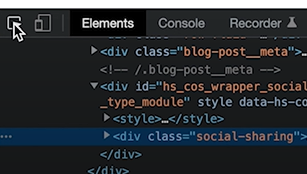
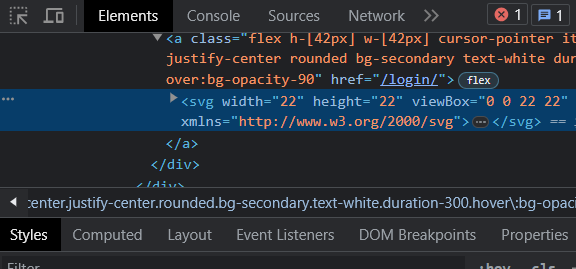
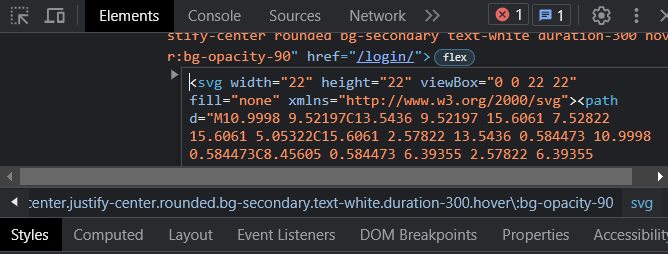
Once you have clicked on the icon the SVG code will appear in the Inspect tab, as shown below.
Right-click on the code, and then click again to Edit as HTML from the menu. This will give you the detailed code of the icon previously picked.
Go ahead and copy the newly shown code, then paste it anywhere into your Figma project canvas.
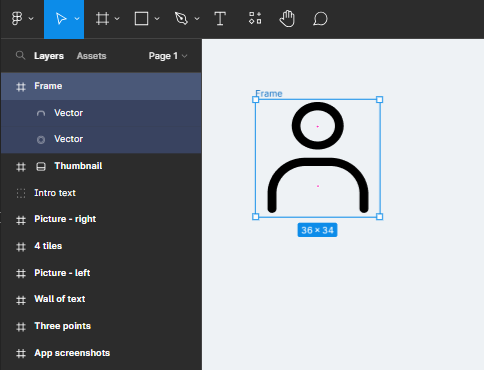
Now the SVG Icon is part of your project. You can proceed and make your personal modifications to the vector-based icon. Repeat the process for as many other SVG Icons as you like, from any website.
The Convertify plugin is a Figma plugin that helps users convert designs from various design tools such as Sketch, Adobe XD, Adobe After Effects, Adobe Illustrator, etc. The plugin has a free and paid version, and some of its features are still in beta version.
Using this plugin can simplify a lot of design conversion processes within Figma.
Open a Figma project, and on the top menu click on Resources (shortcut: SHIFT + I).
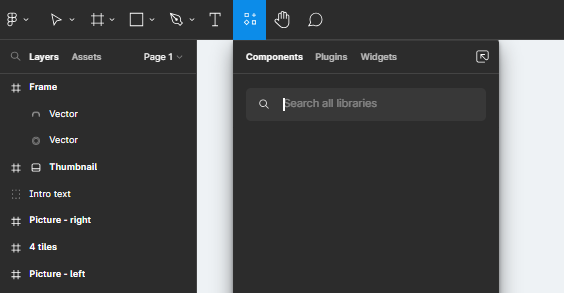
Switch to the Plugins section, where you will want to search the keyword ‘Convertify’.
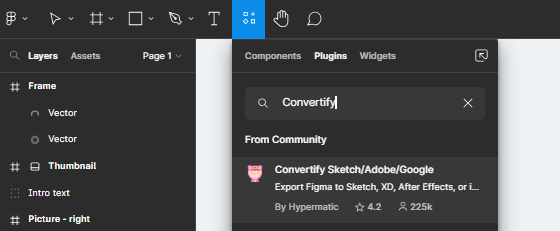
The first result shown is the Convertify plugin you will install. To do this, click on the plugin and then Run it. Follow through with the process, which typically takes little time to finish. After it is done, the plugin is all ready to use.
How to use the Convertify plugin on Figma? (Adding .svg files)
Open your Figma project of choice, and right-click anywhere on the canvas. After the menu pops up, follow the path Plugins > Saved Plugins > Convertify Sketch/Adobe/Google.
This will run the Convertify plugin.
By default, this plugin automatically sets itself to Export Figma to Sketch. While this is a useful feature, in this article we will be focusing on adding SVG icons.
To add SVG Icons, you will want to scroll down and change the function from Export Figma to Sketch, to Import Optimized SVG to Figma.

This will change the plugin’s concept to accept SVG files.
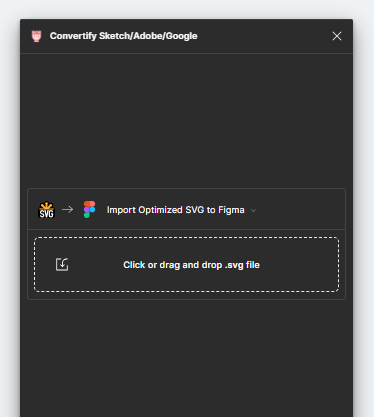
You now have the option to drag and drop any .svg files you have already saved on your device. The files will show up on your project with an additional “Optimized” flag at the end of the file’s name. This way, it is easy to tell the difference between .svg files imported in other ways and .svg files imported through the plugin.
Normally imported SVG files will keep their original elements and layers. There can be plenty of these layers/elements that you can manipulate and edit individually in Figma. This allows for fine-grained control over the SVG's components and provides a high level of design flexibility.
With the Convertify plugin, the grouping of the elements will not exist, and there will be far fewer layers. The plugin does this by merging the layers when it is appropriate to do so, therefore nothing is lost. Rather optimized. In short, what the Convertify plugin does is simplify complex SVGs or optimize them for use within Figma.
In conclusion, there are multiple ways of adding SVG icons to a Figma project. You can do so by copying the code of a .svg icon and pasting it into your project, manually drag & drop .svg files from your device to your canvas, as well as using the Convertify plugin to optimize the .svg icons you will be adding. It is up to the user which method they prefer the most.
We hope this article was helpful and answered your questions. Please check out our other articles for tips on how to use Figma.
Sr. UI/UX Designer and Consultant with over 10+ years of experience working with Fortune 500, large enterprises and funded startups. Having worked on hundreds upon hundreds of design projects, collaborated with 40+ clients from all around the world and taught design to thousands of students I am very grateful that I have the opportunity to give back to the design community and help other become better designers.
Stay up to date with the latest design news and cutting-edge softwares, sent straight to your inbox!
.jpg)

.jpg)
.jpg)