Figma
Autoflow plugin for Figma

October 17, 2023

.jpg)
We know that drawing flowing arrows on Figma sometimes isn’t the most efficient way of designing. You spend time measuring the arrows, straightening them, bending them, editing, coloring – all sorts. While arrows are a key design component, creating them isn’t always easy on Figma.
That’s why we have Autoflow.

The Autoflow plugin for Figma allows you to seamlessly connect two objects on your canvas. All you need to do is click, and the plugin will flow through your design and do the work.
The design of the Autoflow plugin also lets you easily edit the arrows created, in a much faster fashion than you would normally. Autoflow makes things easier and quicker, like a shortcut for you.
Autoflow lets you use up to 50 free flows per Figma file. Meaning, you can use this feature 50 times within the same project without paying anything. This can be quite handy for a lot of designers, as 50 flows are more than enough.
However, if your design is rich in arrows and flows, you might consider updating to Autoflow’s paid version. It is a one-time payment only, so it can be quite beneficial.
Autoflow doesn’t just connect two objects. This plugin has a variety of other features that are helpful to designers.
Autoflow will smartly avoid other objects on the canvas so lines never draw over your designs, it will allow you to add text annotations, the flows will auto-update when objects move, and you can also custom make the flow path: these, and a handful of others.
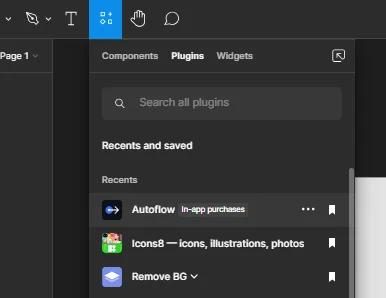
Install Autoflow by visiting its official site on the Figma community. Click Try it out, and don’t forget to press the Save button next to it.

To open the plugin in your desired project, follow the path:
Using the plugin is fairly easy due to its simple design.
To connect two objects by an arrow: Click on the first object, then hold down Shift ⇧ and click on the second object. The arrow will appear instantly.
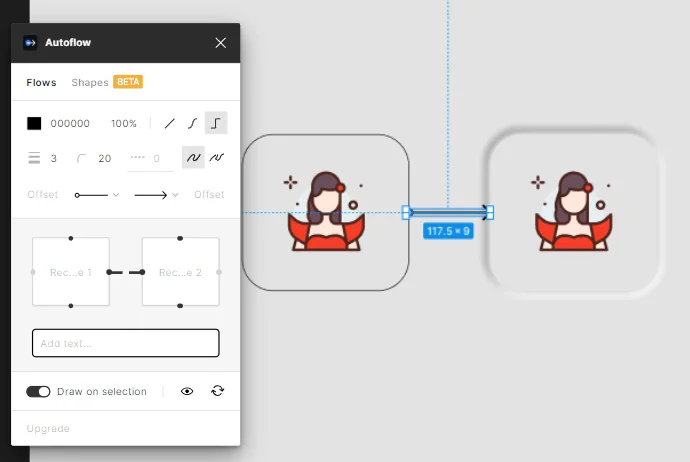
If there are aspects you want to change, you can easily do so by using the plugin’s tab. Settings such as color, opacity, twist, length, thickness, bending, beginning & arrow style, etc.
Of course, in the case of a straight arrow not all of these settings are editable.

And that’s about it! The details of your flows are entirely up to you and your design.
You also might’ve noticed that Autoflow also has another section: Shapes. This feature is still in beta, but essentially what it does is make it easier for you to create shapes in Figma. Shapes of different forms, colors, fills, etc.
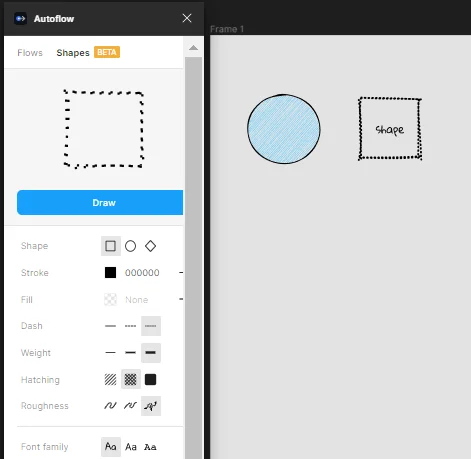
A lot of these features are still in development, but this tab can be pretty useful even now if you incorporate plenty of simple shapes into your designs.
We hope this article taught you all you need to know about the Autoflow plugin for Figma. Have fun creating flows!
If you want to learn more about Figma, feel free to check out our other resources.
Sr. UI/UX Designer and Consultant with over 10+ years of experience working with Fortune 500, large enterprises and funded startups. Having worked on hundreds upon hundreds of design projects, collaborated with 40+ clients from all around the world and taught design to thousands of students I am very grateful that I have the opportunity to give back to the design community and help other become better designers.
Stay up to date with the latest design news and cutting-edge softwares, sent straight to your inbox!
.jpg)

.jpg)
.jpg)