Figma
Creating a Blur Gradient in Figma
In this article you'll learn how to add a Blur Gradient in Figma

September 26, 2023


In this article you'll learn how to add a Blur Gradient in Figma
We’re sure you have seen displays of blurred colors in designs before. “Aurora” displays of the sort, because they do resemble the Aurora northern lights.
This element of design is called a Blur Gradient, or a Mesh Gradient – and it gives your design not only a splash of colors, but it also has a soothing effect on the eye too.
We’re sure everyone likes color Blur Gradients, so let's learn how to create customizable ones in Figma (spoiler: it’s quite simple).

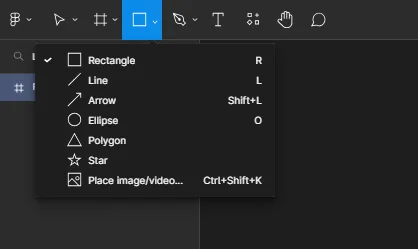
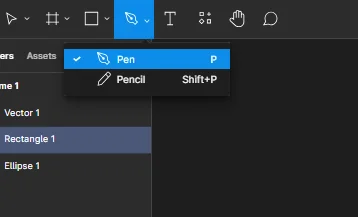
Yes, just as simple as that. Be as creative as you want to be. We suggest you use the pen tool to create shapes, for a smoother result in the final blurring process.
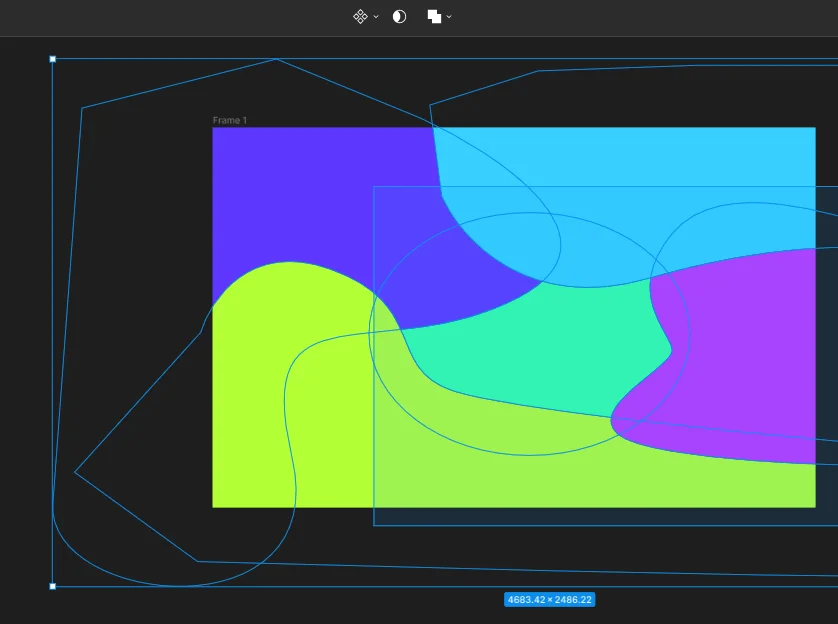
Make sure the new shapes/vectors are inside the frame panel.
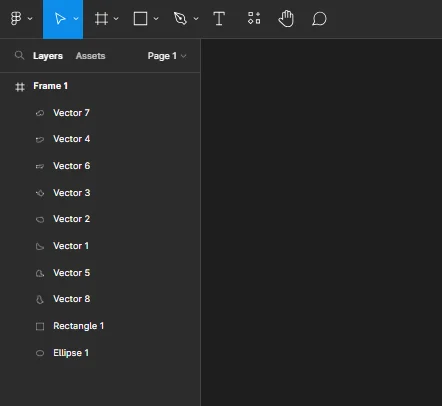
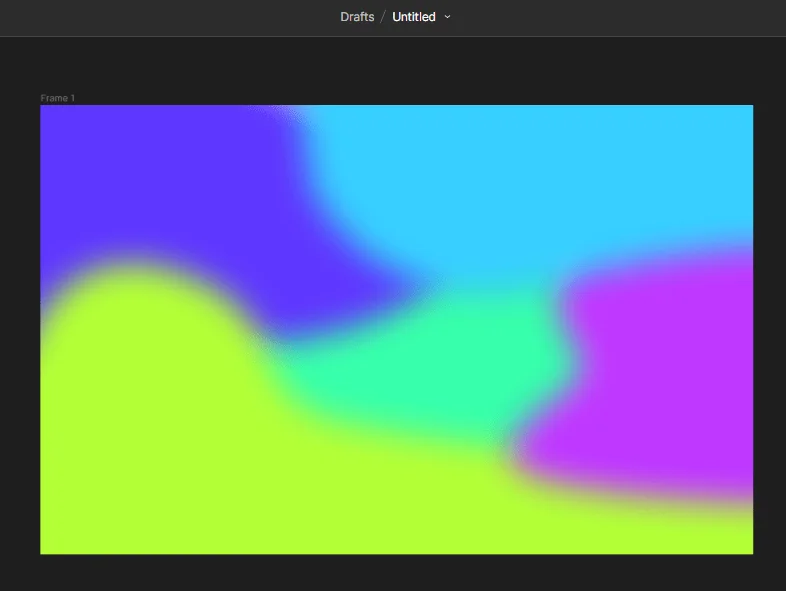
You can also casually switch up their fill colors, so you can tell which shapes are in the front or in the back. The canvas can look something like this:

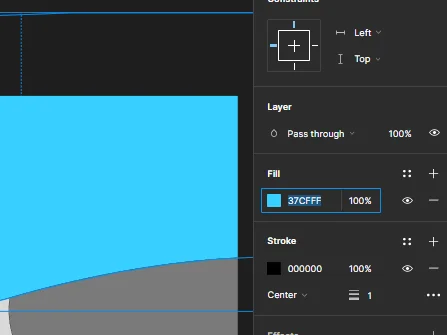
Think of what colors you’d like your blur gradient to have, and assign those. We’d recommend using colors of the same range, for a smoother final result.
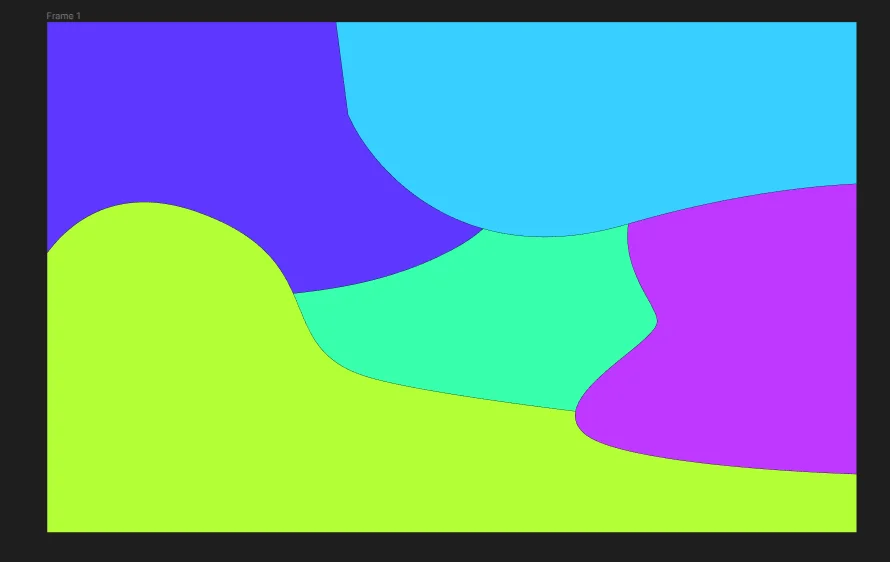
To make things simpler, you can just copy the code of the color you used first, and use that same code for all shapes. Just make sure to adjust the hue, so the colors differ from one another.
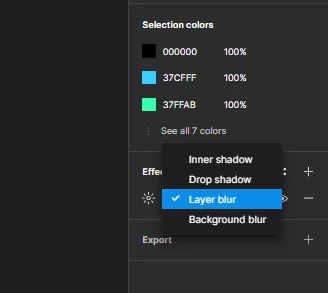
You’ll do this by selecting all of the shapes you just created, targeting them.
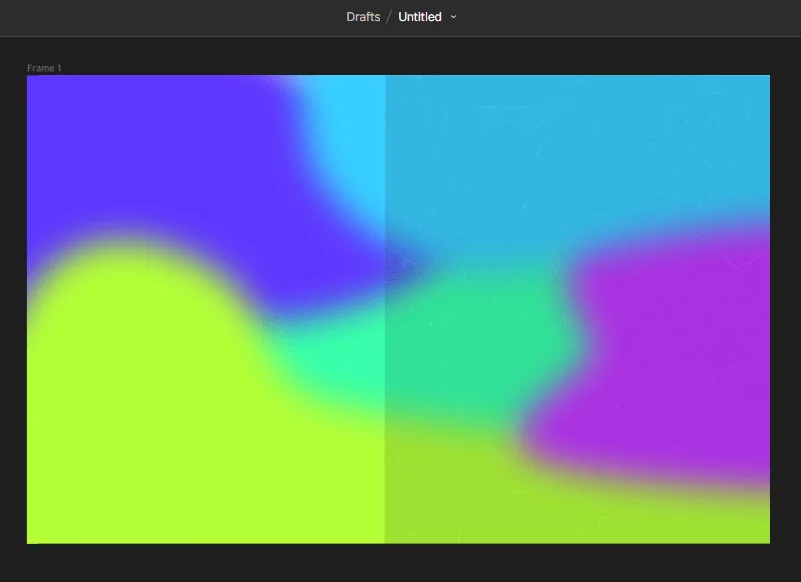
In the right-side panel towards the end, there’s the Effects section. Click on it, then change the option from Drop Shadow > Layer Blur.
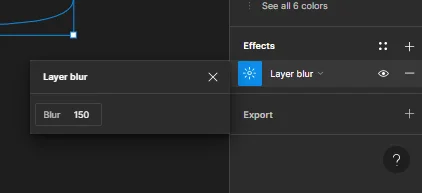
Now you can adjust the intensity of the blur as you like. We’d recommend anything over 100, for a better result.
The result will then look something like this:
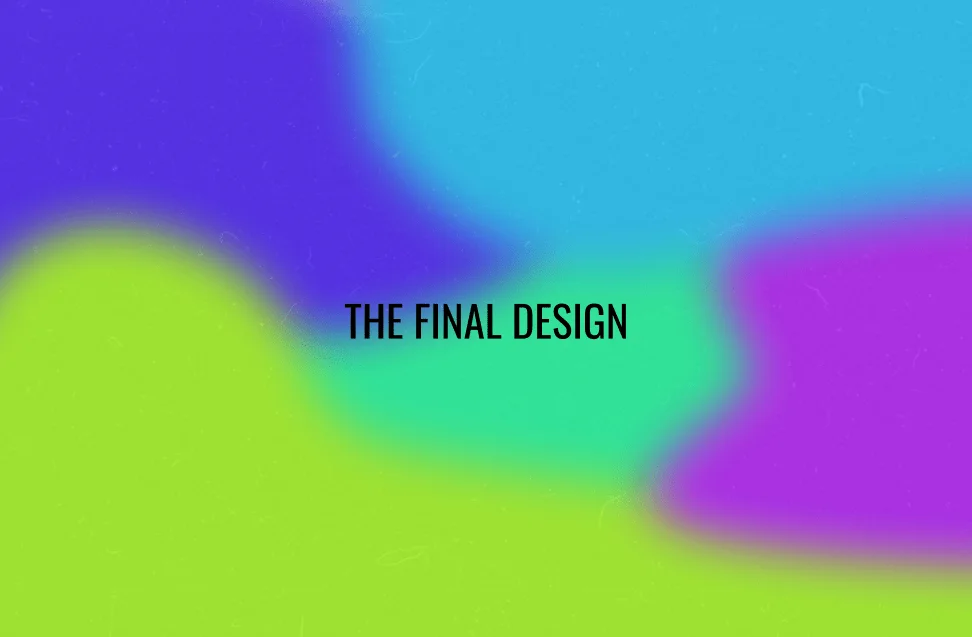
To elevate your design further, you can add texture to it. This will add some spice to your Blur Gradient, and make it more appealing.
To do this, you will need to get any texture image from Google (or any source of your liking). We’ll be using a film grain/noise overlay.
You can copy the image, and paste it directly into your project. Resize it until it fits your frame, and then adjust the opacity.
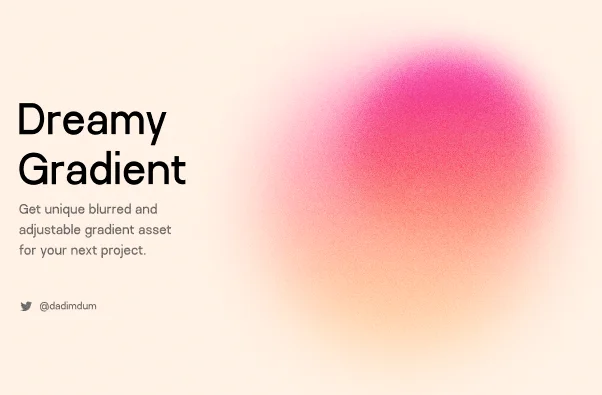

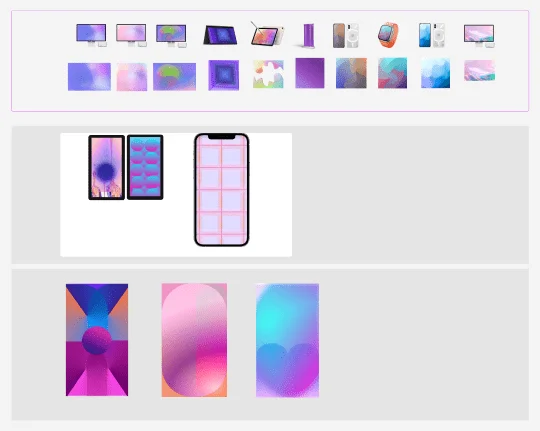
These are just a few examples of Blur Gradients. To see more, please visit the official Figma Community page.
We hope this article helped you and answered your questions about Figma’s Blur Gradients!
If you want to learn more about Figma, feel free to visit our other resources.
Sr. UI/UX Designer and Consultant with over 10+ years of experience working with Fortune 500, large enterprises and funded startups. Having worked on hundreds upon hundreds of design projects, collaborated with 40+ clients from all around the world and taught design to thousands of students I am very grateful that I have the opportunity to give back to the design community and help other become better designers.
Stay up to date with the latest design news and cutting-edge softwares, sent straight to your inbox!
.jpg)

.jpg)
.jpg)