Figma
Figma to Webflow Plugin: Complete Guide
In this guide we'll go over the Figma to Webflow plugin, a unique solution to bring your Figma designs to life.

September 24, 2023

In this guide we'll go over the Figma to Webflow plugin, a unique solution to bring your Figma designs to life.
The Figma to Webflow plugin is a game-changer that can help designers quickly bring to life their Figma designs in a faster manner.
Figma is the most-used design software for creating user interfaces. It comes with stand-out features such as auto-layout, constraints, and variables, allowing designers to easily create and craft the most aesthetically looking screens.
But what makes Figma even more lovely is the plugins.
Plugins allow designers to have more features not native to the Figma software for seamless design-to-development workflows with extended capabilities. One such plugin is the Figma to Webflow plugin - developed by Webflow Labs - which quickly converts Figma designs to Webflow components.

This article covers how to make use of the Figma to Webflow plugin and will guide you through the process of using the plugin by building a landing page for a fictional AI company called ZeroAI.
The Figma to Webflow plugin converts Figma layers into their HTML and CSS equivalent. These equivalents are what Webflow uses to generate the layouts within its editor to design your site. The Figma layers, however, have to be auto layouts to properly make use of the plugin, and can’t just be layers or frames.
This is valuable to designers and developers as they don’t have to recreate the same components or designs within the Webflow editor panel, and can simply copy and paste the design within seconds.
However, it's important to note that the Figma to Webflow plugin is mostly experimental and the functionality can change with time. So, use it with care.
To use the Figma to Webflow plugin, the first step is to install the plugin. To do this, we'll navigate to the plugin page, where we'll find the "Try It Out" button. Once we click on it, it will create a new Figma file with the plugin interface open.
Before we go on, please know the Figma to Webflow plugin doesn’t work with Safari, so if you use a Mac, use the Chrome browser or the Figma App. For this tutorial, we will make use of the Figma App
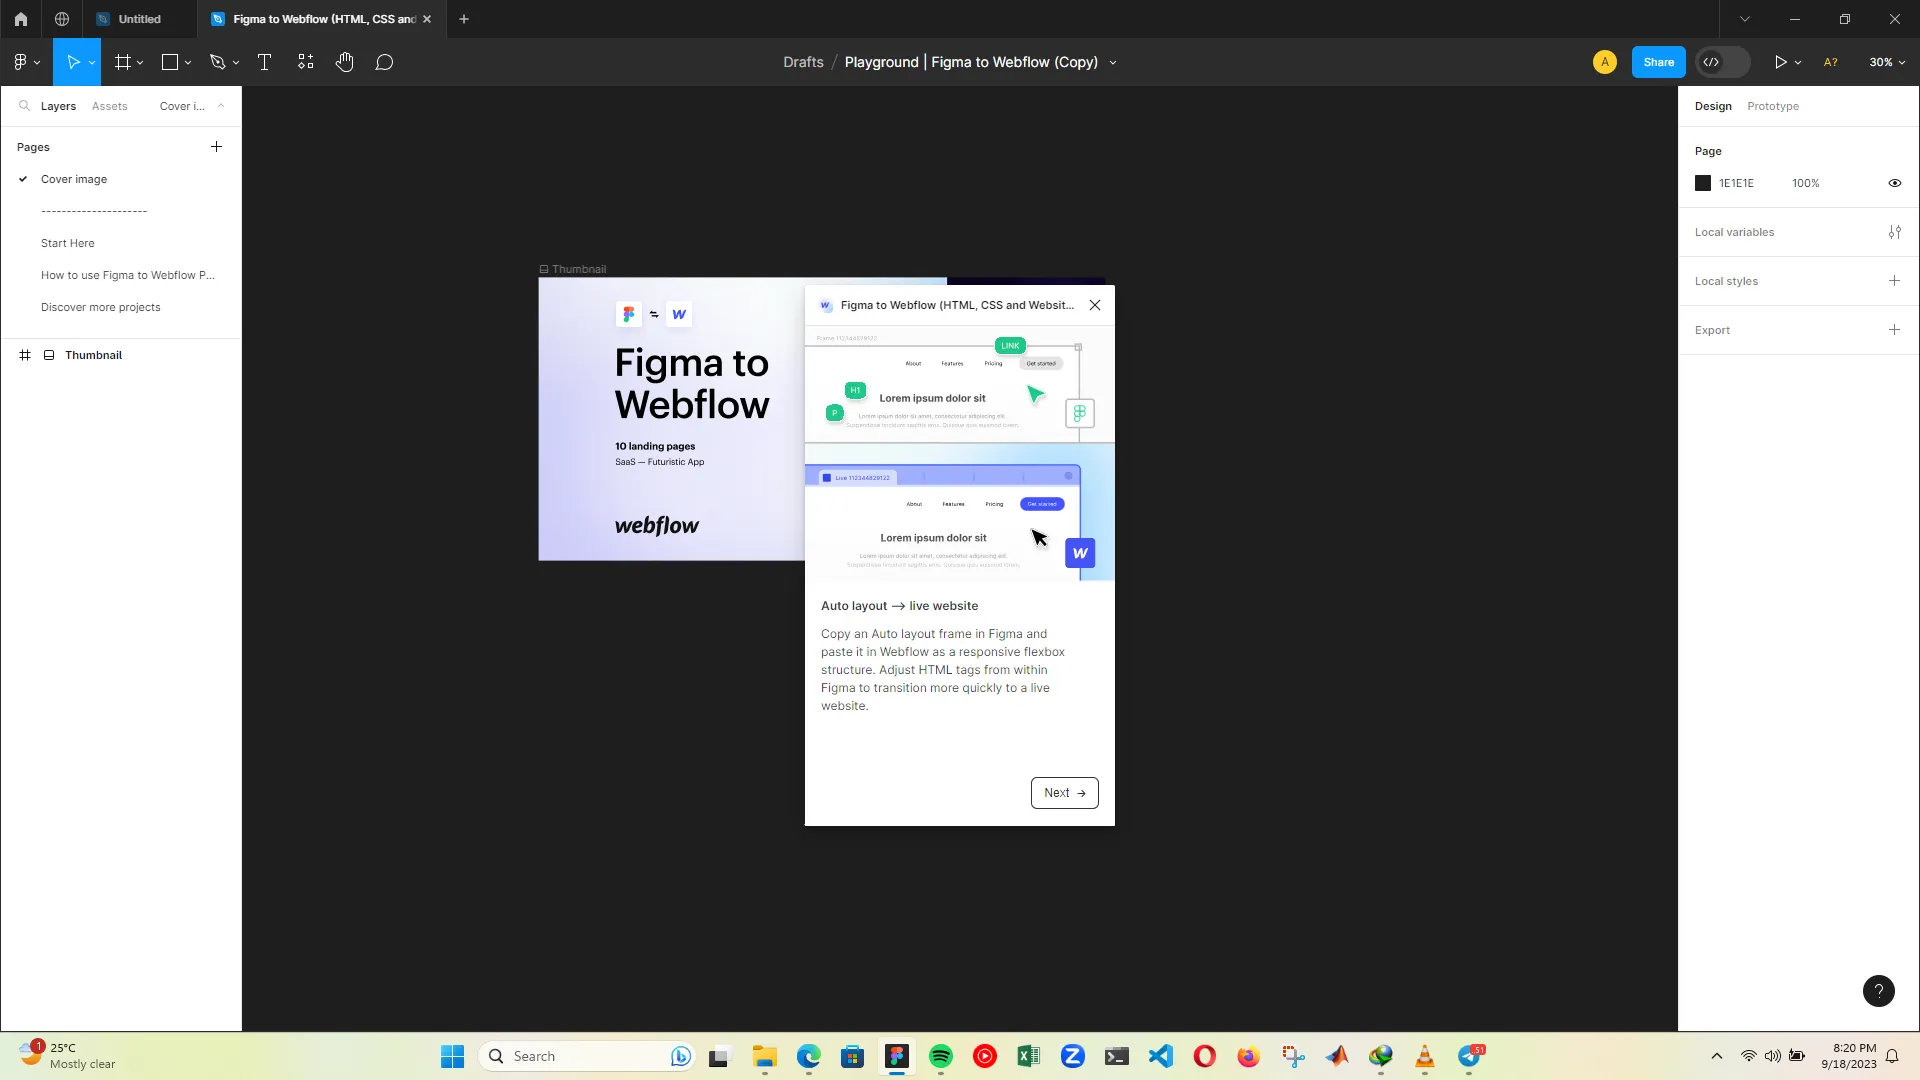
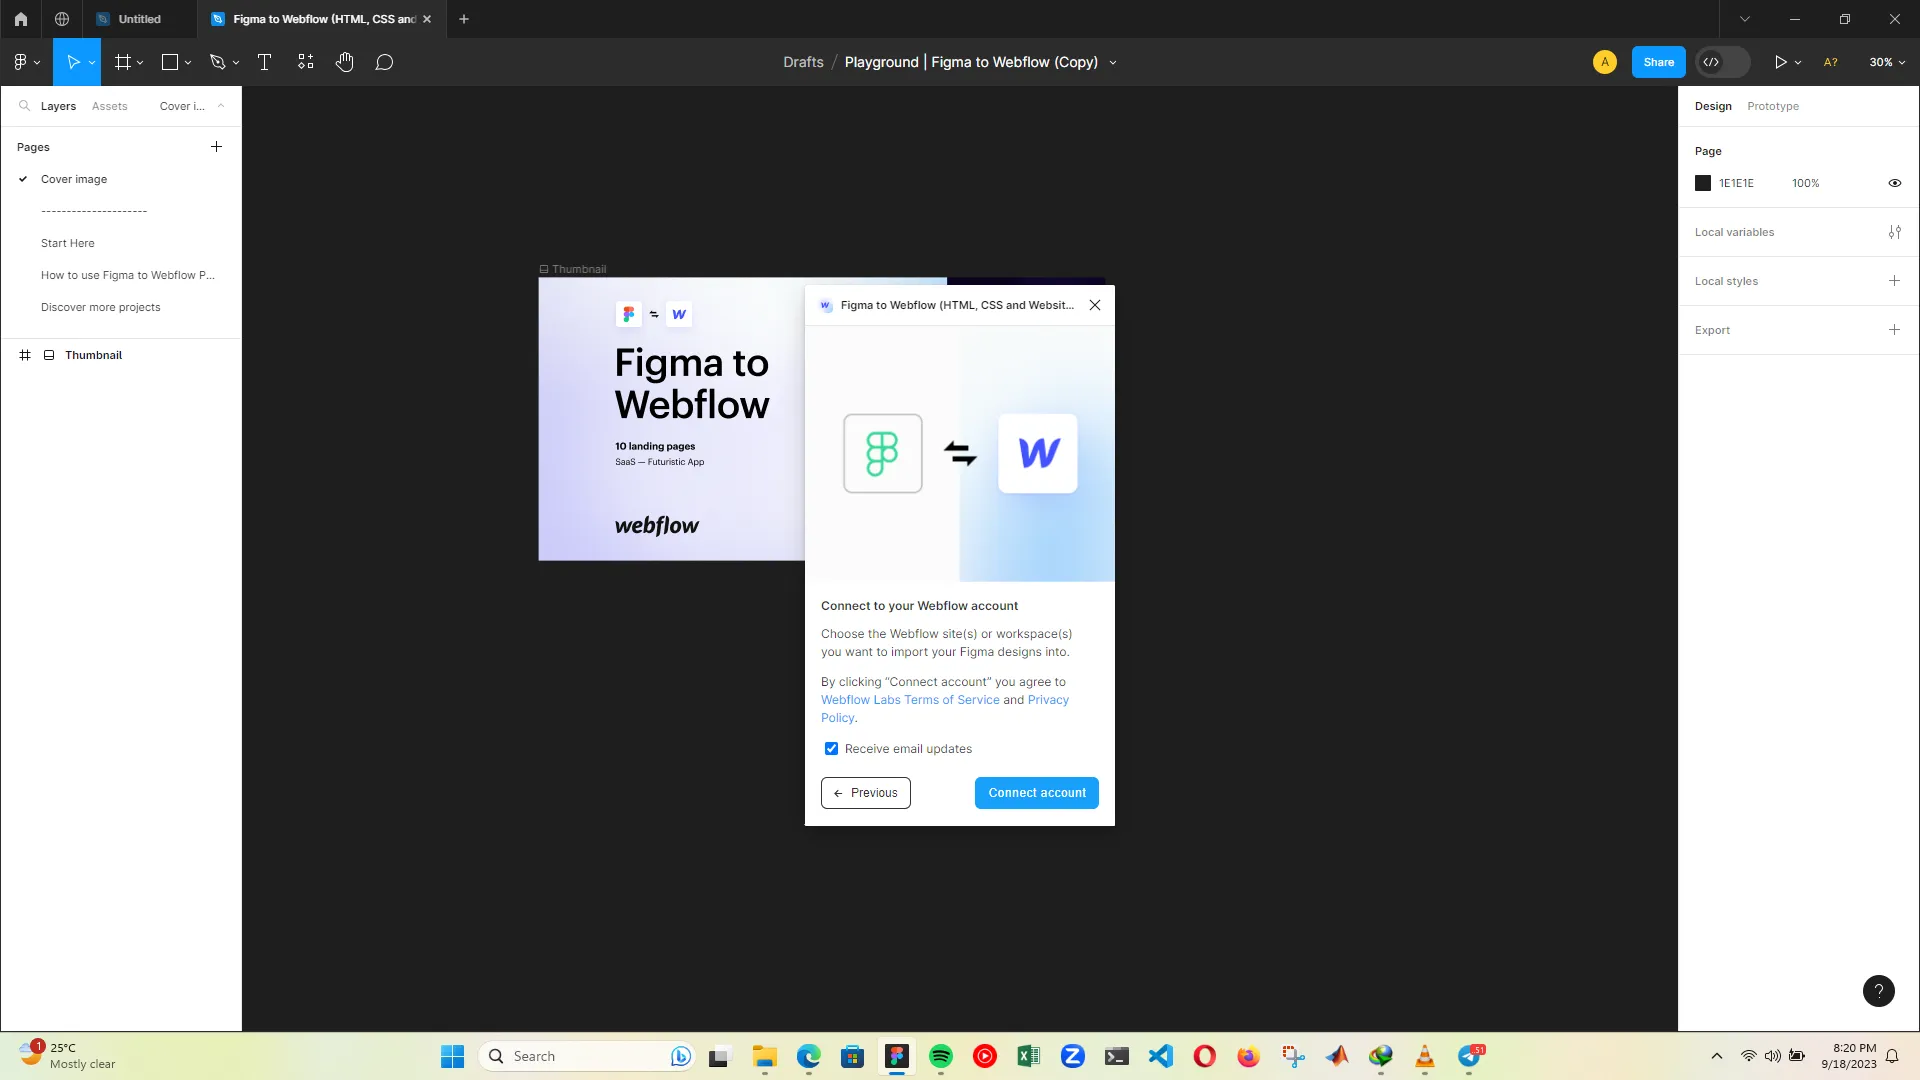
As you can see in the image, the plugin does a quick onboarding on the features it provides. Click “Next” till you reach the “Connect to your Webflow account” page and select “Connect Account”.
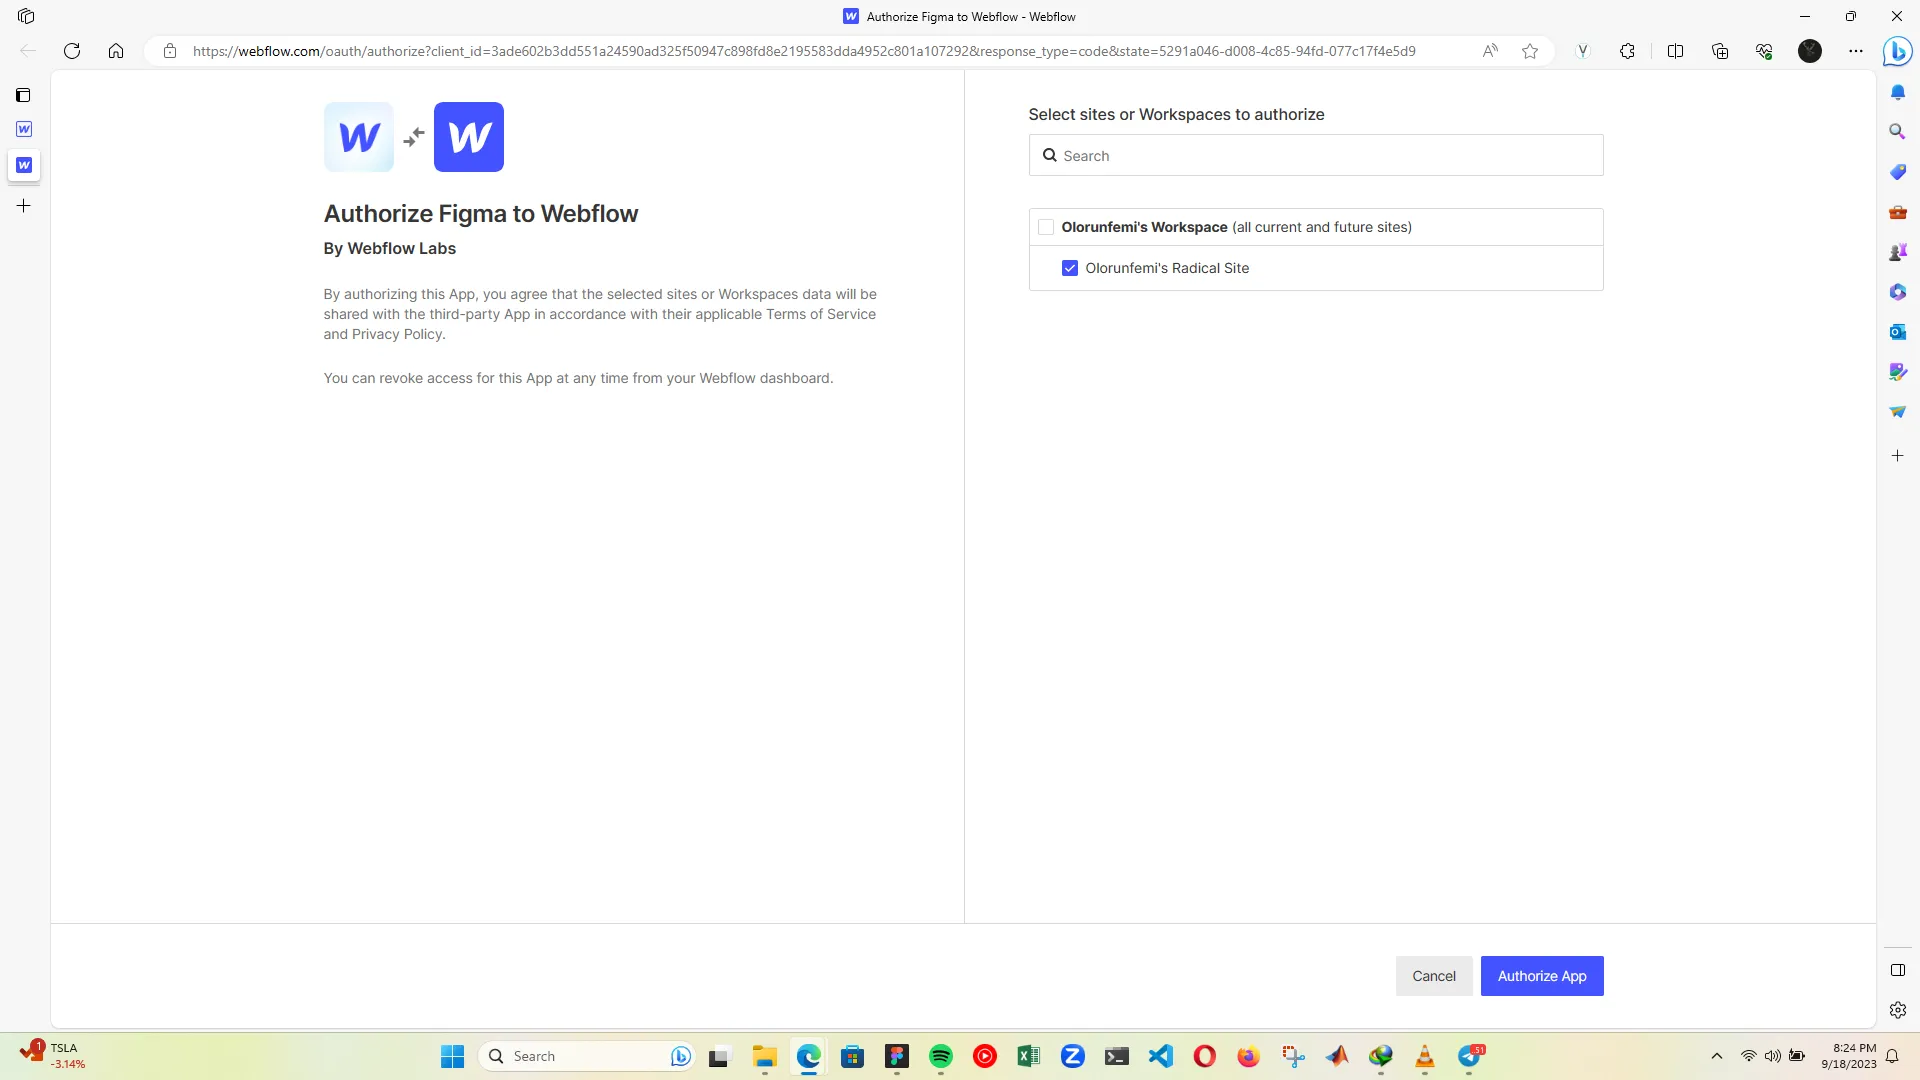
Once we click the “Connect account” button, it redirects us to a webpage that asks to authorize Figma to Webflow. Make sure you are logged in to your Webflow account and have at least one site created (even if empty). Here, we will select “Olorunfemi’s Radical Site” and like “Authorize App.”
You should see that your Webflow account has been successfully linked to your Figma.
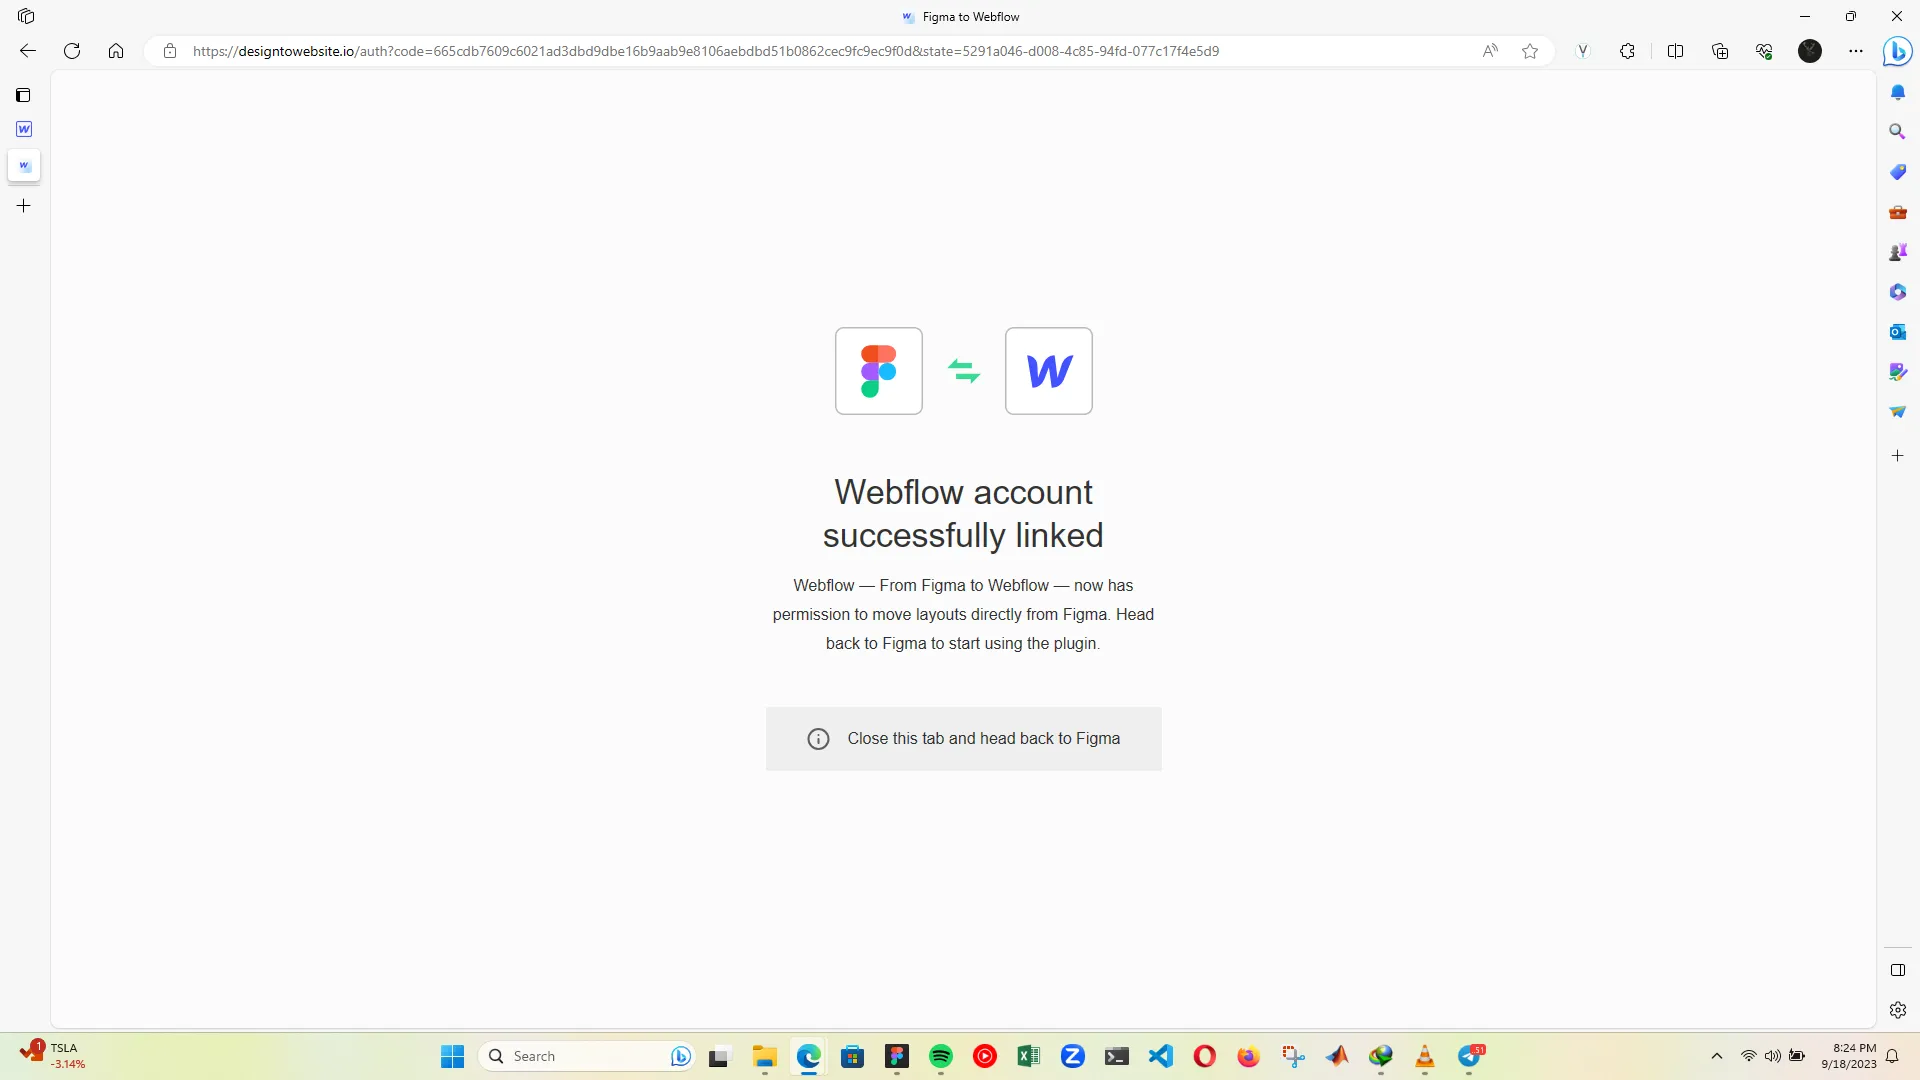
Also, within the Figma App, the plugin will show you have successfully linked your Webflow account and have permission to move layouts directly from Figma to Webflow.
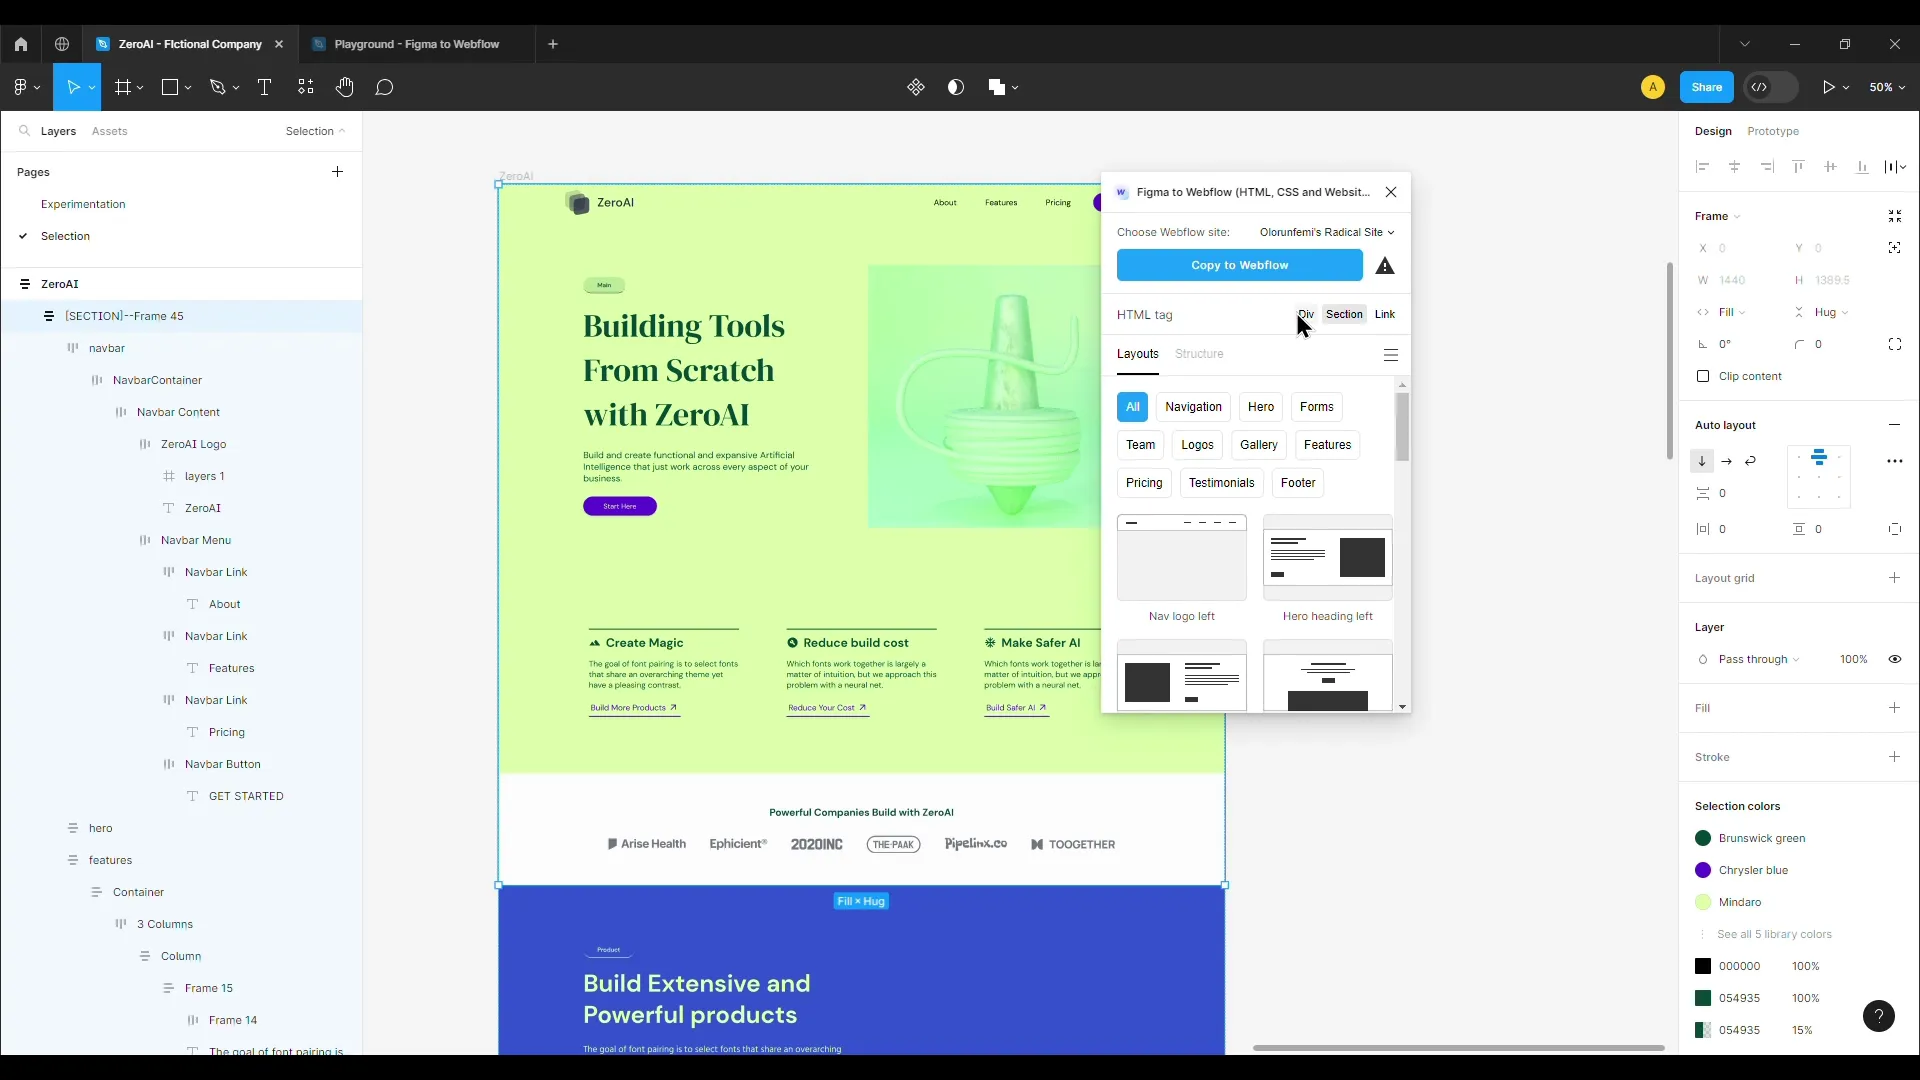
Now, the Figma to Webflow plugin should show the possible layout and structures we can use to build our design that can be easily transferable to Webflow. It’s these layouts and structures we will use to design and build our ZeroAI landing page.
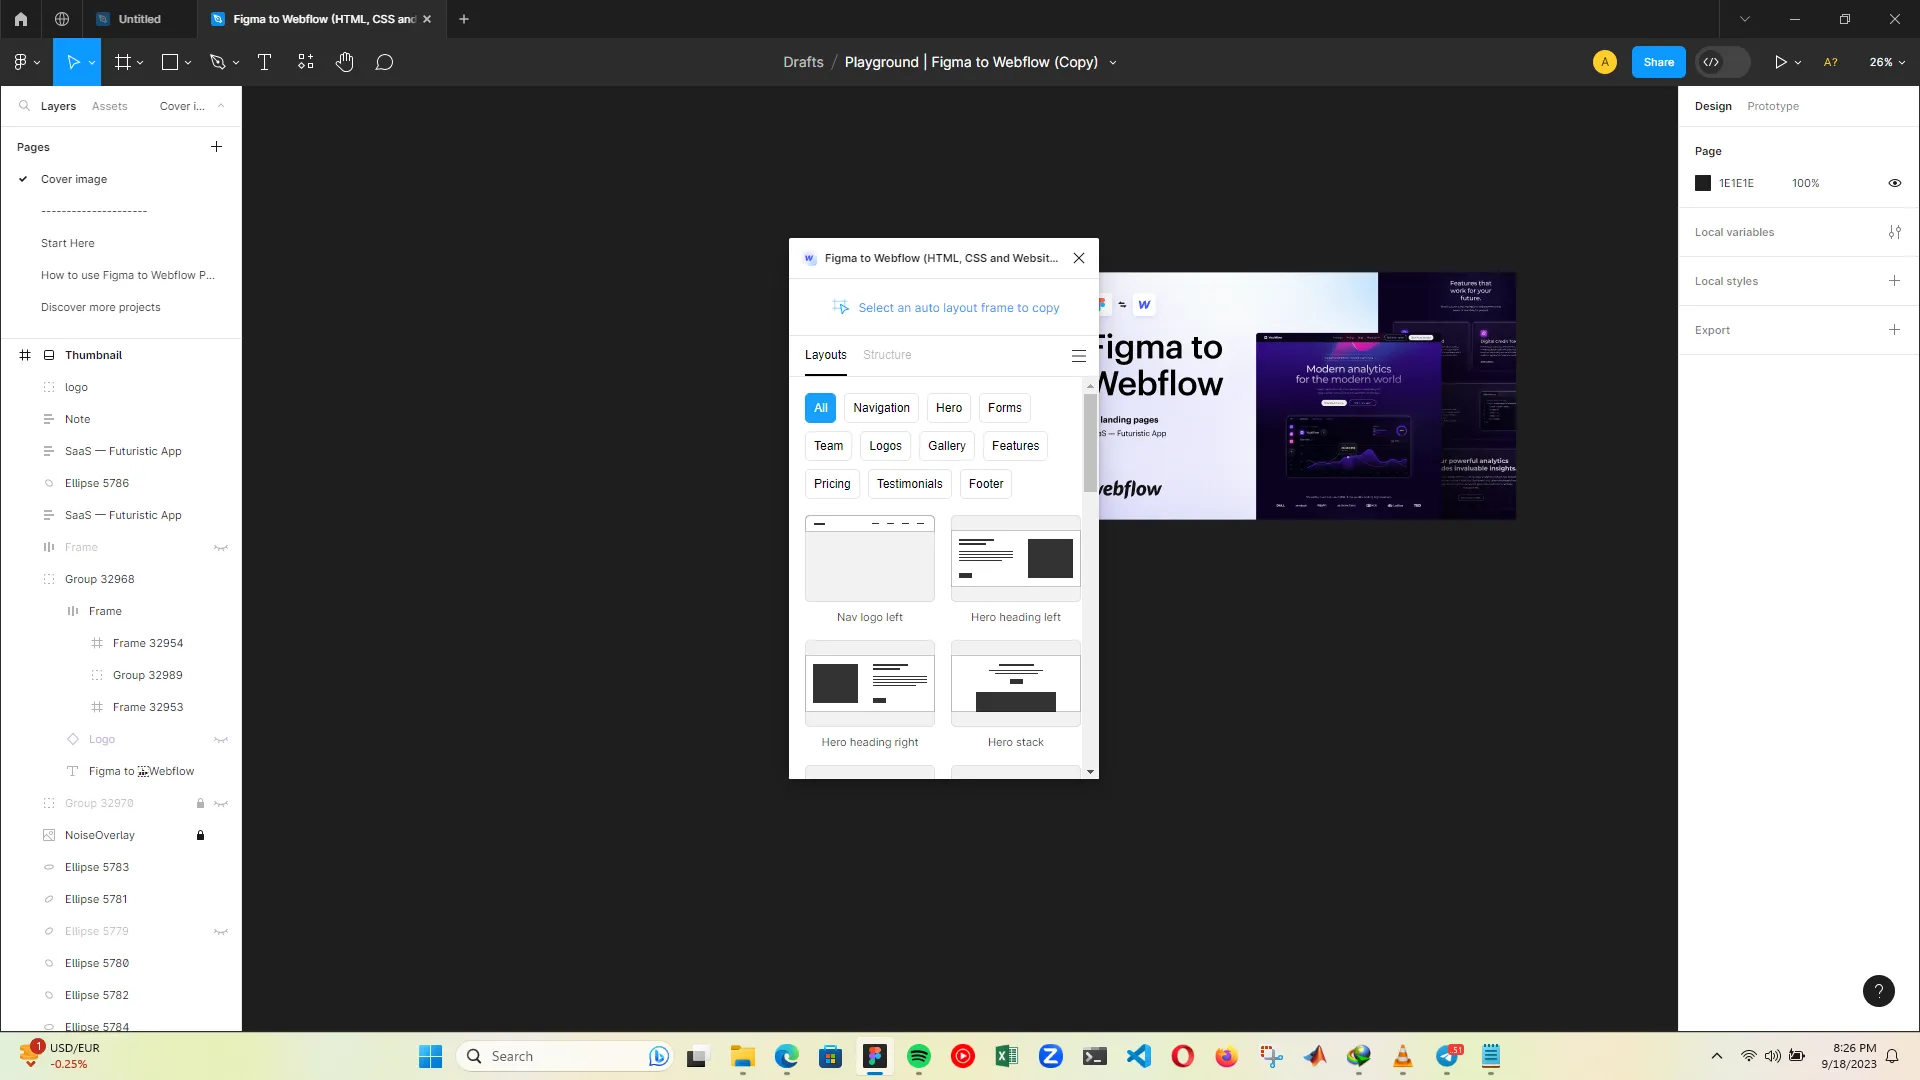
The Figma to Webflow plugin uses auto layout and has pre-built layouts and structures to ease the process of transferable Webflow designs. After configuring the plugin for the first time, we can open the plugin within our ZeroAI design file.
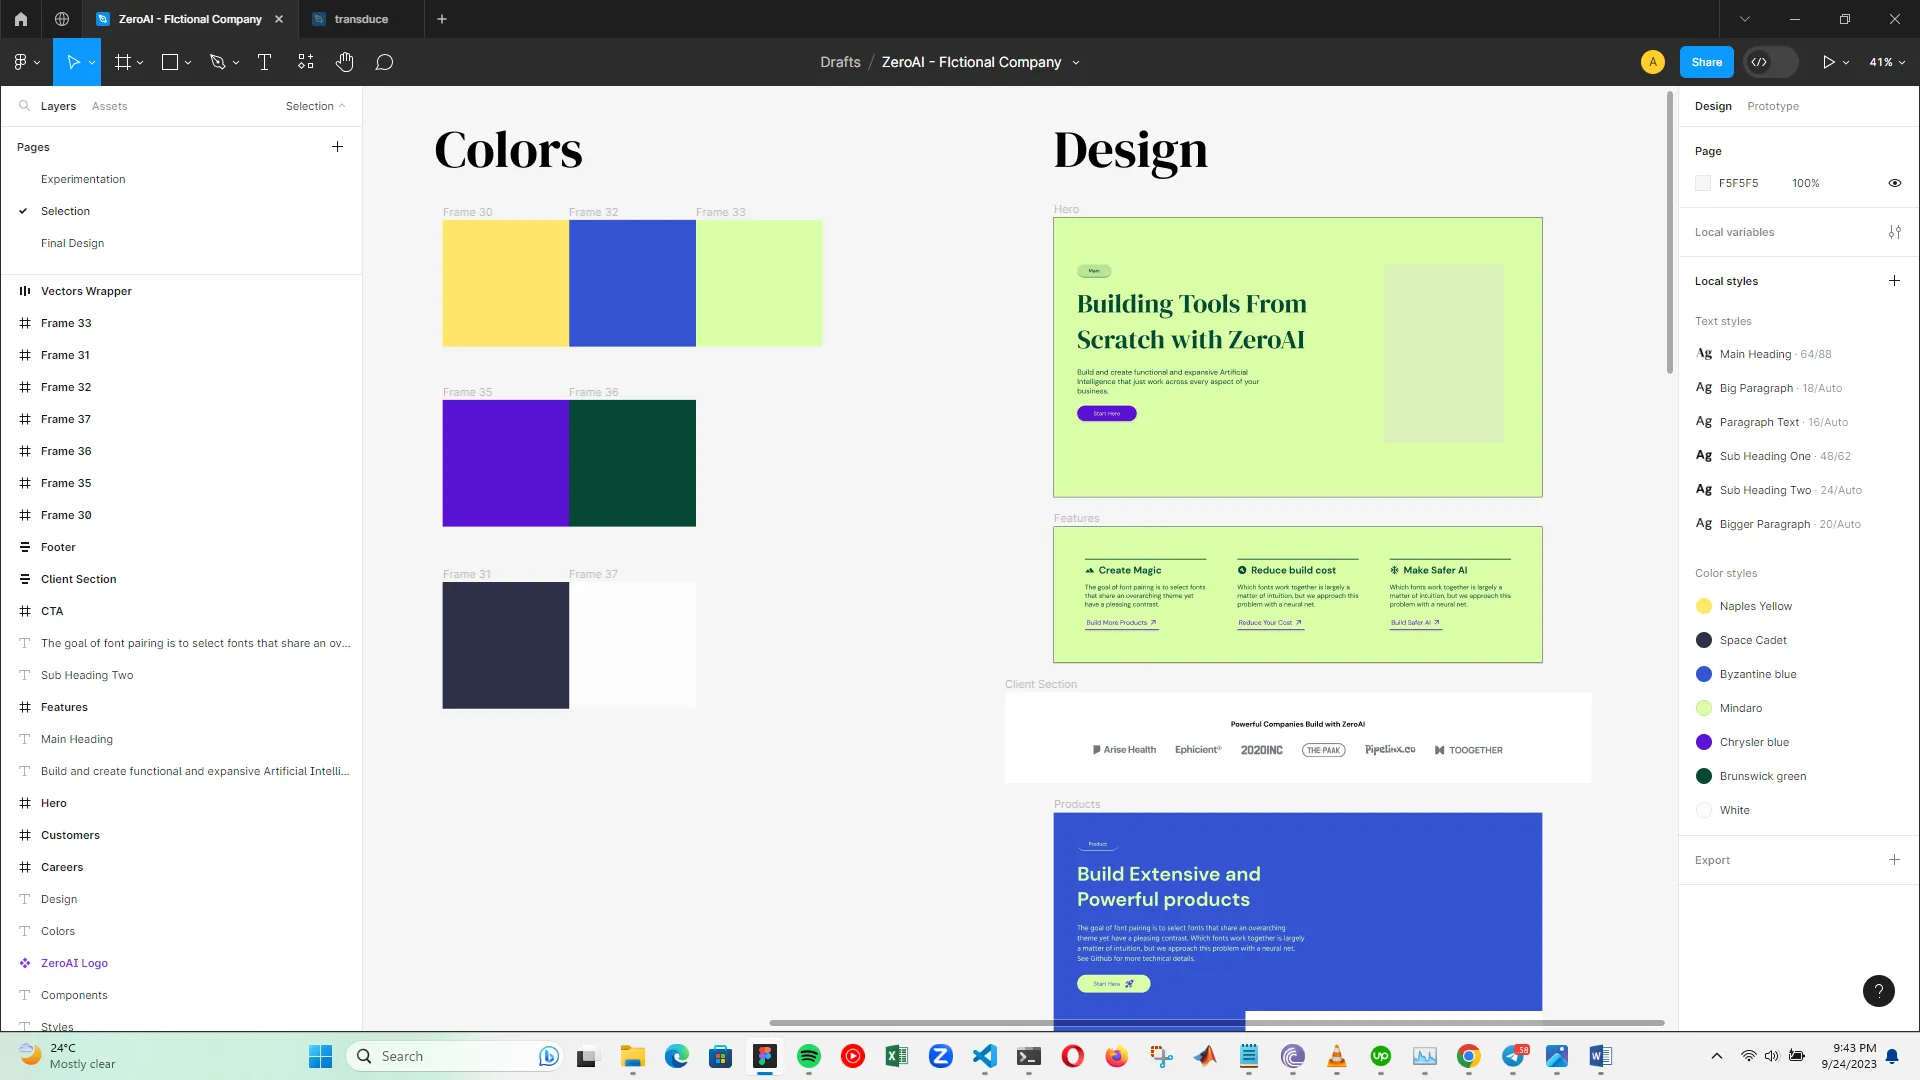
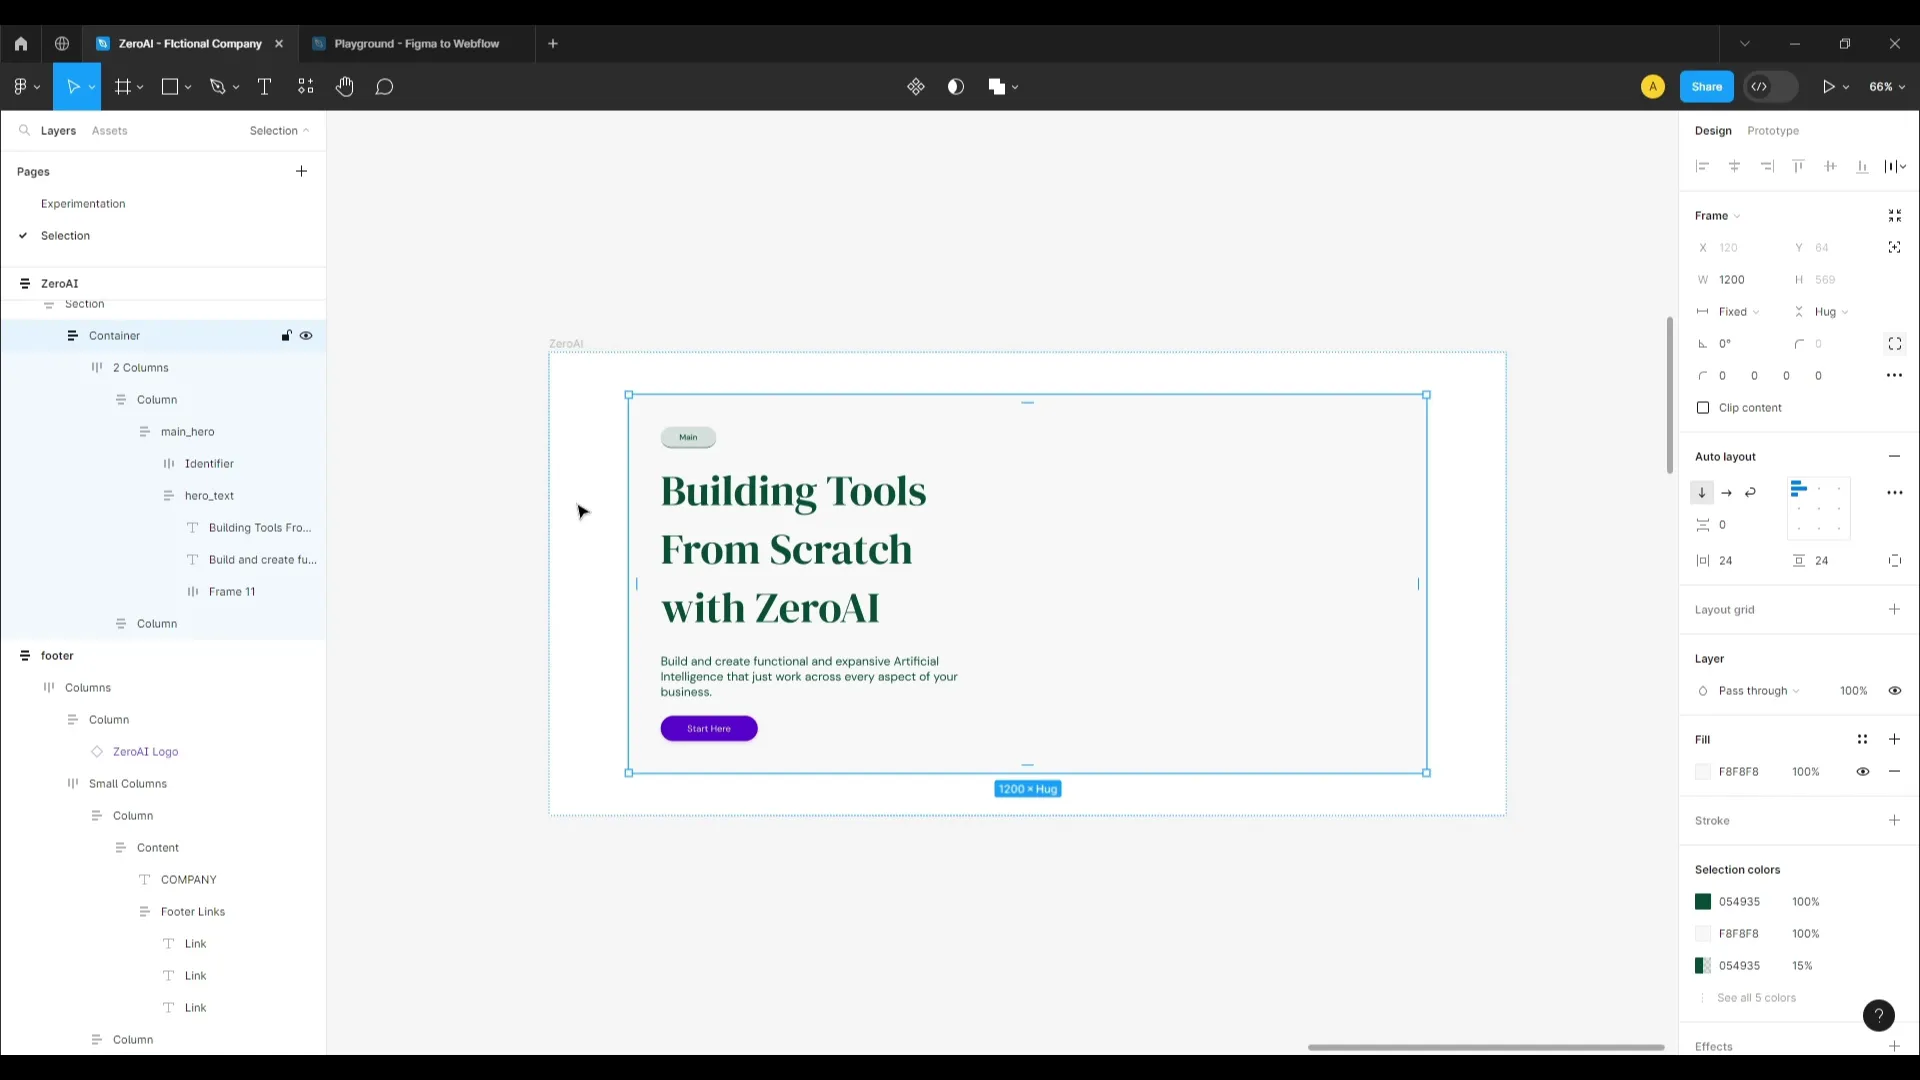
For this article, the general design structure has been done, so we will simply apply the auto layout where needed in conjunction with the Figma to Webflow plugin.
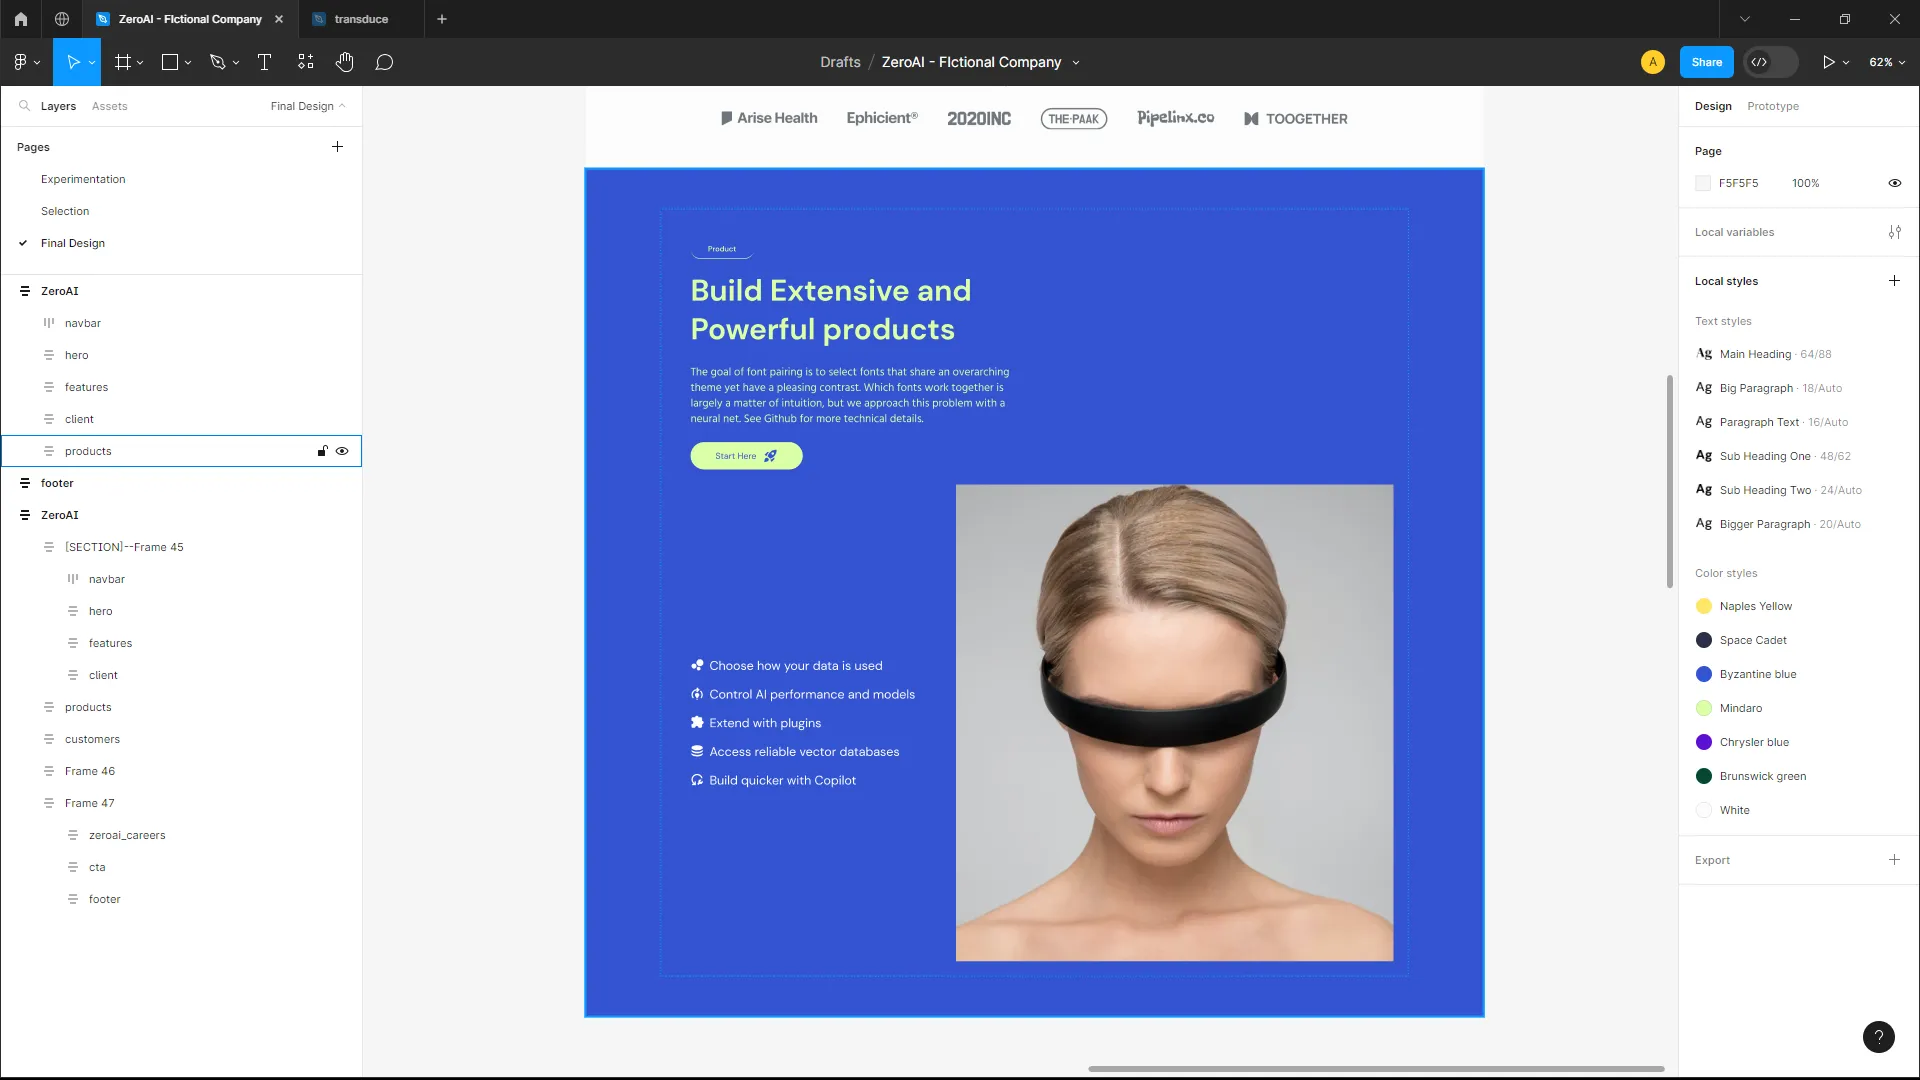
This is the initial design
Now, let’s design the landing page in Figma and make use of the auto layout feature to build each section. For the navbar, client section, and footer, we will use pre-built layouts, as it is easier to have the native behaviors we want from webflow, especially when it comes to responsiveness.
Using pre-built layouts is as easy as selecting them, which we will be using for the navbar, client, and footer sections.
All we need to do now is simply style the way we want it or add the icons we prefer.
For now, we keep them aside.
Moving on, we can make use of the predefined structures the plugin provides. The structures will be used with the hero, feature, products, customer, safety, careers, and CTA sections.
The specific structures used, as will be shown, for each section are listed below;
For all sections, we will add the predefined structure - Section + Container - to make sure it is constrained to a maximum width of 1200px.
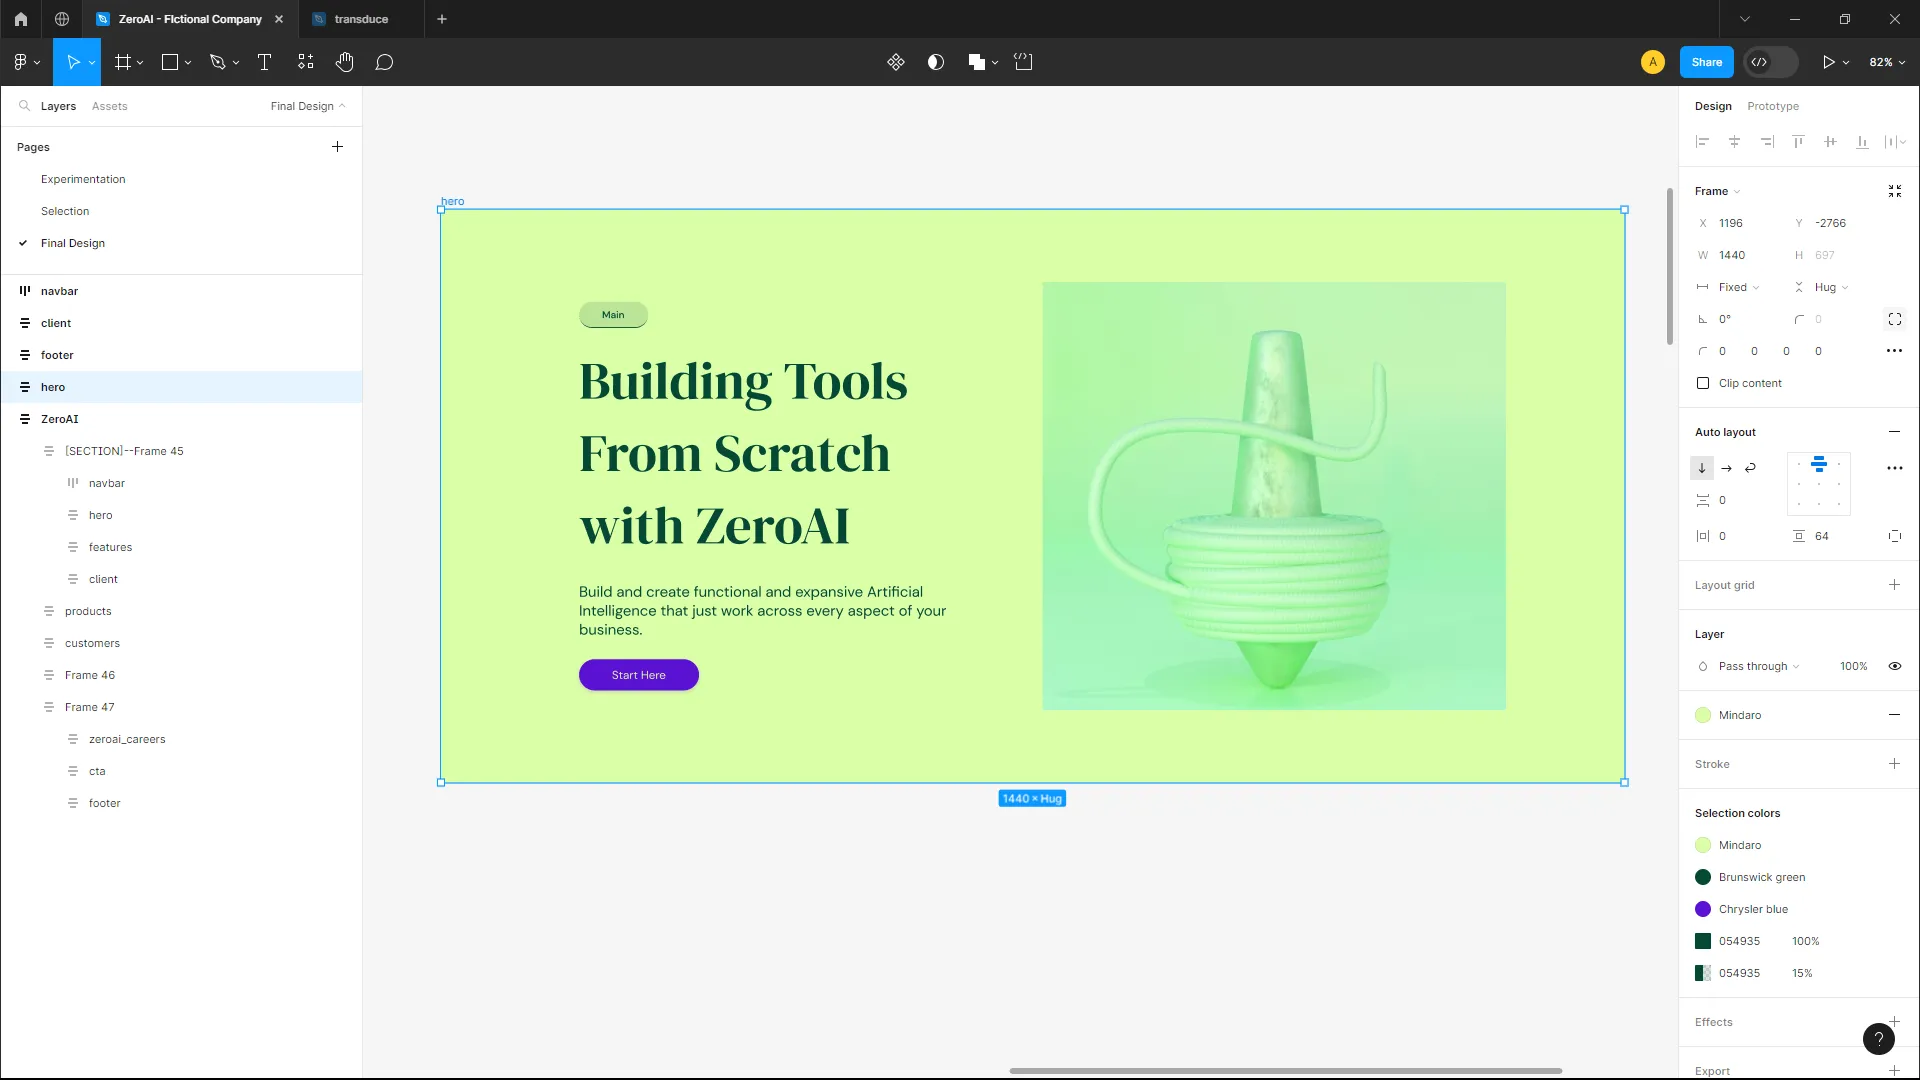
Let’s start with the hero section where we add the hero heading and hero text to the first column within the hero section.
Now, we add the hero image within the second column. Afterward, we add the color styles to the hero section and make sure it fits exactly the design we want.
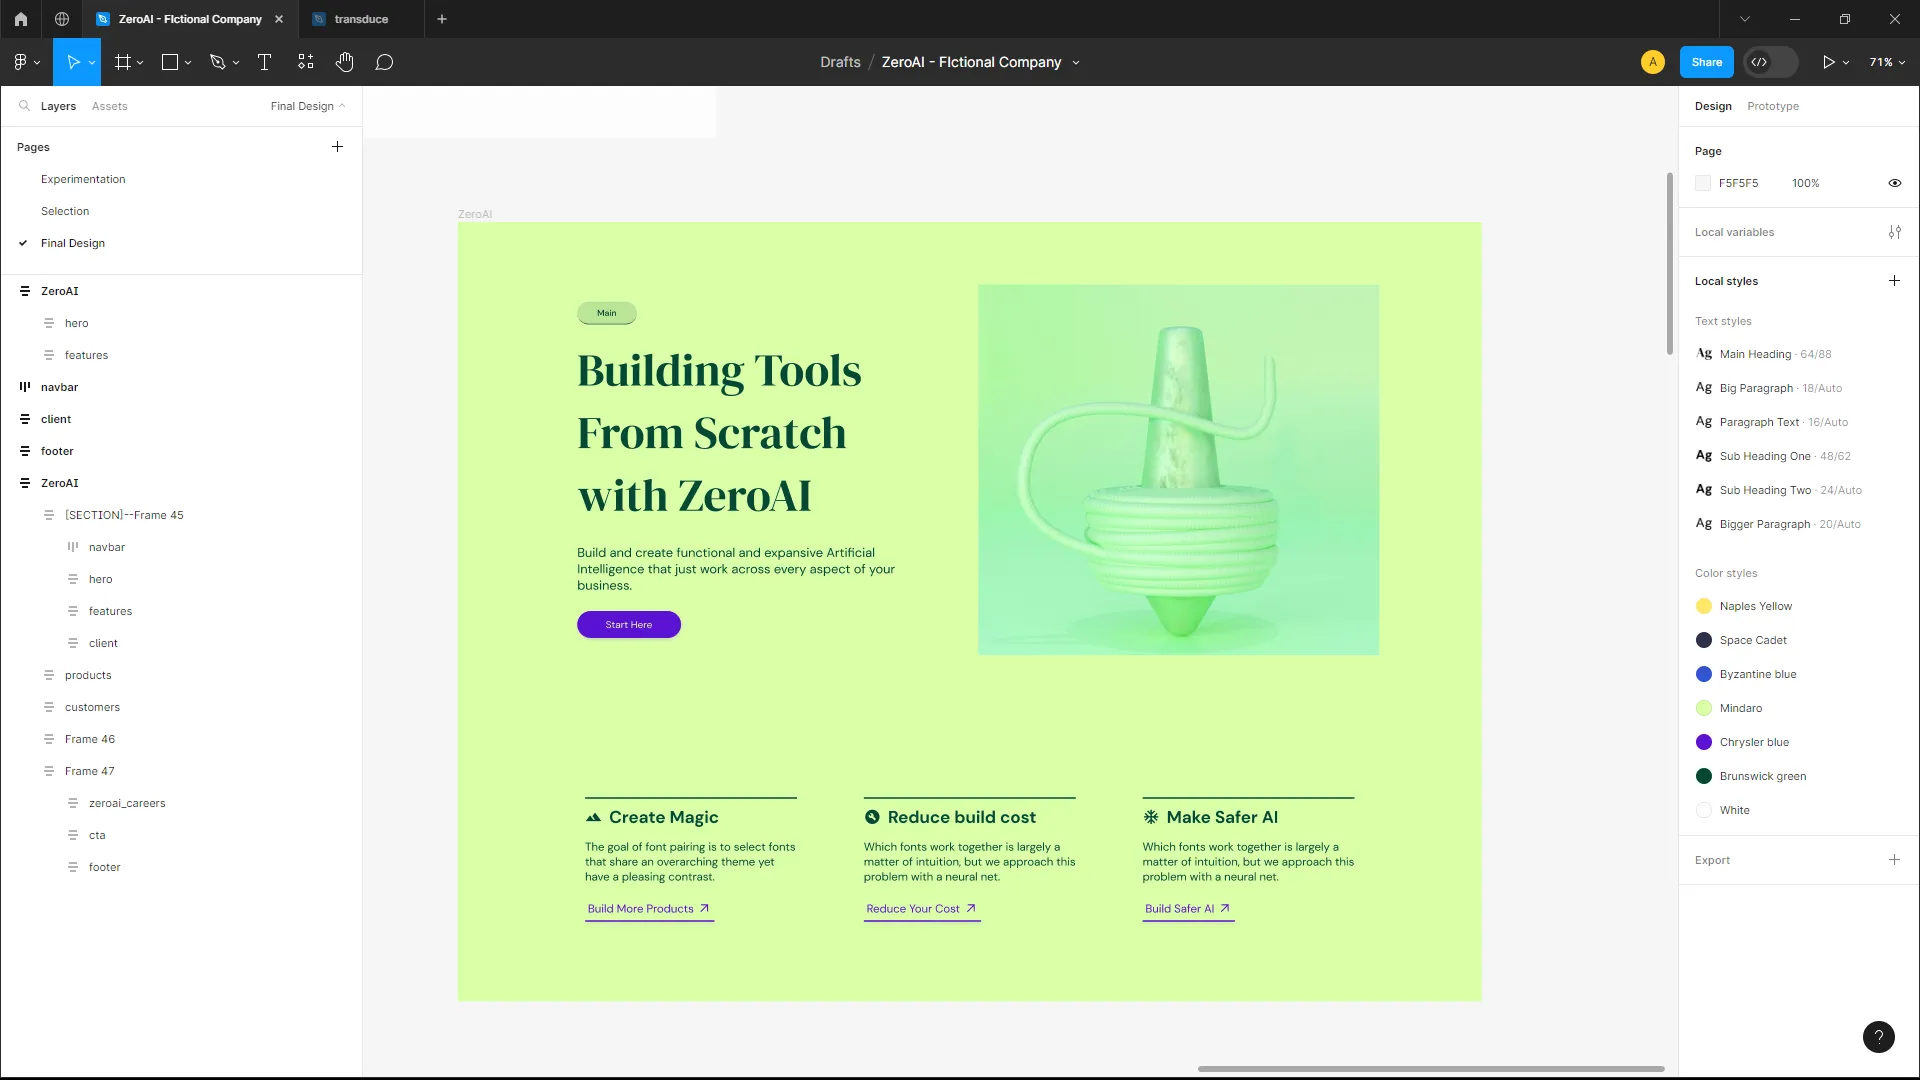
For the features section, we make use of the section + container and the 3 cols structure and add the feature list auto layout to each column. Then, we make the color adjustment to the feature section by applying the appropriate color styles.
We've made reasonable progress on the ZeroAI landing page design, and we're ready to incorporate two out of the three pre-built layouts: the navbar and the client section.
To enhance our experience within the Webflow Navigator, renaming our layers is crucial, as it directly impacts the class name assigned by the Figma to Webflow plugin to the div and HTML components.
Proceeding to the product section of the landing page design, we utilize the section + container and a two-column structure to achieve our desired layout. Next, we apply the auto layout we've created to their respective columns. Following that, we added the correct color styles and images. Afterwards, we align the product feature list and the image to the center and adjust the image size accordingly.
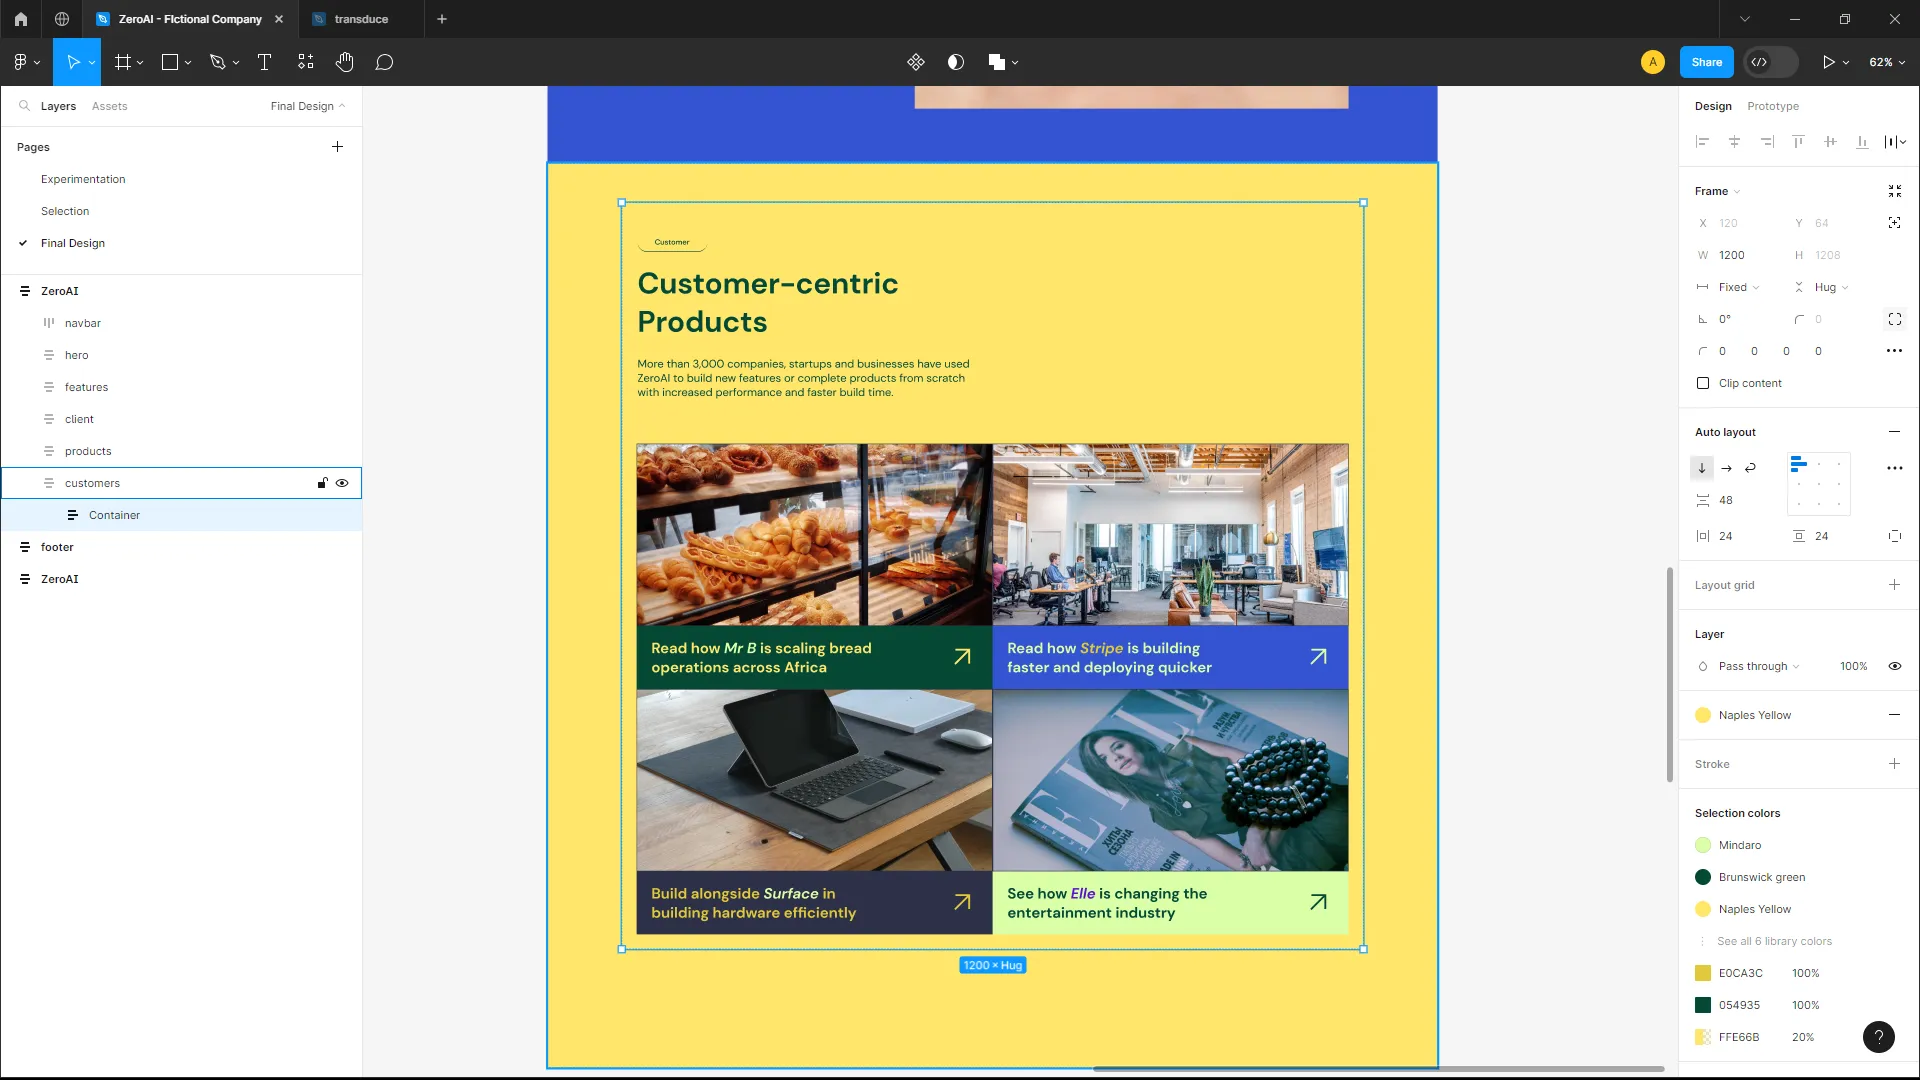
In the customer section, we make use of the 2 cols and 2x2 grid structure and add the relevant design content where appropriate. Also, we removed the gap and spacing between the columns in the 2x2 grid to give the design effect we wanted. After, we simply add the color style we want.
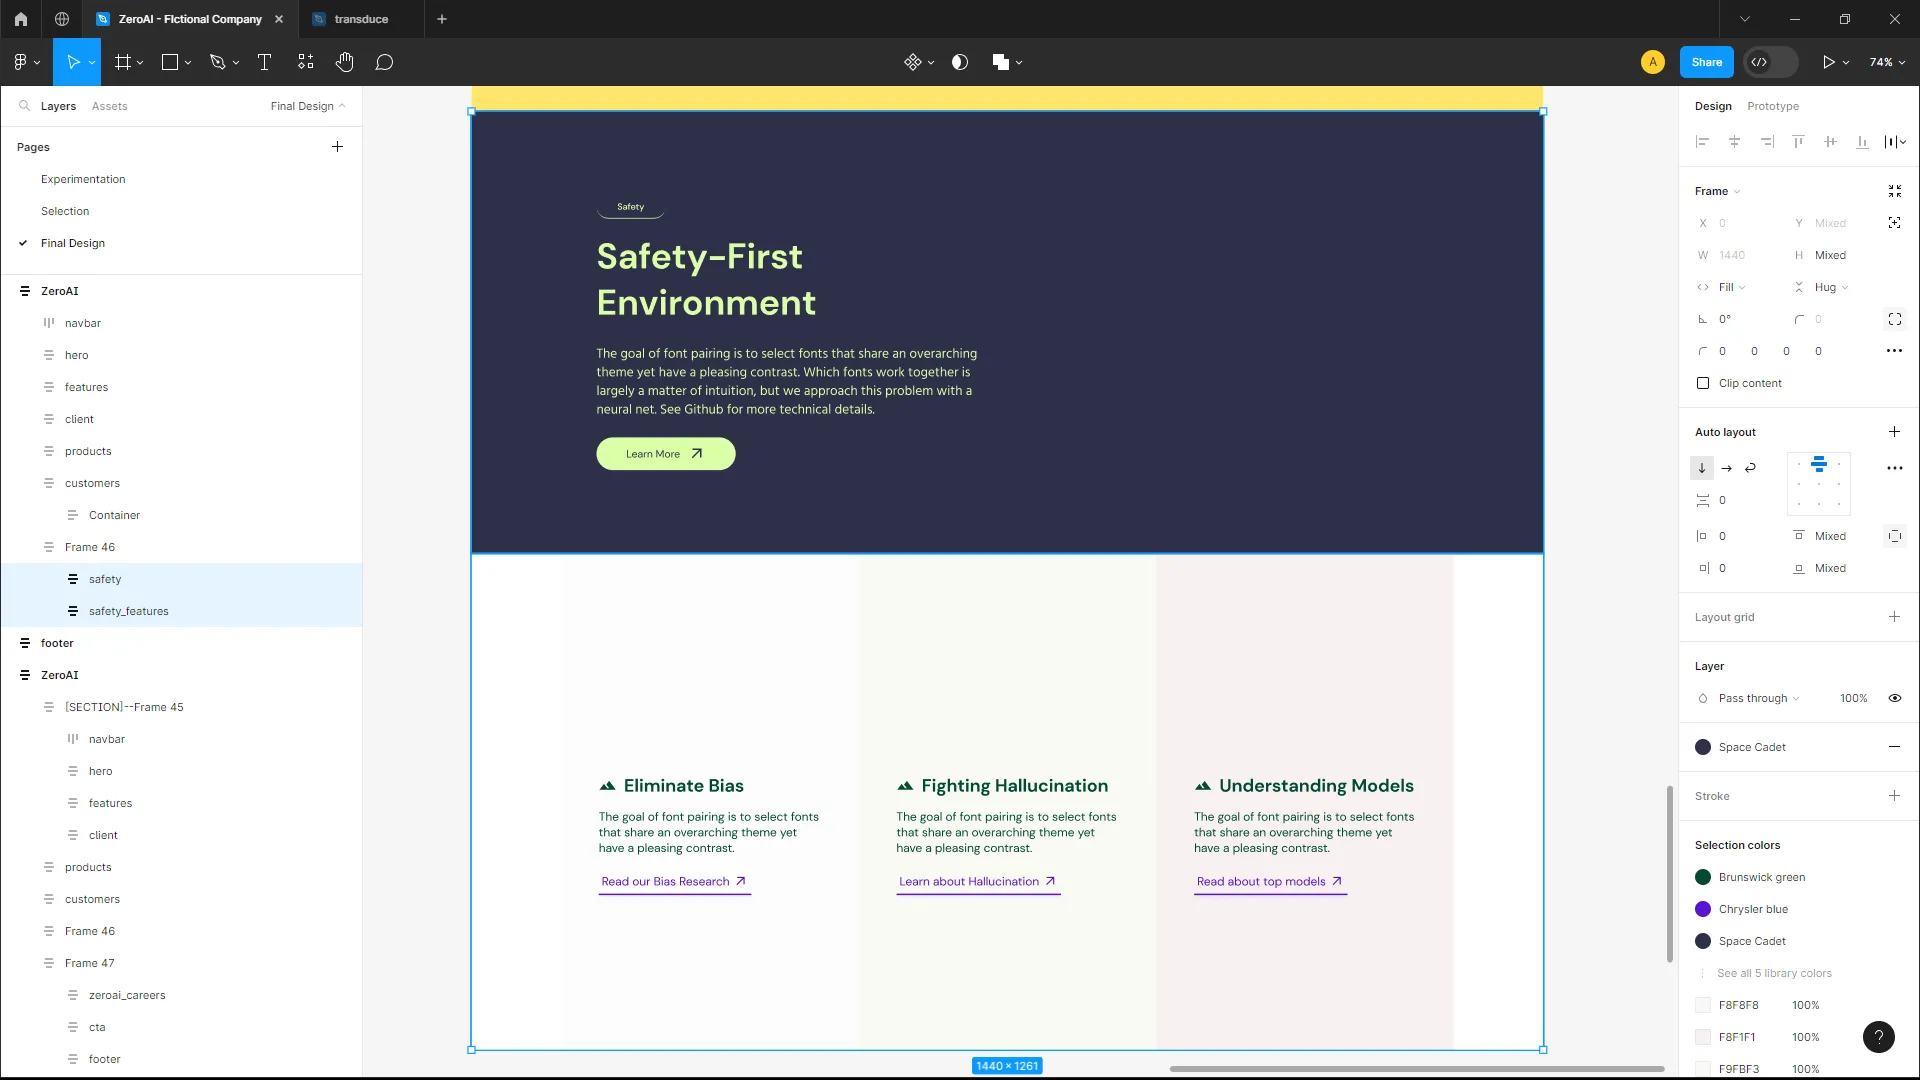
In contrast to the previous sections where we placed both structures within a single "section + container," the safety section requires two separate "section + container" structures due to the design pattern. The first "section + container" contains the 2 cols, while the second "section + container" houses the 3 cols.
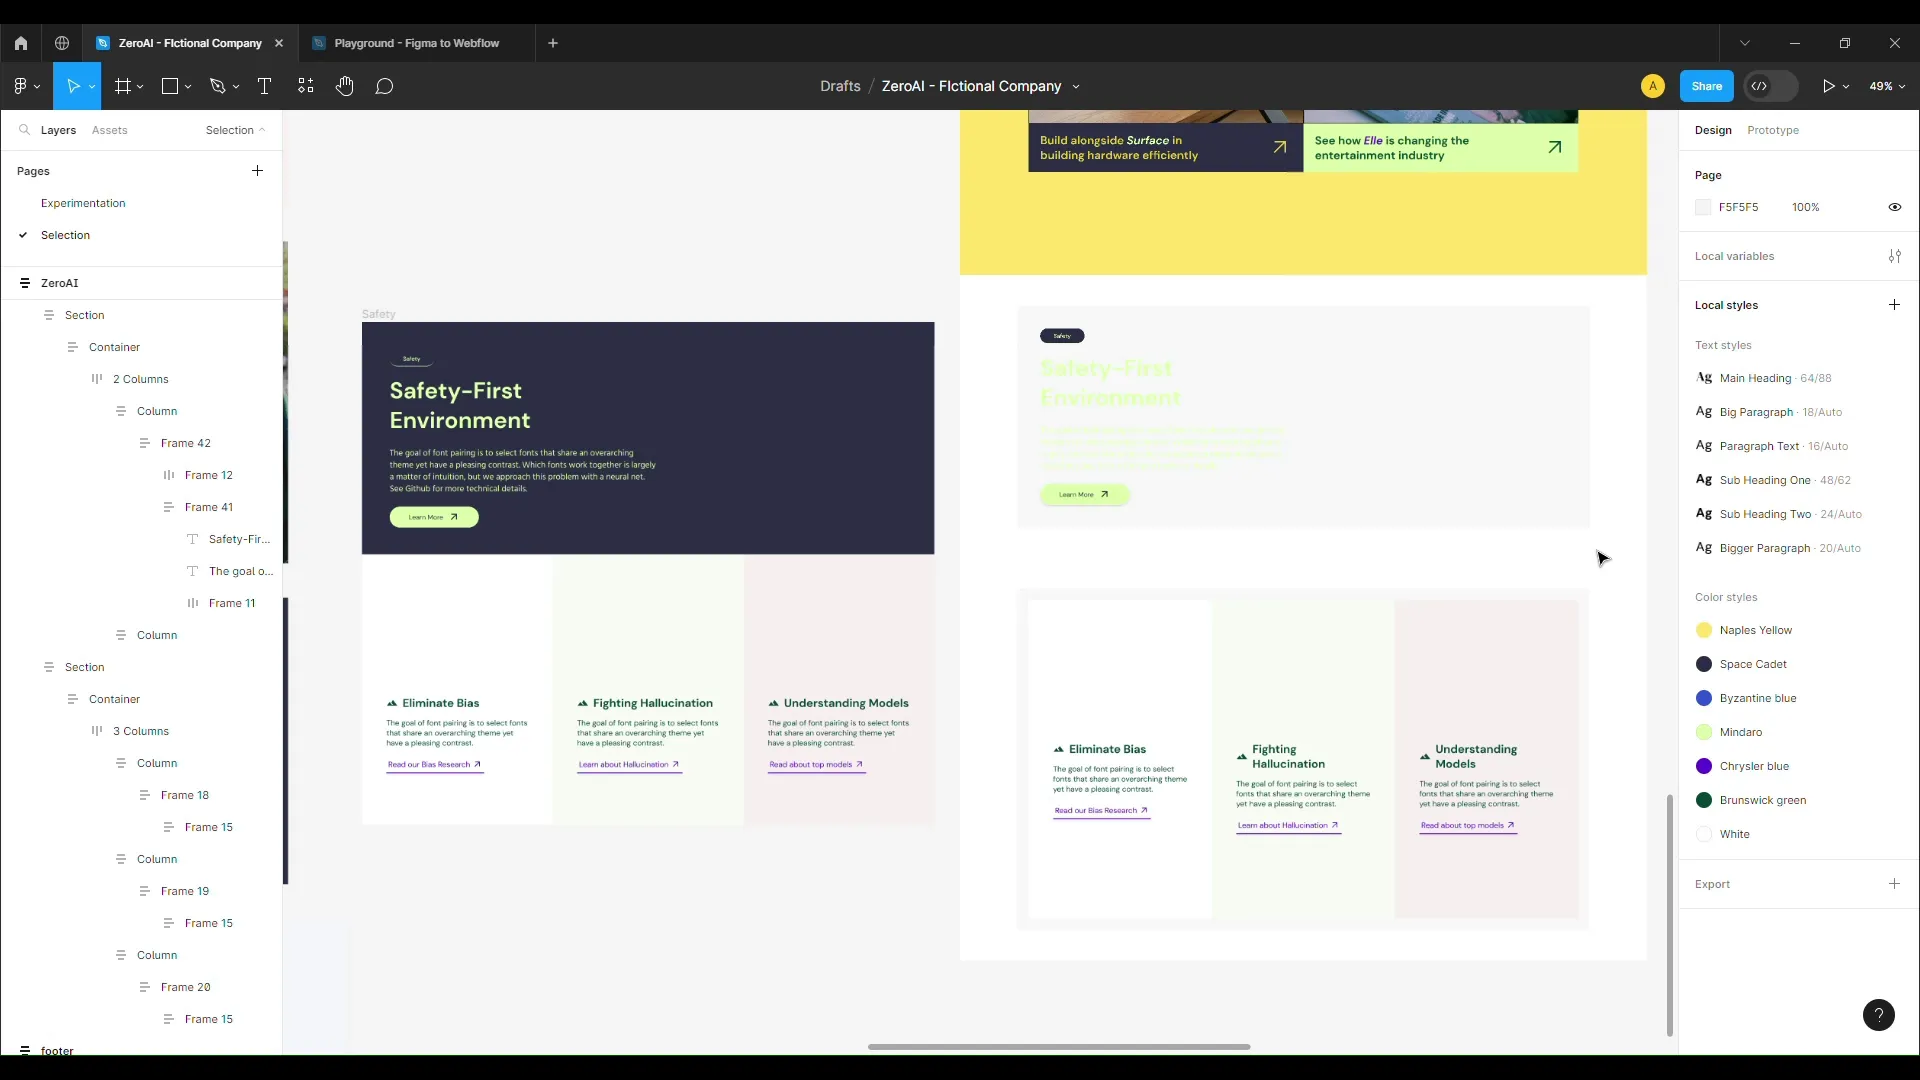
Following that, we insert the main safety text into the first column. And apply the safety feature auto layouts to their respective columns within the 3-column structure.
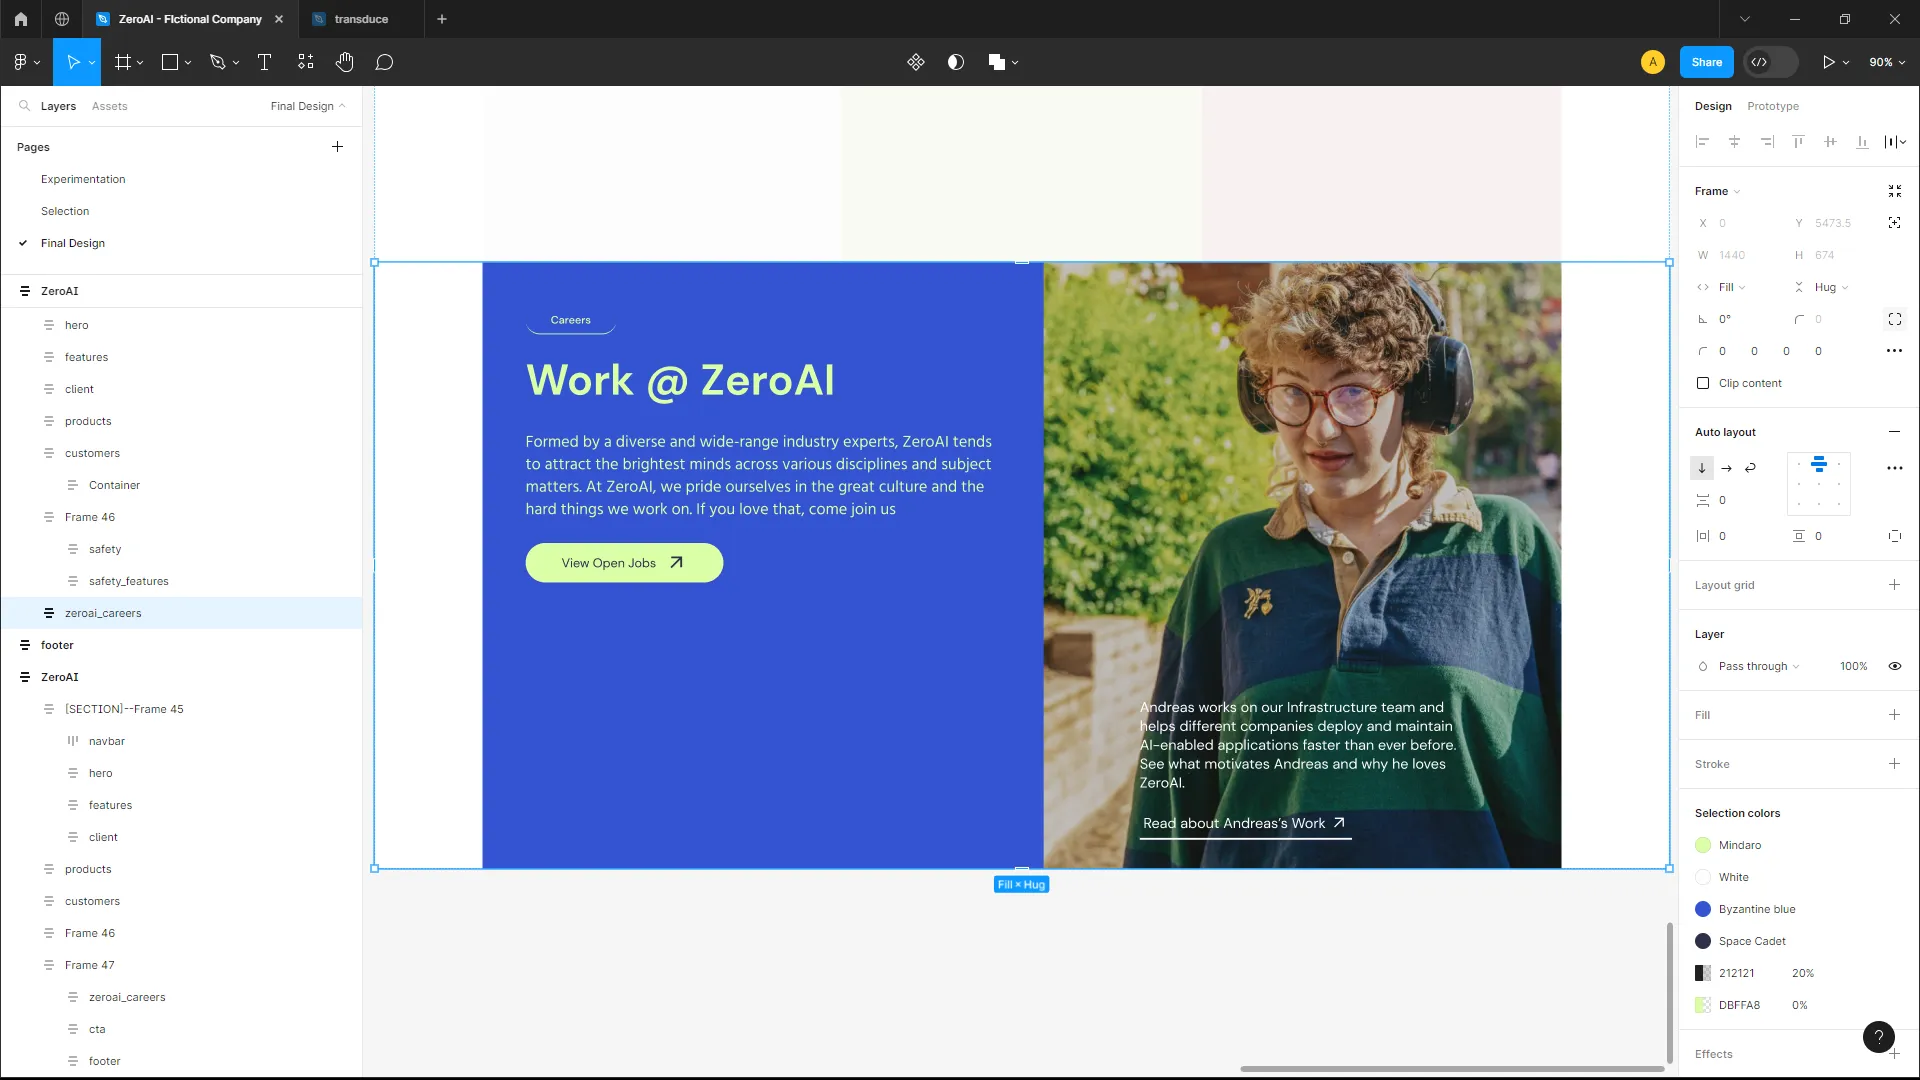
Unto the career section, the use of just the 2-cols is needed. The “Work at ZeroAI” text in the first column and the image with text overlay in the second column. We add the color style and remove the padding within the image column and the “section+container” to give the design effect we want.
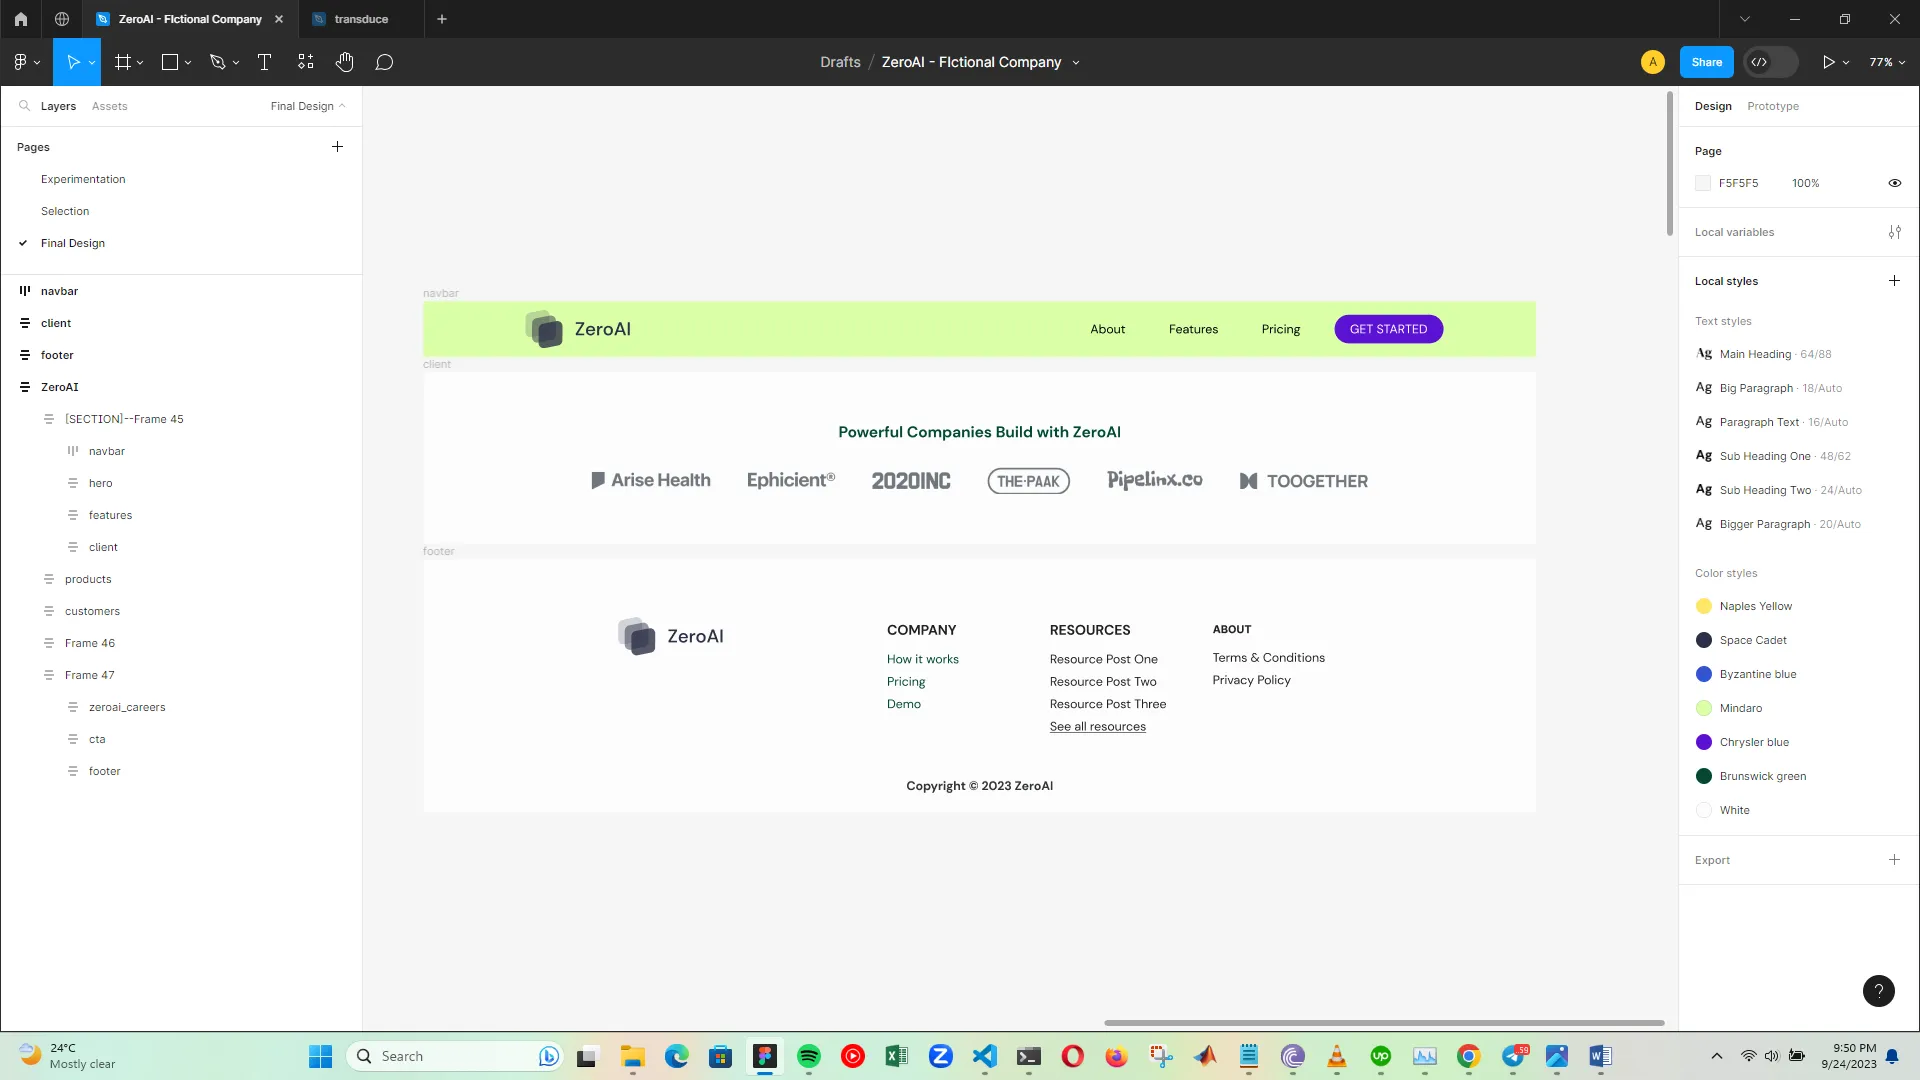
For the CTA section, all we need is the “section+container” structure where we center the CTA text in the middle and apply appropriate padding (top and bottom). We're nearing the finish line, and for the footer section, all we need to do is drag and drop the pre-built layout we've already designed.
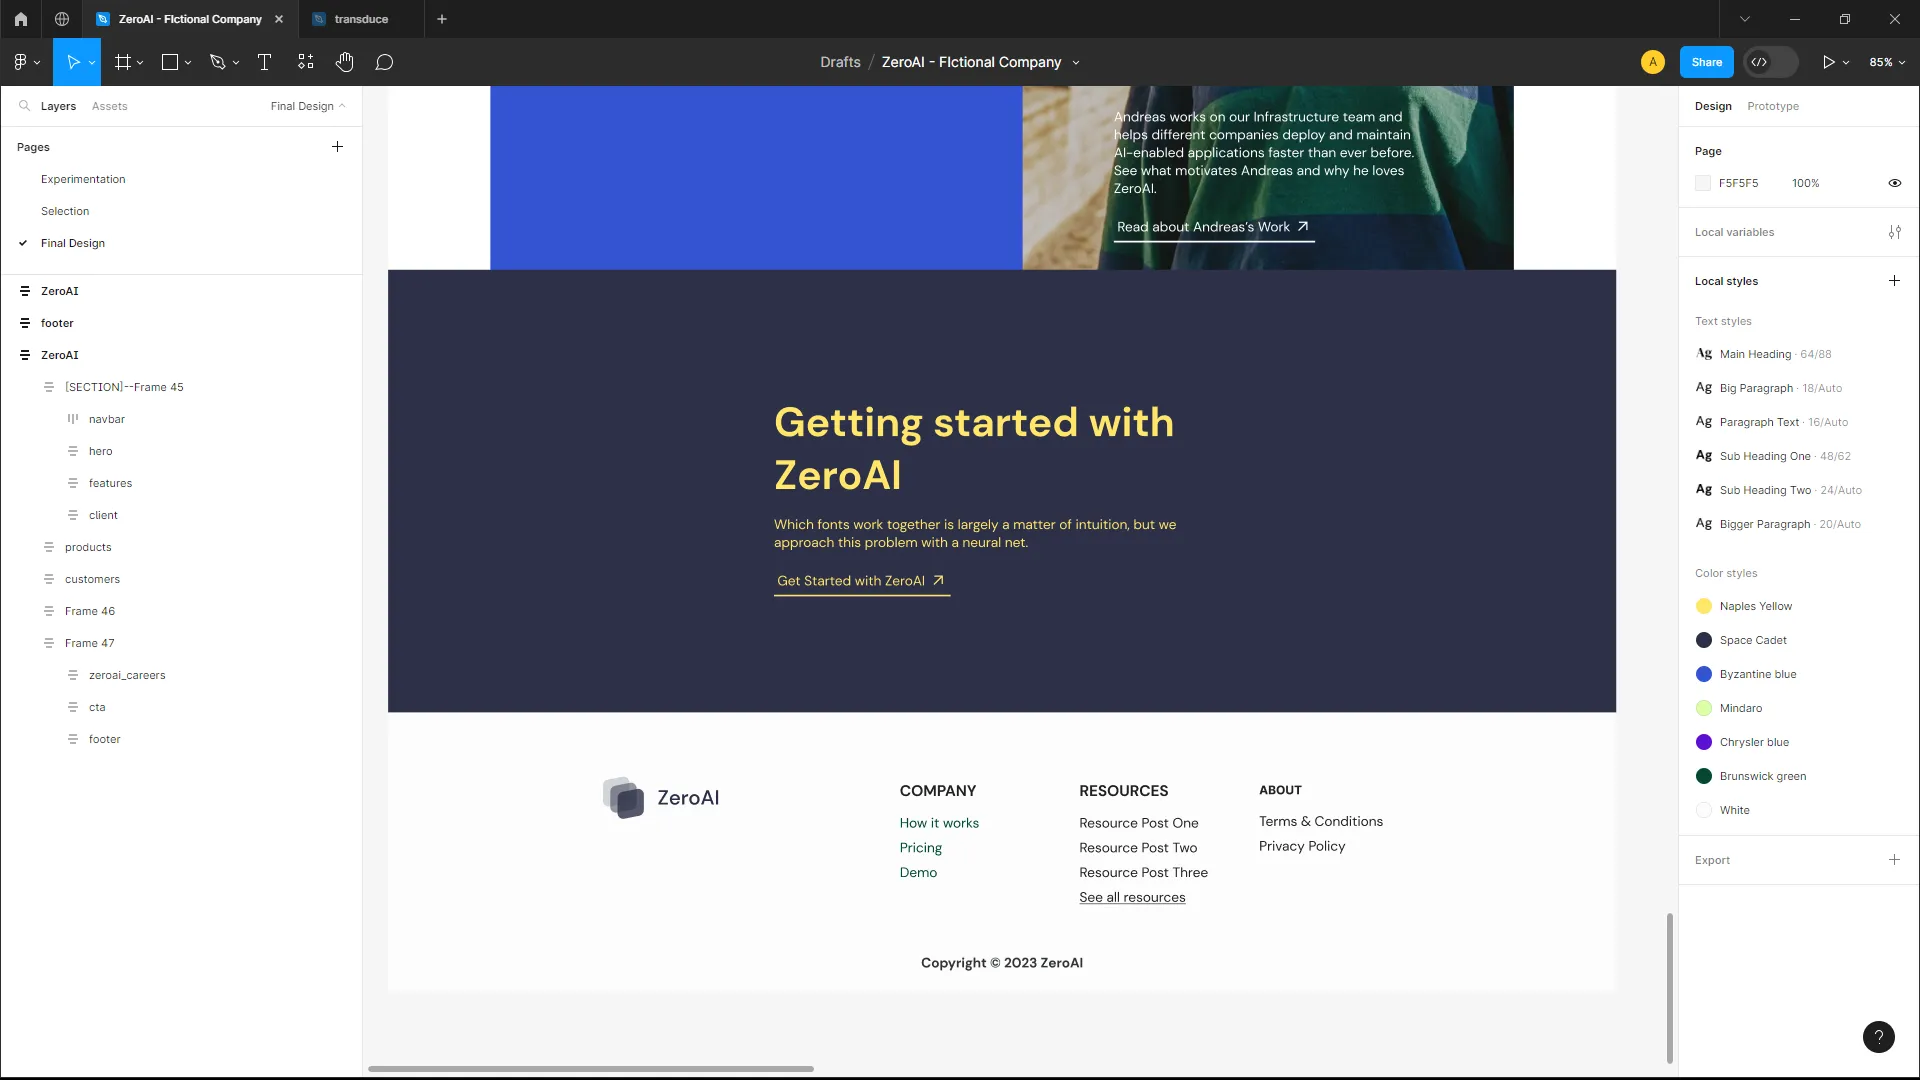
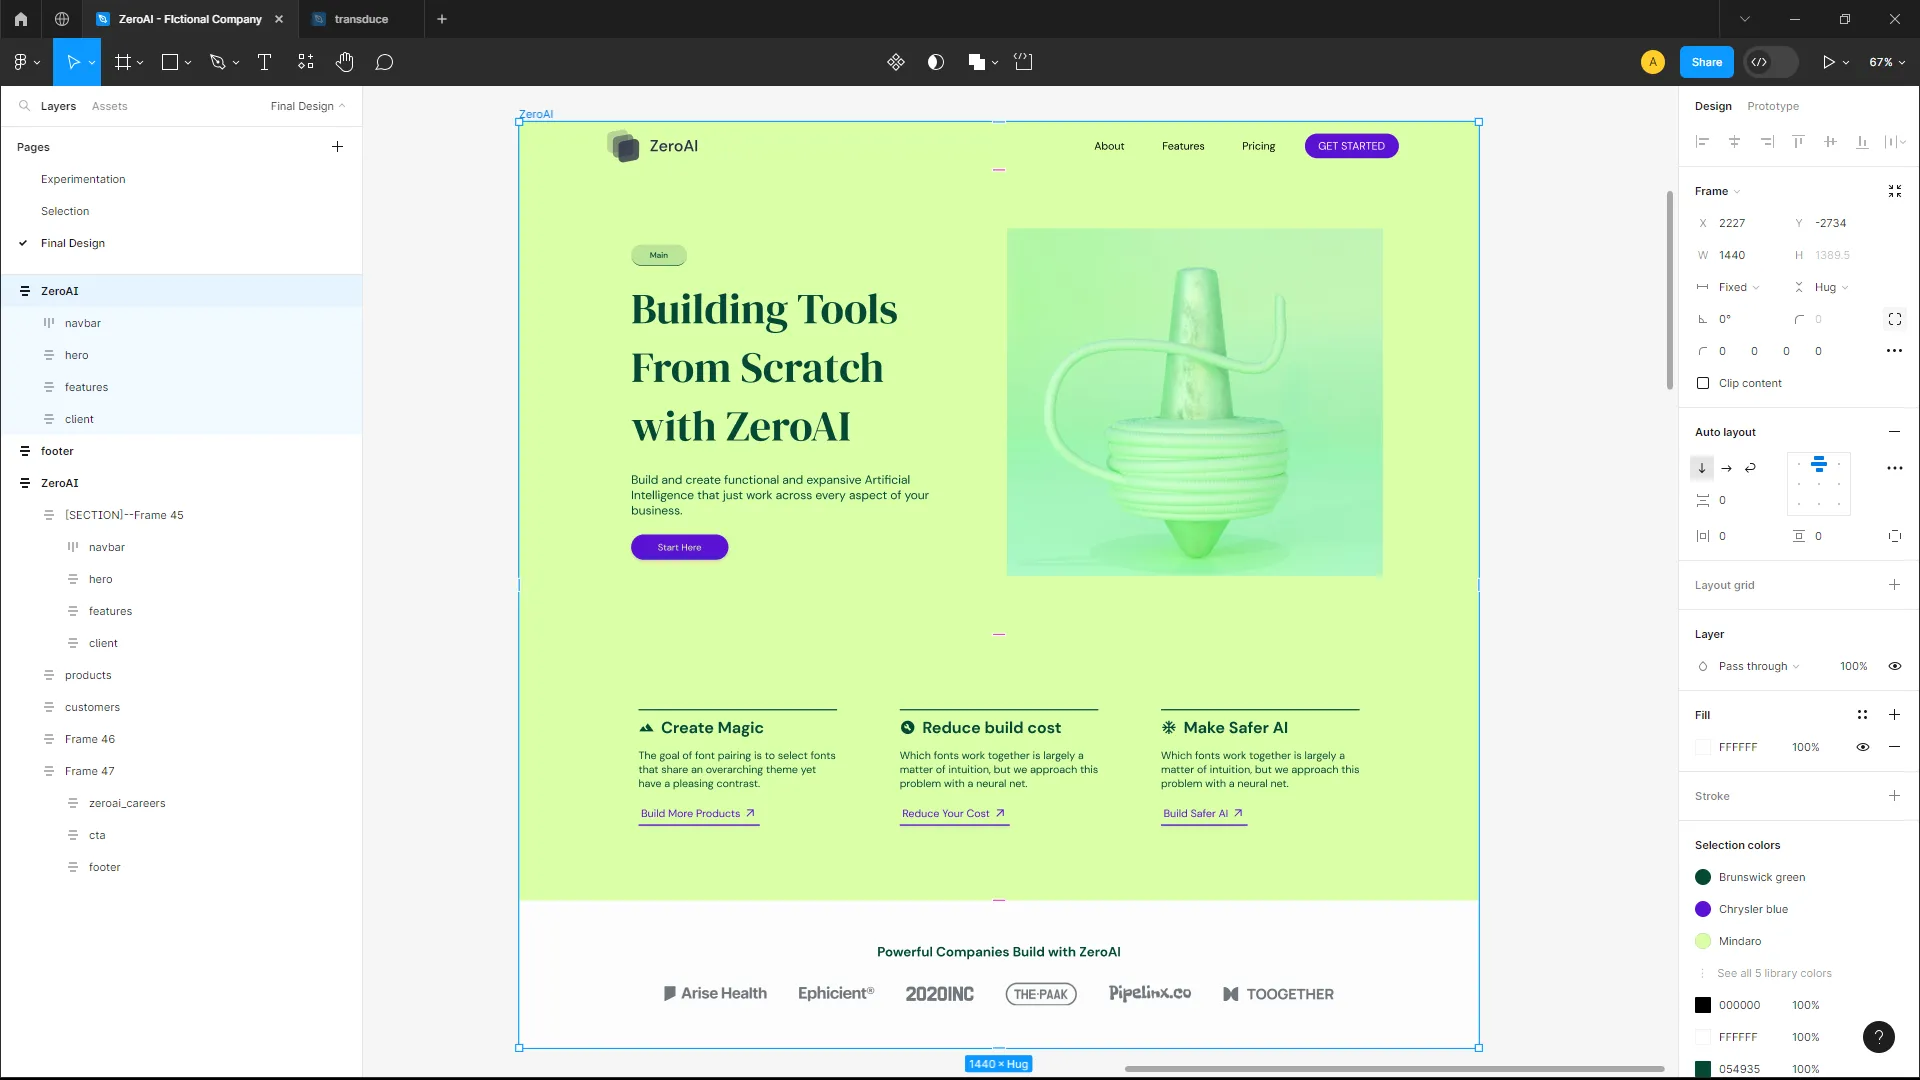
Now, we have our final design and can make the layer name adjustments.
To export our completed Figma design to Webflow, we first need to open the plugin. Afterward, we should choose an auto layout for export to Webflow and the site we want to export to. However, due to the numerous icons and images we've used, exporting the entire design as a single auto layout won't be feasible, as it exceeds the plugin's limitations.

Therefore, we'll need to split each section's auto layout into smaller components, each within the 30-image limit.
However, for the purpose of this article, we'll combine some of the section auto layouts to expedite the process of transferring Figma designs to Webflow. It's important to note that this approach will affect the class names in the Webflow Navigator, so it's not recommended if you want to avoid potential class name issues.
Also, before exporting the designs, make sure to detach any component instances, such as the logo included in the navbar and the footer, as the plugin doesn't support them yet. This is another limitation of the plugin.

Now that we've transferred the Figma designs to the Webflow site, we can proceed with an inspection for any errors.
Upon closer examination, we've identified some issues that span across desktop, tablet, and mobile views:
For desktop:
For Tablet and Mobile:
For Mobile:
First, let’s solve the shadow weirdness. We can simply do this within the Webflow panel and remove the box shadow across all the buttons.
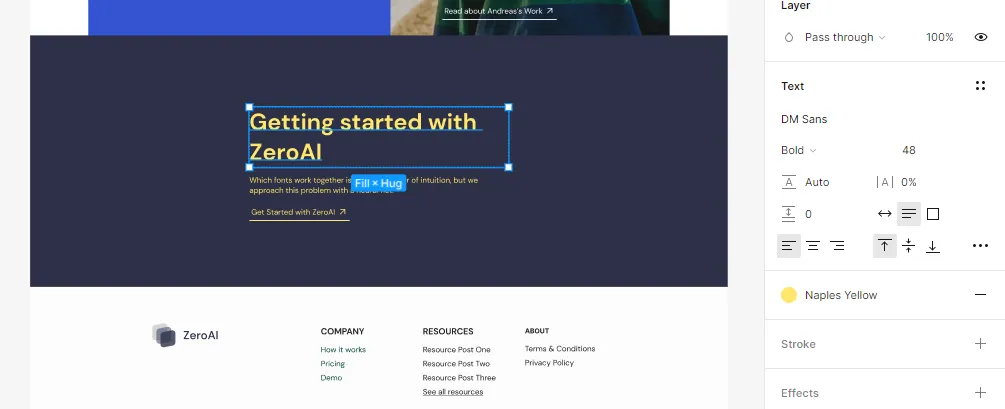
To address the spacing issue between the text overlay and images, you can resolve it by adding padding within the frames. Additionally, for the incorrect line height error, it's important to note that setting the line height to "auto" (without applying text styles) can cause problems for the plugin since it can't accurately interpret "auto" line height values.
As a best practice, make sure not to use "Auto" for line-height values when you intend to utilize the Figma to Webflow plugin. Instead, specify a fixed line-height value or apply text styles to ensure consistency during the export process.
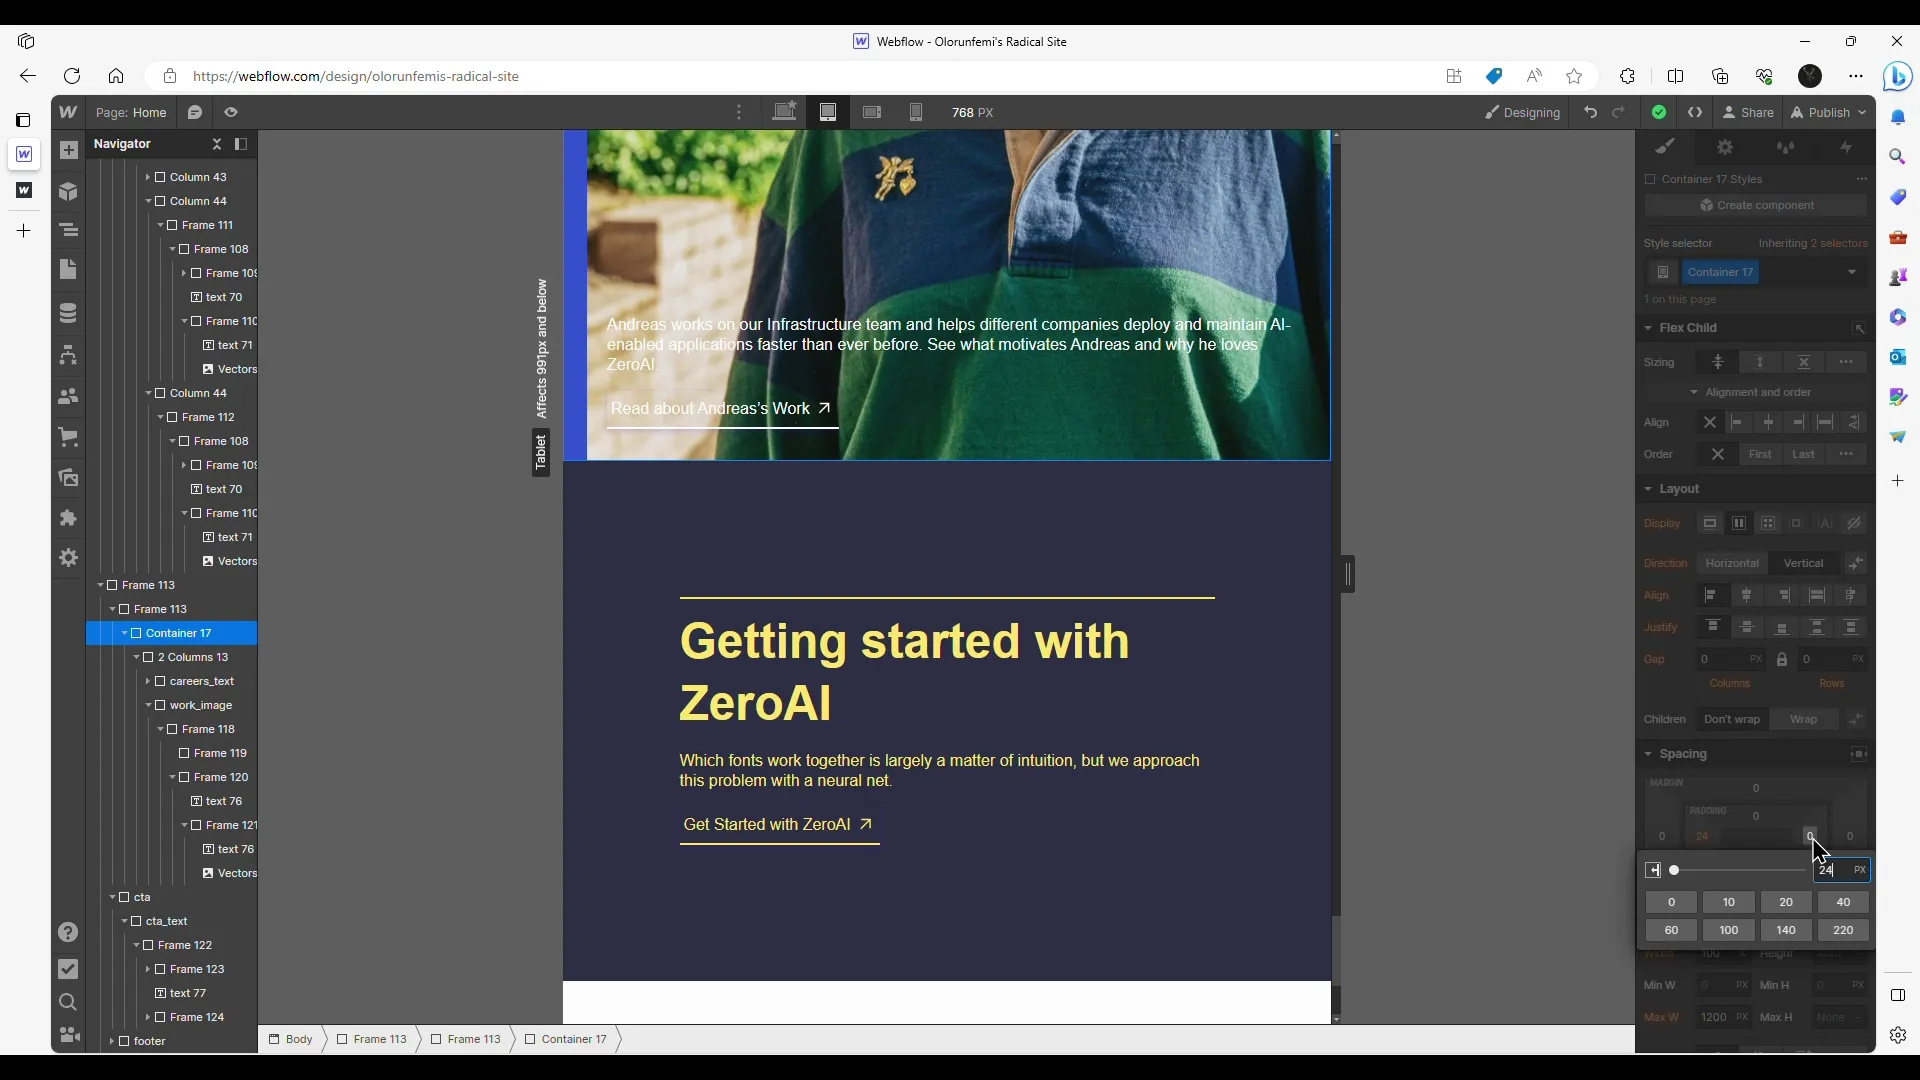
For the image in the career section with no padding in the tablet and mobile view, we can add the padding right within the Webflow panel.
The non-stretching images can be solved by setting the “width” to 100% (and not the “max-width”), and for the overflowing “Safety-First Environment” header, we can apply the “wrap:anywhere” rule.
For the 2x2 grid section spacing error, the cause of the error is the fixed height of the customer div within the column grid. To solve it, we set it to 100%.
Finally, you may have also noticed that the DM Sans and DM Display fonts are not applied. To resolve this, you'll need to access "Site Settings" to add these fonts. Afterward, return to the design panel and apply these fonts across both the body text and headings as needed. This will ensure consistent font usage throughout the website.
To ensure a smooth experience with the Figma to Webflow plugin, it's important to set your auto layout properties precisely.
line heightWhen working with text, avoid using "Auto" values, and be diligent about naming all your layers. It's important to note that while many issues can be addressed and avoided, some issues may be unavoidable due to limitations in the tools and platforms used, such as the image padding issue you mentioned in the "Work at ZeroAI" section.
You can also view the website and play around with the design file.
We can optimize the whole process better by setting certain HTML elements and attributes such as heading, divs, section and links.
With this, you don’t have to set it within the Webflow editor.
In summary, the Figma to Webflow plugin offers a seamless transition from design to development, allowing you to save time and effort while maintaining design integrity. By following best practices and troubleshooting effectively, you can harness the full potential of this valuable tool for web design projects. Explore the Figma to Webflow plugin and experience the benefits of a more efficient design workflow, as well as our other Figma articles.
Sr. UI/UX Designer and Consultant with over 10+ years of experience working with Fortune 500, large enterprises and funded startups. Having worked on hundreds upon hundreds of design projects, collaborated with 40+ clients from all around the world and taught design to thousands of students I am very grateful that I have the opportunity to give back to the design community and help other become better designers.
Stay up to date with the latest design news and cutting-edge softwares, sent straight to your inbox!
.jpg)

.jpg)
.jpg)