Figmotion
September 25, 2023

.jpg)
The Figmotion Plugin for Figma allows designers to have useful animation features that Figma doesn't provide and less than what is necessary from After Effect. It makes easy the process of animating layers within a Figma design.
An essential part of the design process is prototyping and animating. Designs don't work in isolation, it needs to come together to make a useful software product, whether web or mobile.
Often, when designers need to animate certain aspects of their design, they need to make use of Adobe After Effects, a complex software.
But with Figmotion, only the essentials are laid bare for UI designers to work with and well within the Figma layer system. Designed by Liam Martens, the Figmotion plugin has quickly become a popular plugin, used by 346k designers.
This article provides a comprehensive guide on using the Figmotion plugin to enhance Figma designs with animations by animating layers within an Android Notes App.
Creating animations, particularly in UI design, can be a complex endeavor. However, within the realm of UI design, many designers prefer not to delve deeply into the intricacies of animation principles. Instead, the primary objective is to have a straightforward tool that efficiently communicates the desired interactions and animations to developers.
Figmotion is a game-changing animation tool right within Figma, designed to simplify the animation process and eliminate the need to switch between multiple software tools. While Figma excels in design, it has limitations when it comes to animation. Figmotion fills this gap seamlessly.
Installing the Figmotion plugin takes a similar approach as with any other plugin. First, you need to find the plugin page, either by searching or the link.
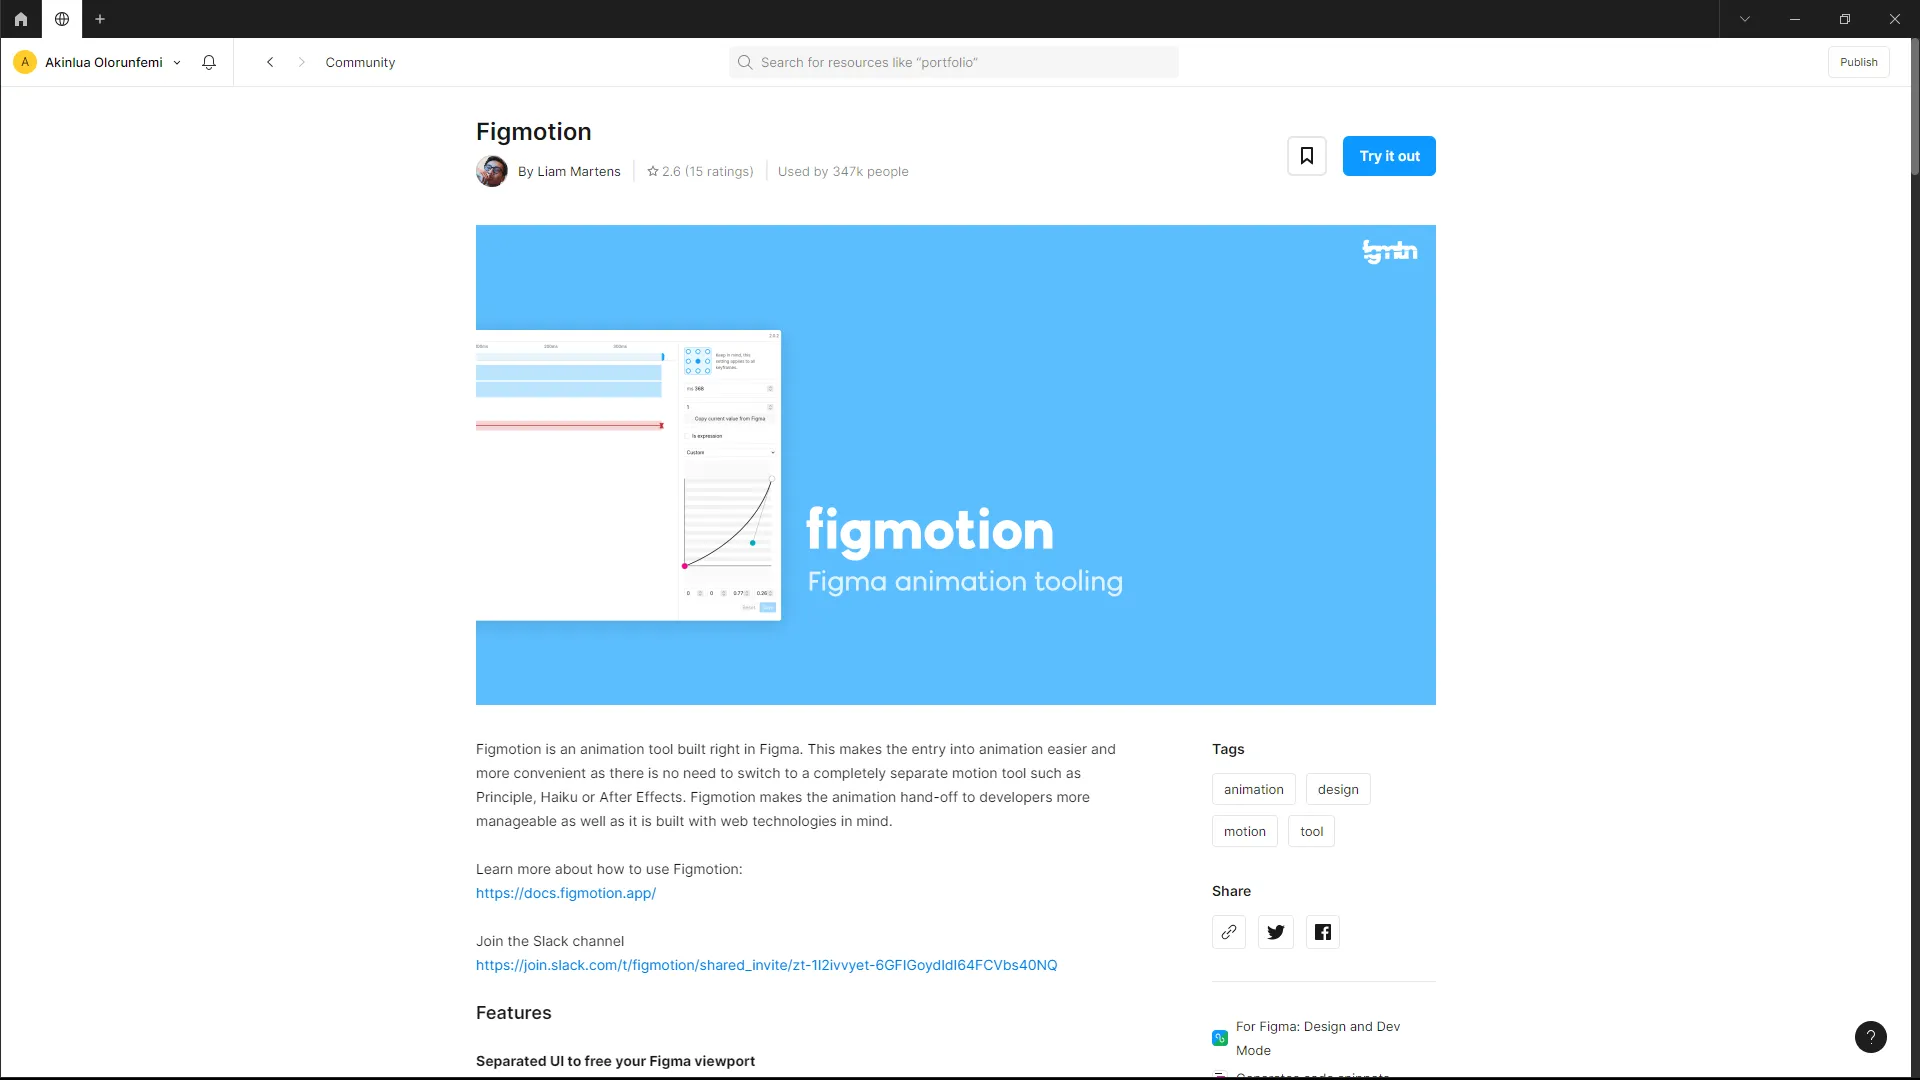
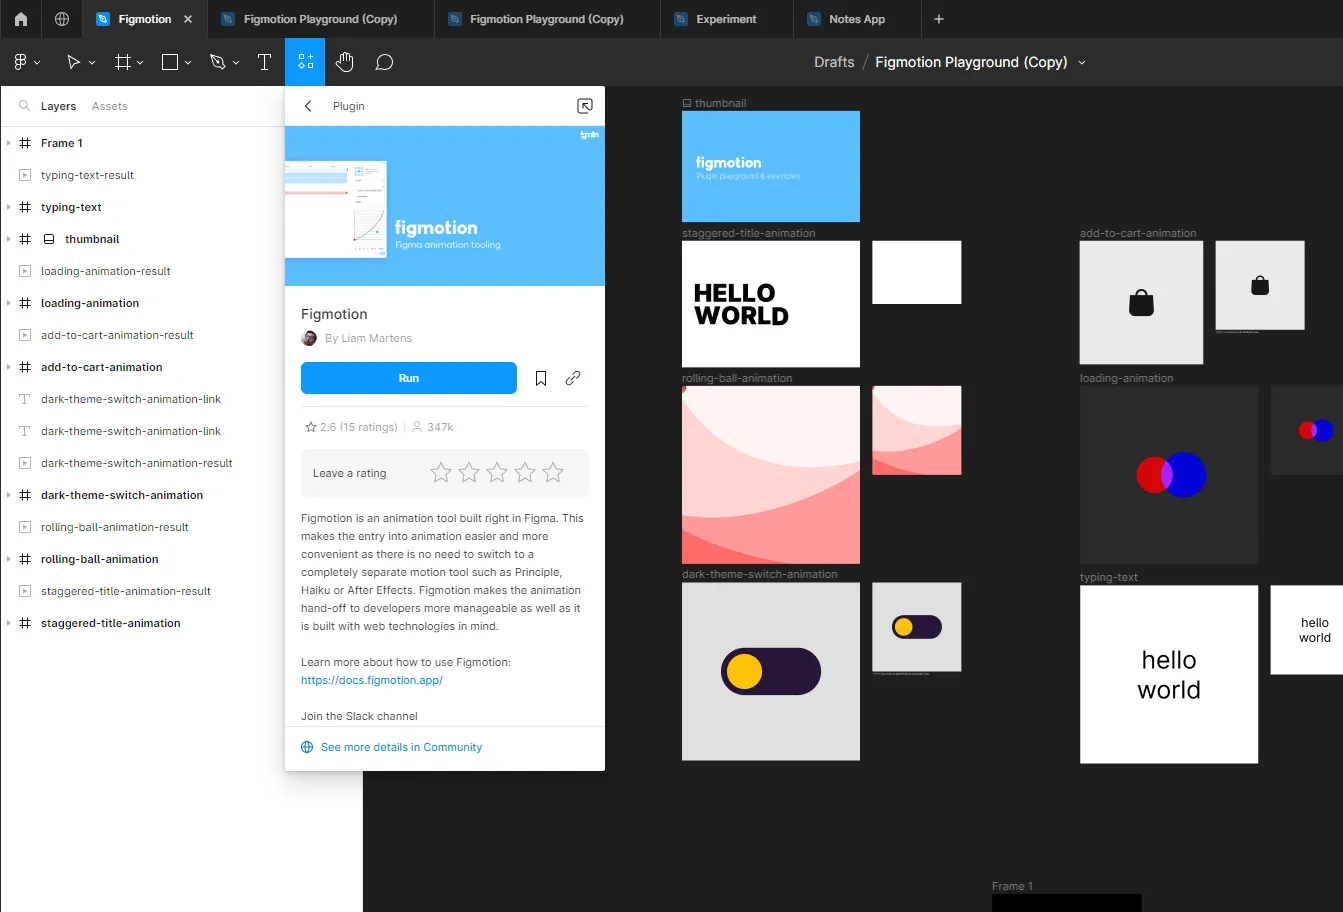
Once on the page, you can see the “Try It Out” button. Clicking on said button will take you to a new Figma file named “Figmotion” where you can run the plugin.
Afterward, run the plugin, the plugin should open a browser tab that shows the below.
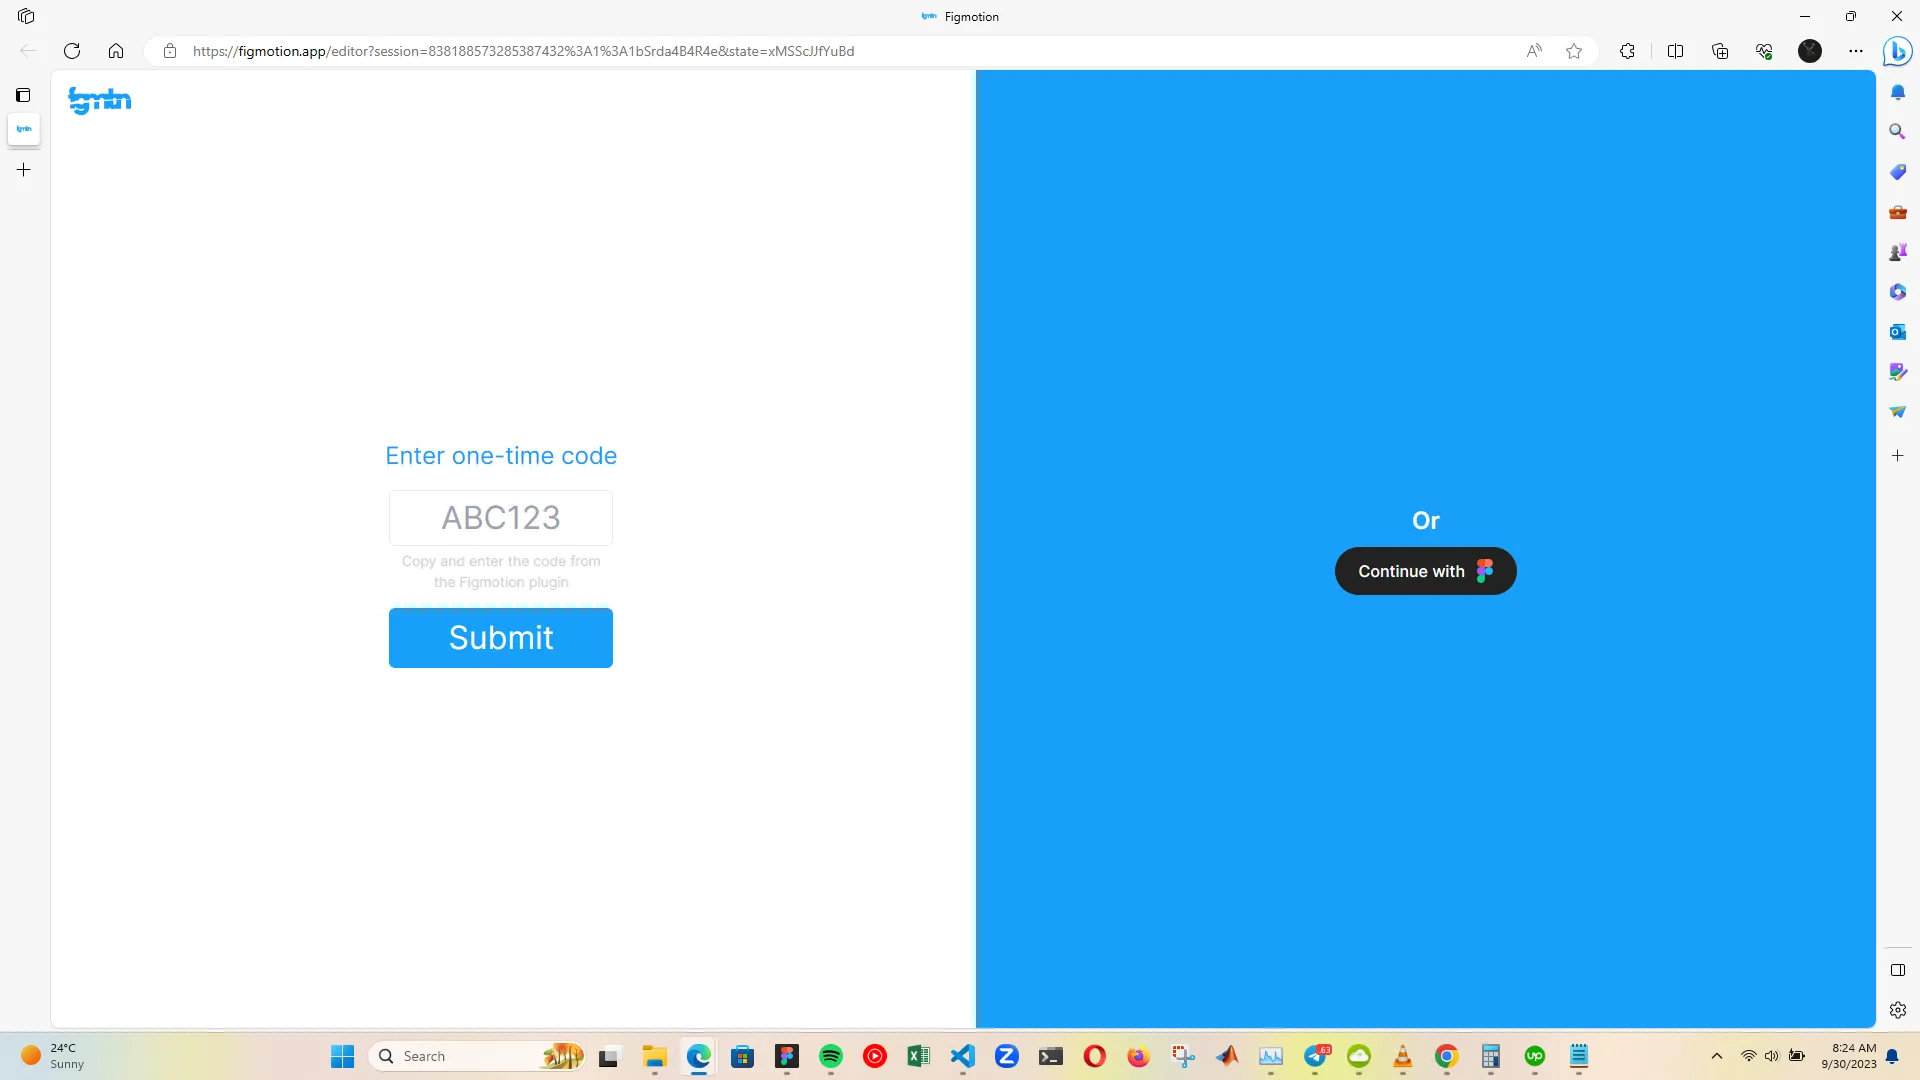
Within the plugin window inside the Figma app, you should see a code that allows for one-time usage. However, it is better to use the `Continue with Figma` button as it makes it a persistent connection to the Figmotion Web UI.
Afterward, you should see that the plugin is ready for use within the Web UI and the Figma windows.
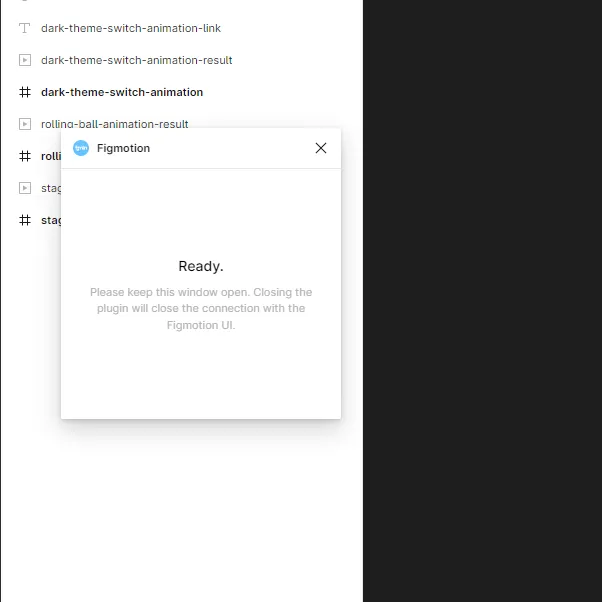
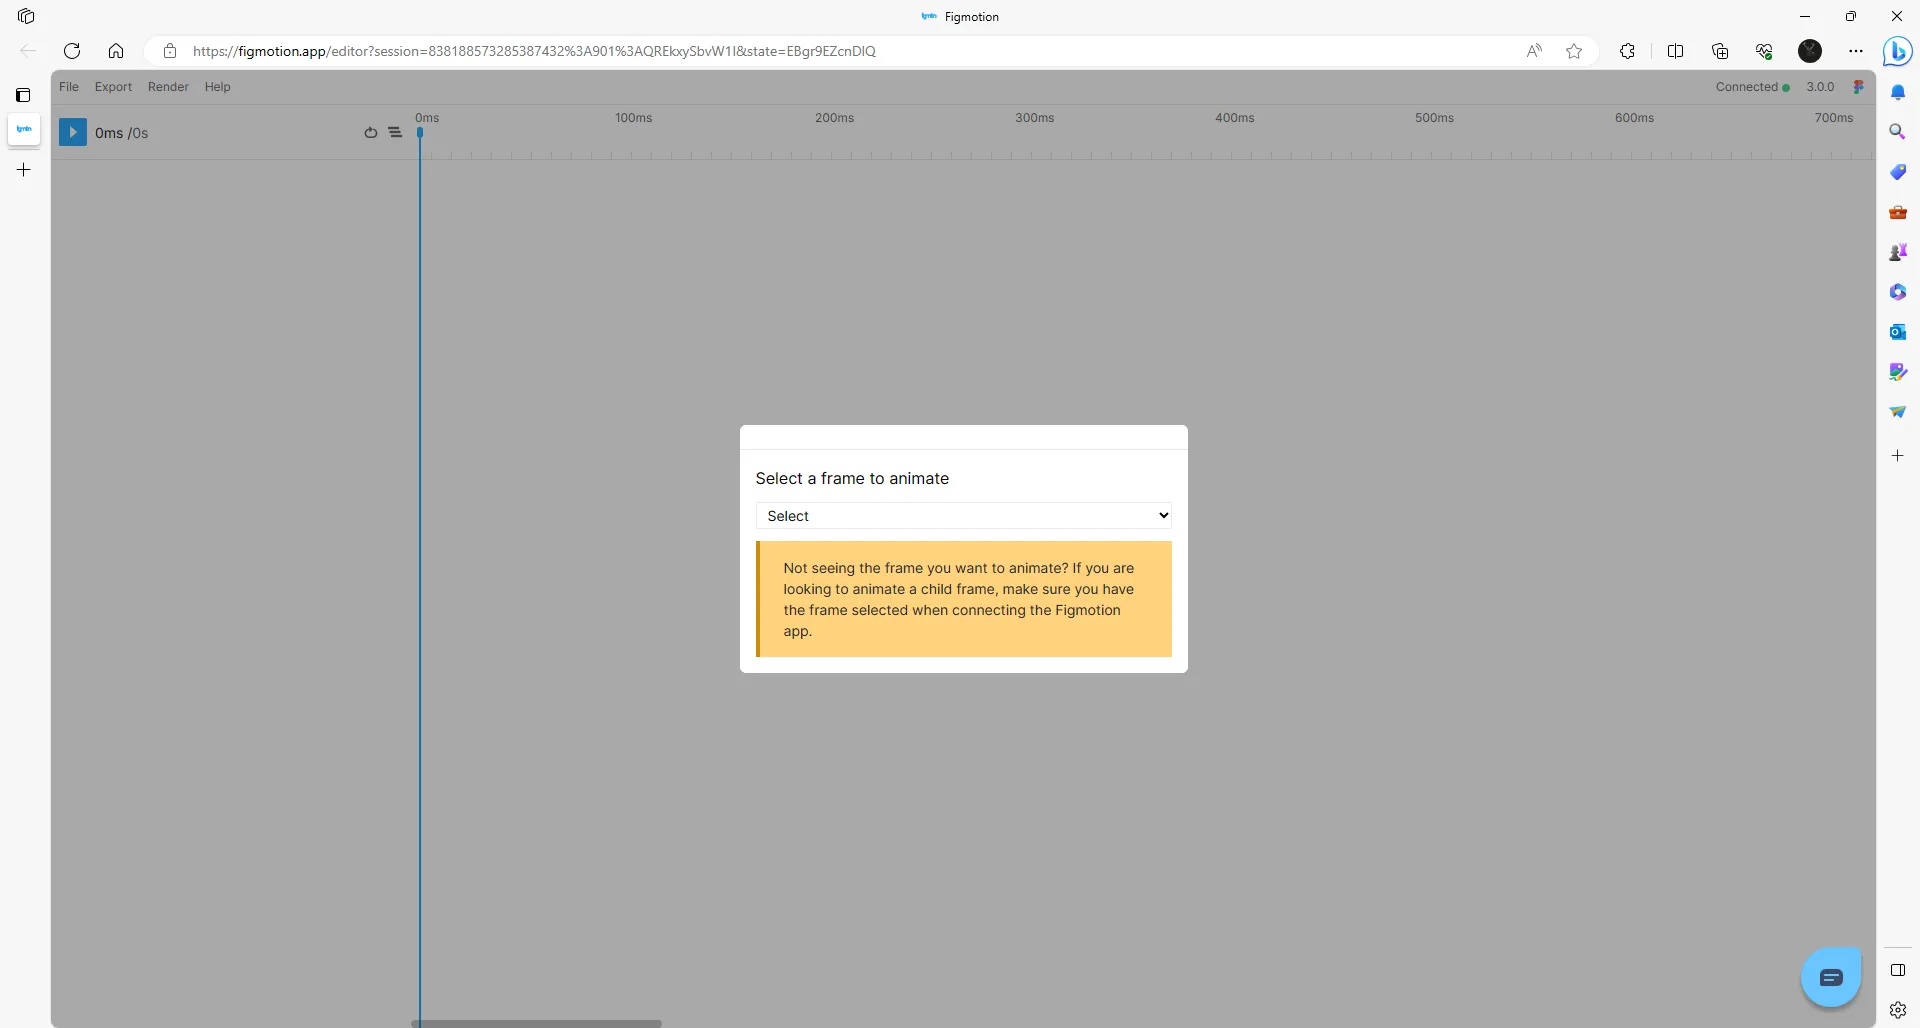
Before we can make use of the Figmotion interface and components, especially the separated Web interface. We need to select a frame, that’s why the image shows a popup asking us to do so. We will select the frame in the next section - the notes app design.
The separated UI feature helps for improved usability and better management of the frames, the timelines, and the properties.
Now to showcase how to animate layers or Figma designs in Figmotion, we will make use of a simple Android Note App design with a few layers.
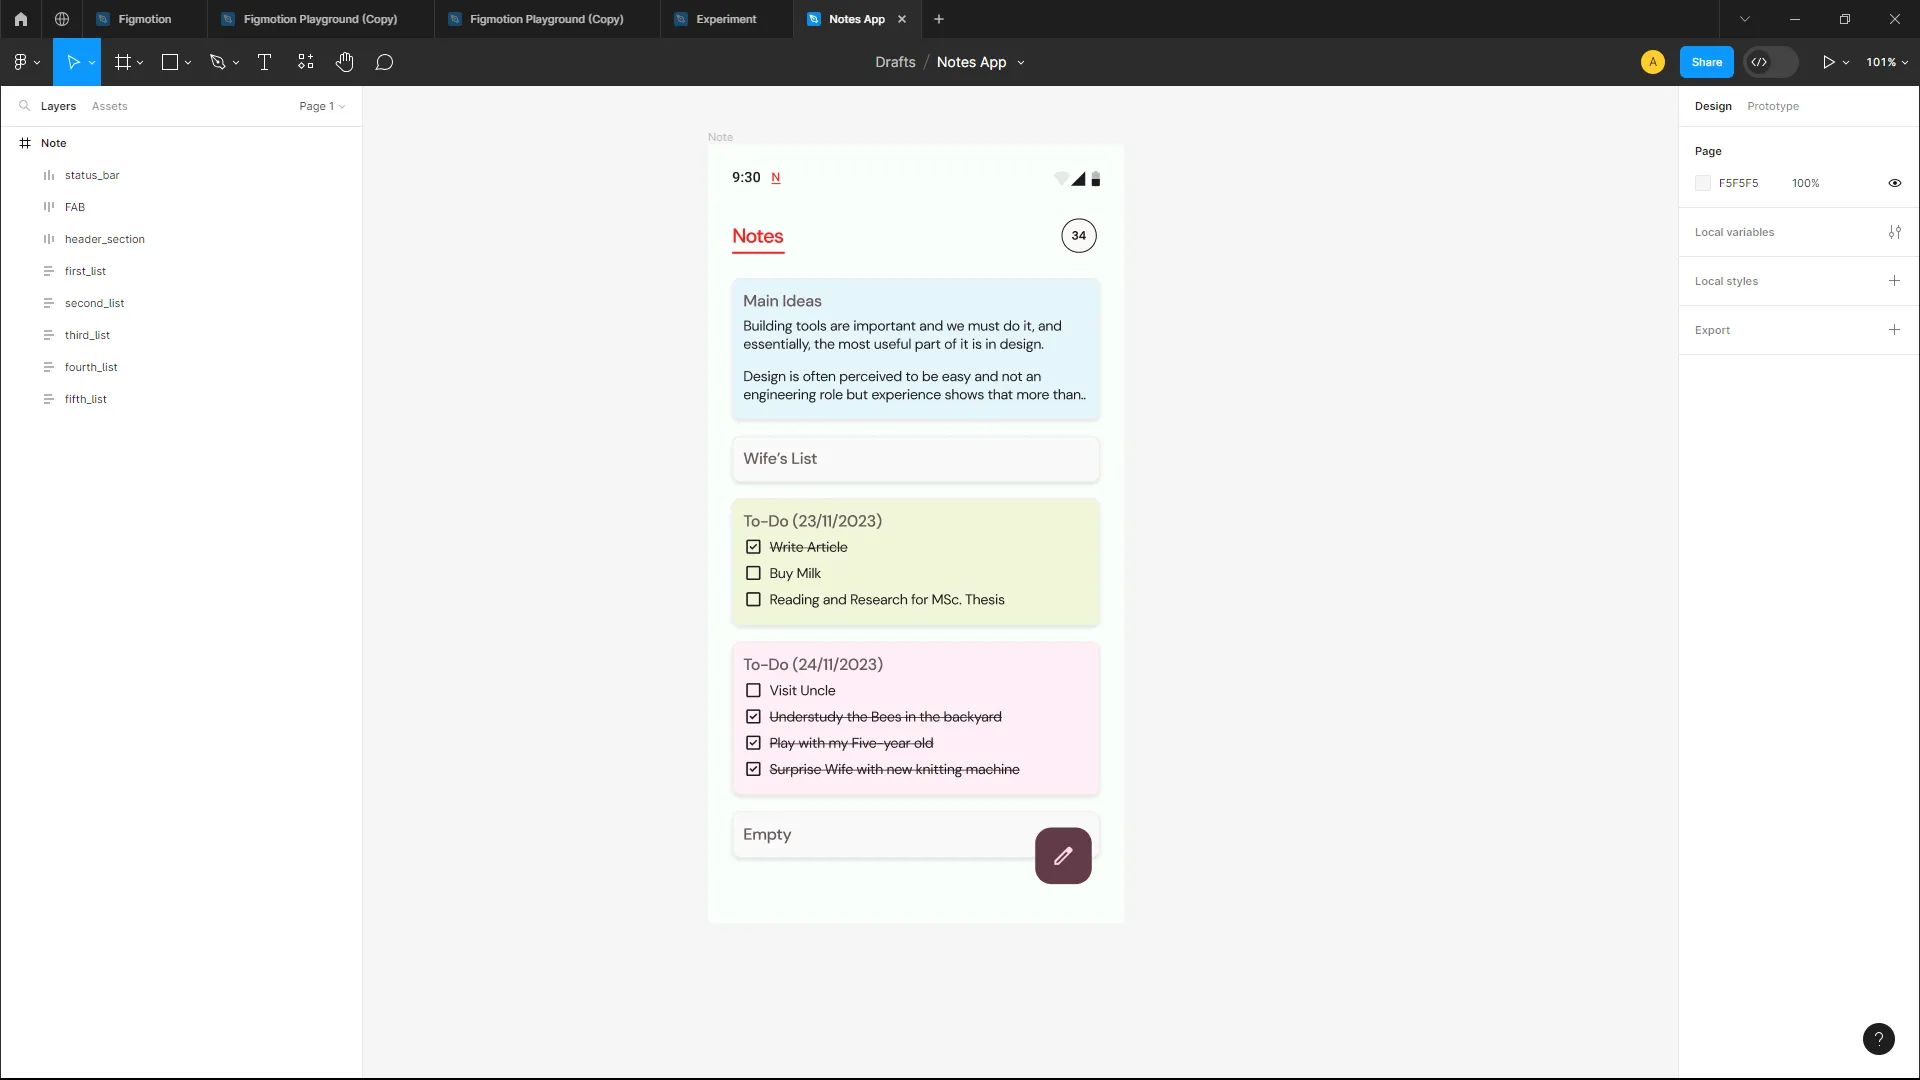
This Android Notes App has eight layers that we can animate to create a loading animation for when the user opens the app. In short, we will animate how the Notes App will load the notes when we open it - this could be useful information for the app developer who will develop our design.
This is the final animation we will be creating.

To get started, we will open the Figmotion plugin via the Resources tab.
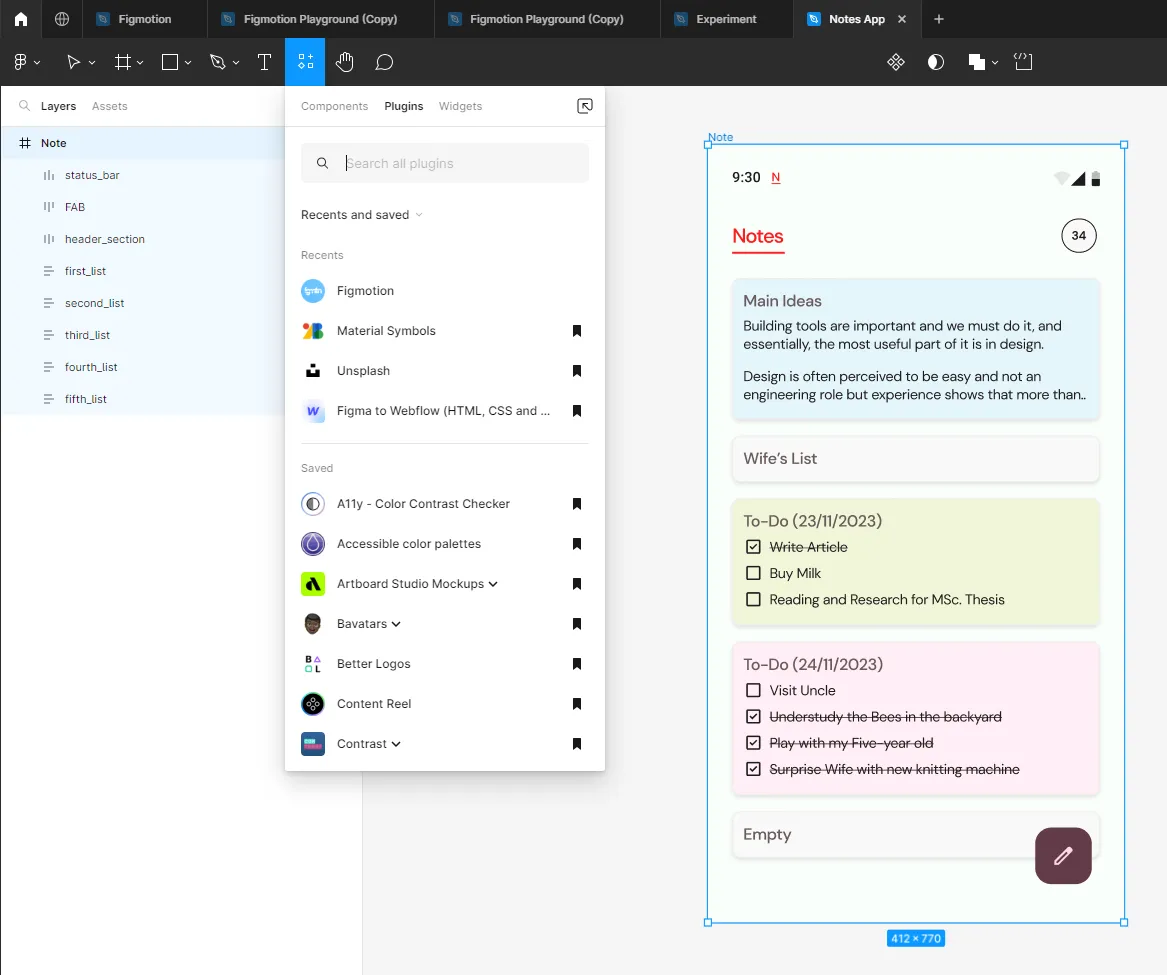
In order to speed up the Figmotion process, we will highlight the frame - Note - we want to animate. Then, select Figmotion within our saved plugin list. It should take us to Web UI like in the previous section. Important to note that Figmotion only works with Frames.
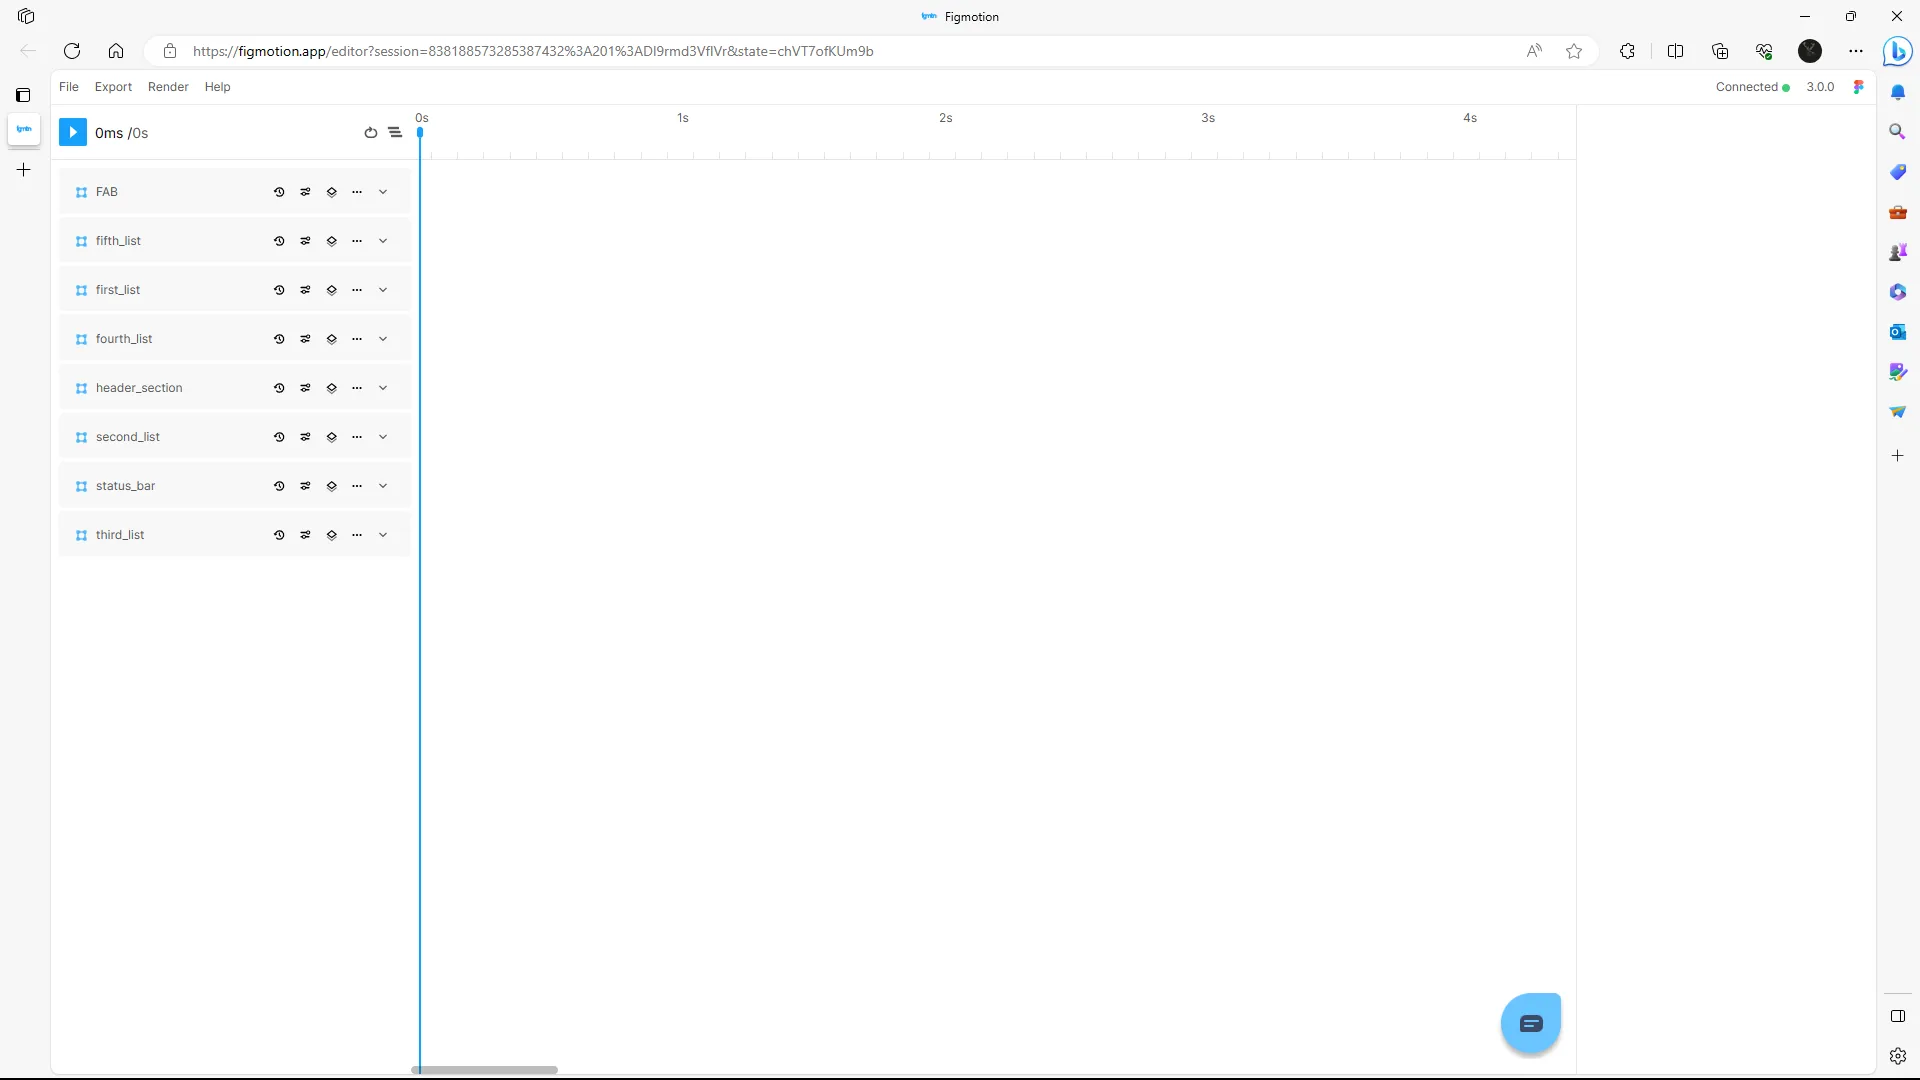
Within the Figmotion Web UI interface, you can see all eight layers within the frames. To help with workflow, name your layers properly to know which layer you want to animate at any point in time. In addition, there is the layer panel and the timeline section, and it’s via these sections that we will animate our Notes app.
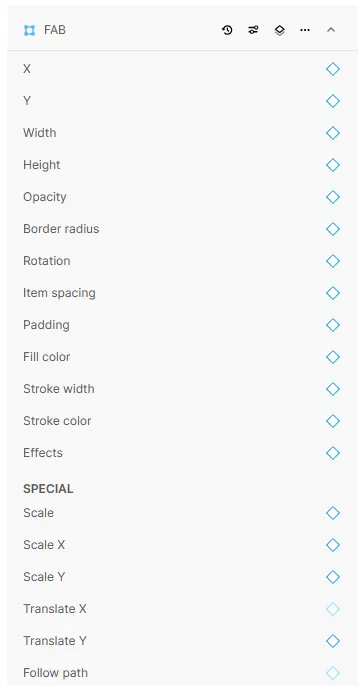
To better understand the Figmotion UI, let’s open the “FAB” layer to show the different properties we can animate. The “X” and “Y” properties define the movement across the horizontal and vertical axis. While the width and height properties define how much width/height the layer has at any point in time. Same with the opacity, and border-radius. All the properties are defined for the different timelines.
The timeline section works with layer properties to define the property per time. In other words, the particular property of the layer at a particular time, e.g. what is the border-radius or opacity of the “FAB” layer at 0.7s?

Now, we know what each section of the Figmotion UI entails. Let’s apply properties to each layer to recreate the final animation at the beginning of this section.
Let’s summarize what we want each layer to do from the beginning of the timeline to the end of the timeline. For the animation, the timeline is going to be for 1.4s (or 1400ms).
Using this information, the FAB will be animated across the X-axis alone and the status_bar will be animated across the opacity. For the header_section, the opacity and Y-axis properties will be animated. For the five lists, the Y-axis property will be animated.
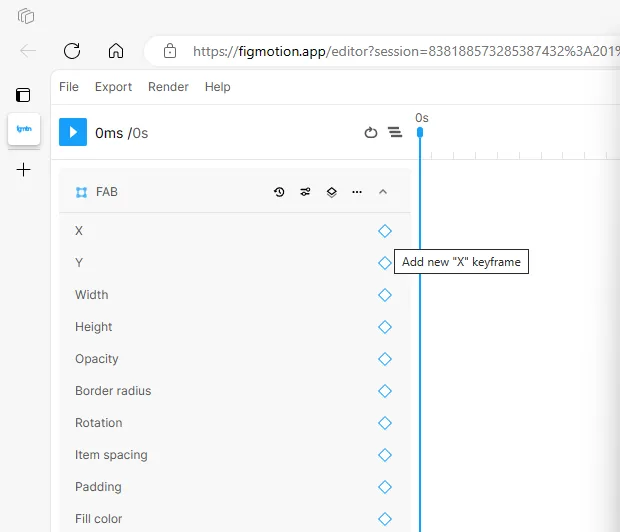
To add an animation to a property, you need to add a keyframe to that property just like in the below, which adds the “X” keyframe at 0s.
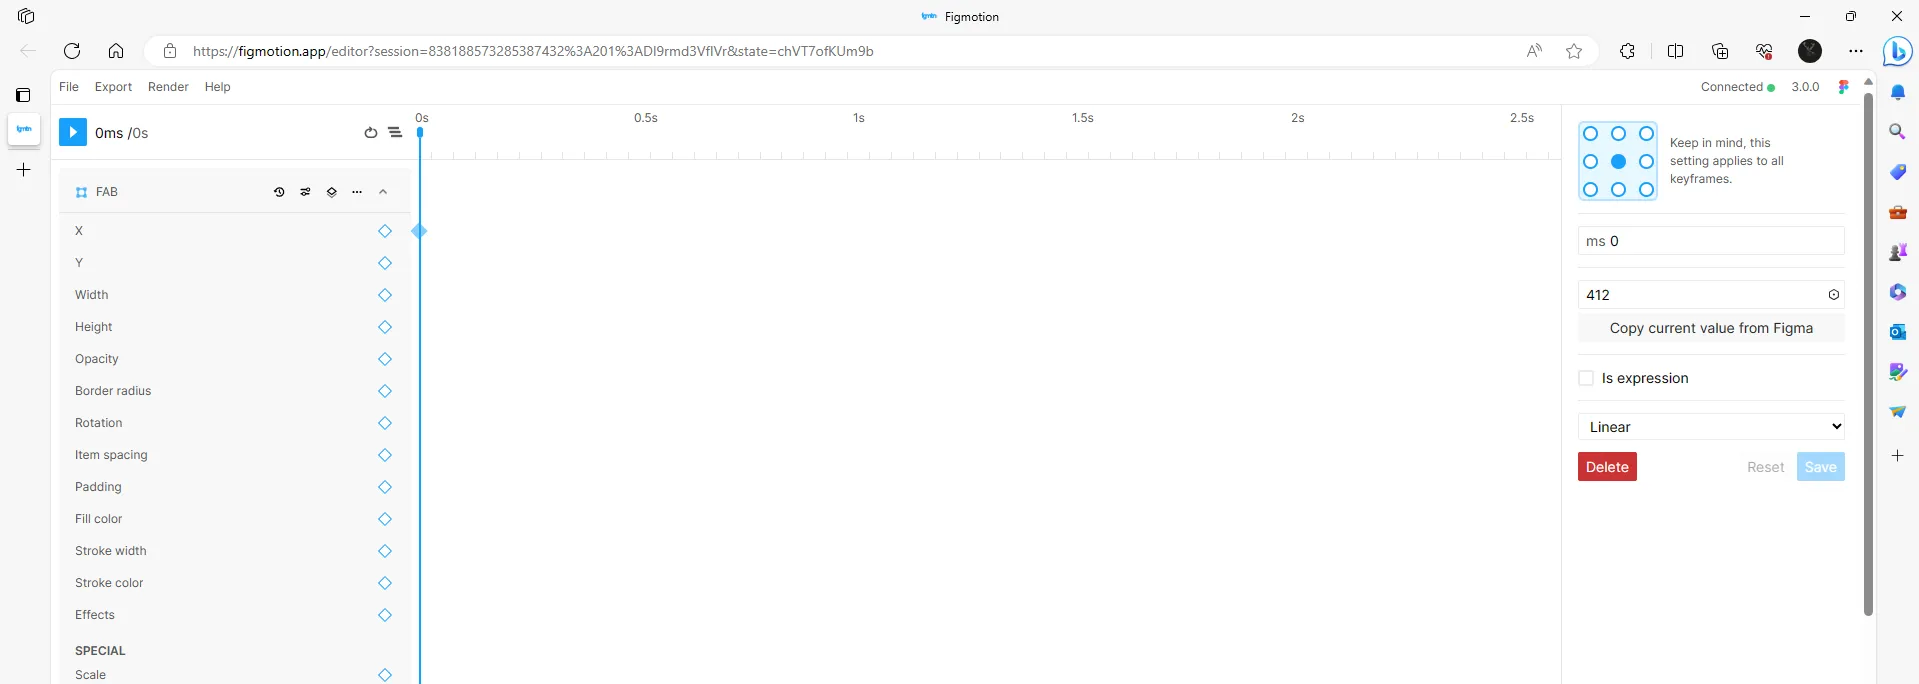
Once we add the “X” keyframe to the “FAB” layer, we should see the below. On the left-hand side, we see the values we can set to the X property value at 0s (ms). Typically, the X value you will see will be the value of the selected layer - in this case, FAB - within the Figma design file. We can then input the value we want there.
Also, we can specify the transition type. Often, you don’t want it to be “linear” as it often feels sudden. So, you will want to specify another transition type such as ease in or ease out as in the image below. You could also build a custom transition if you know your way around that.
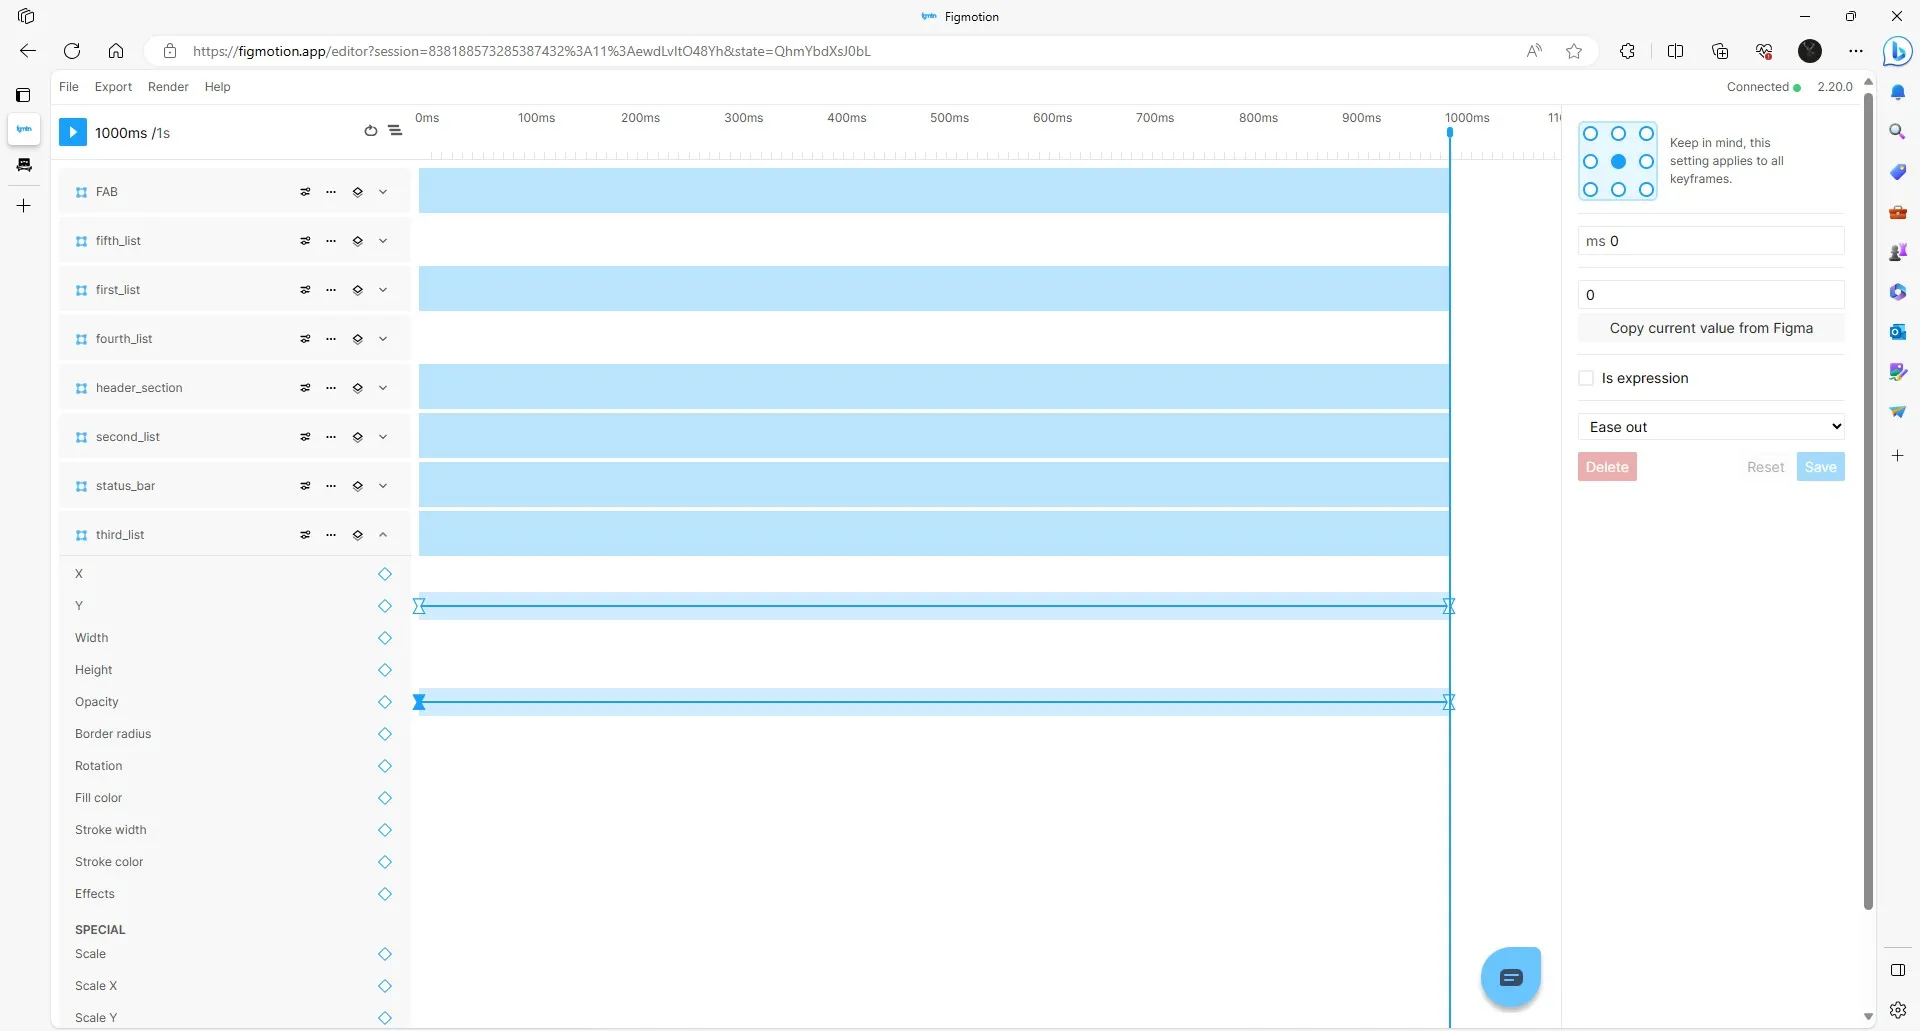
Every animation has a start and an end. We have specified the start at 0s, now, we can specify the next or the end at say 1s (1000ms). To do that, you highlight on 1000ms on the timeline section, and click on the X property.
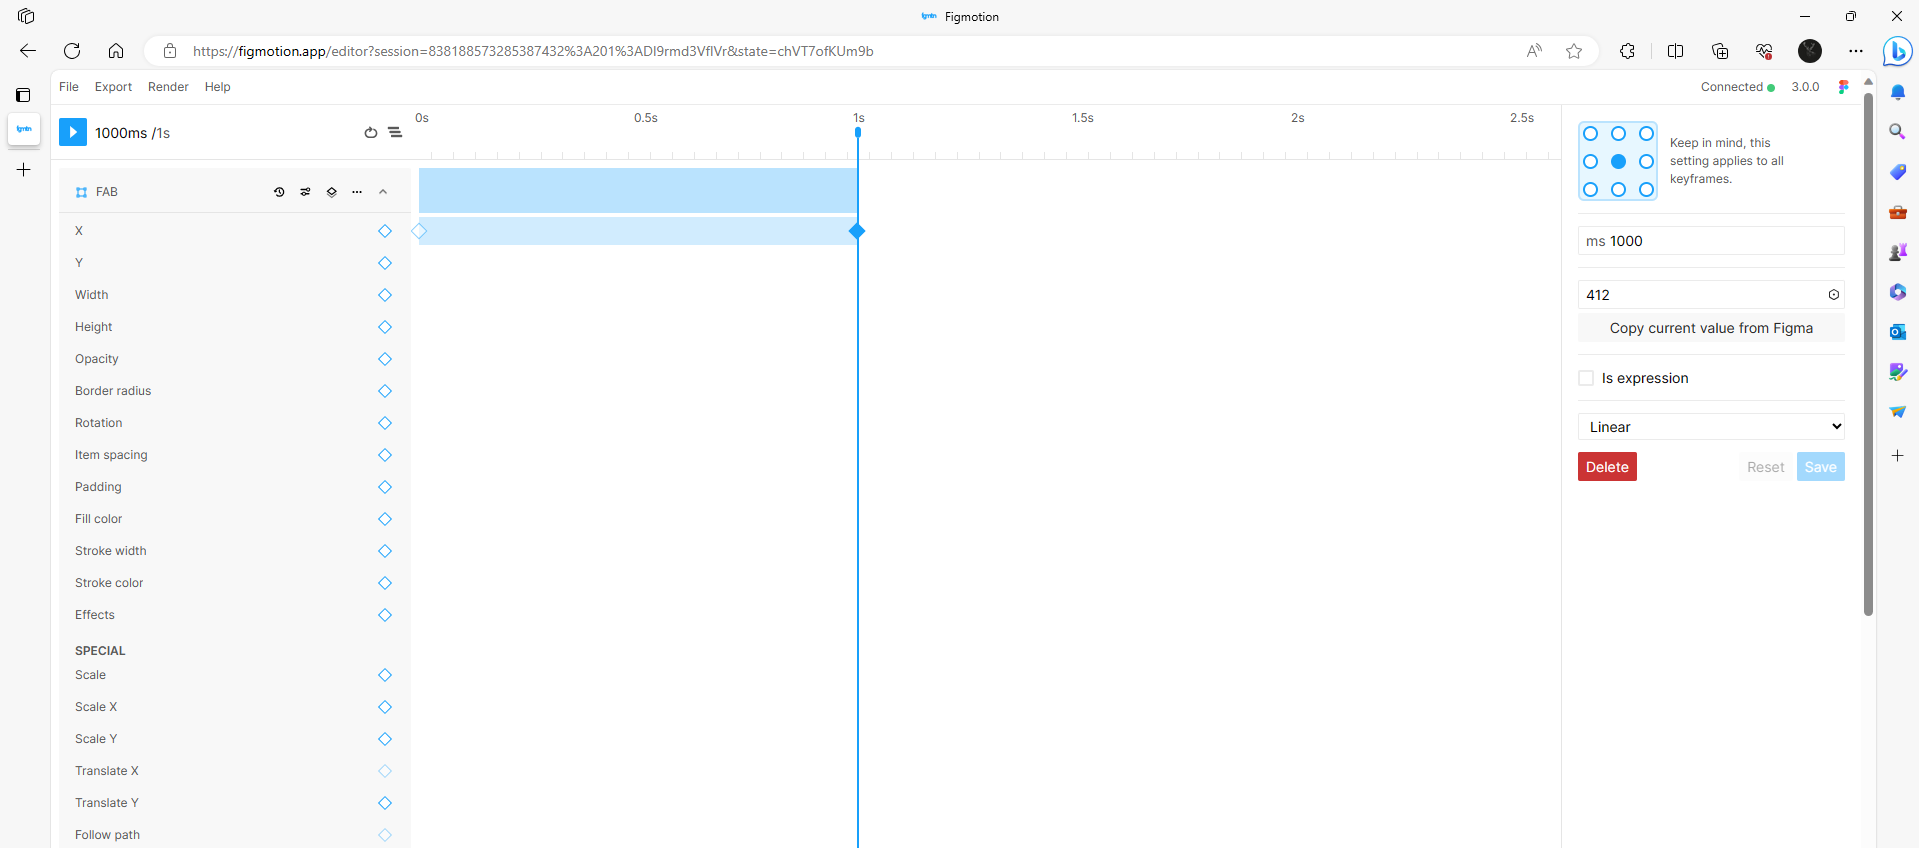
Now, we can make the adjustments we want.
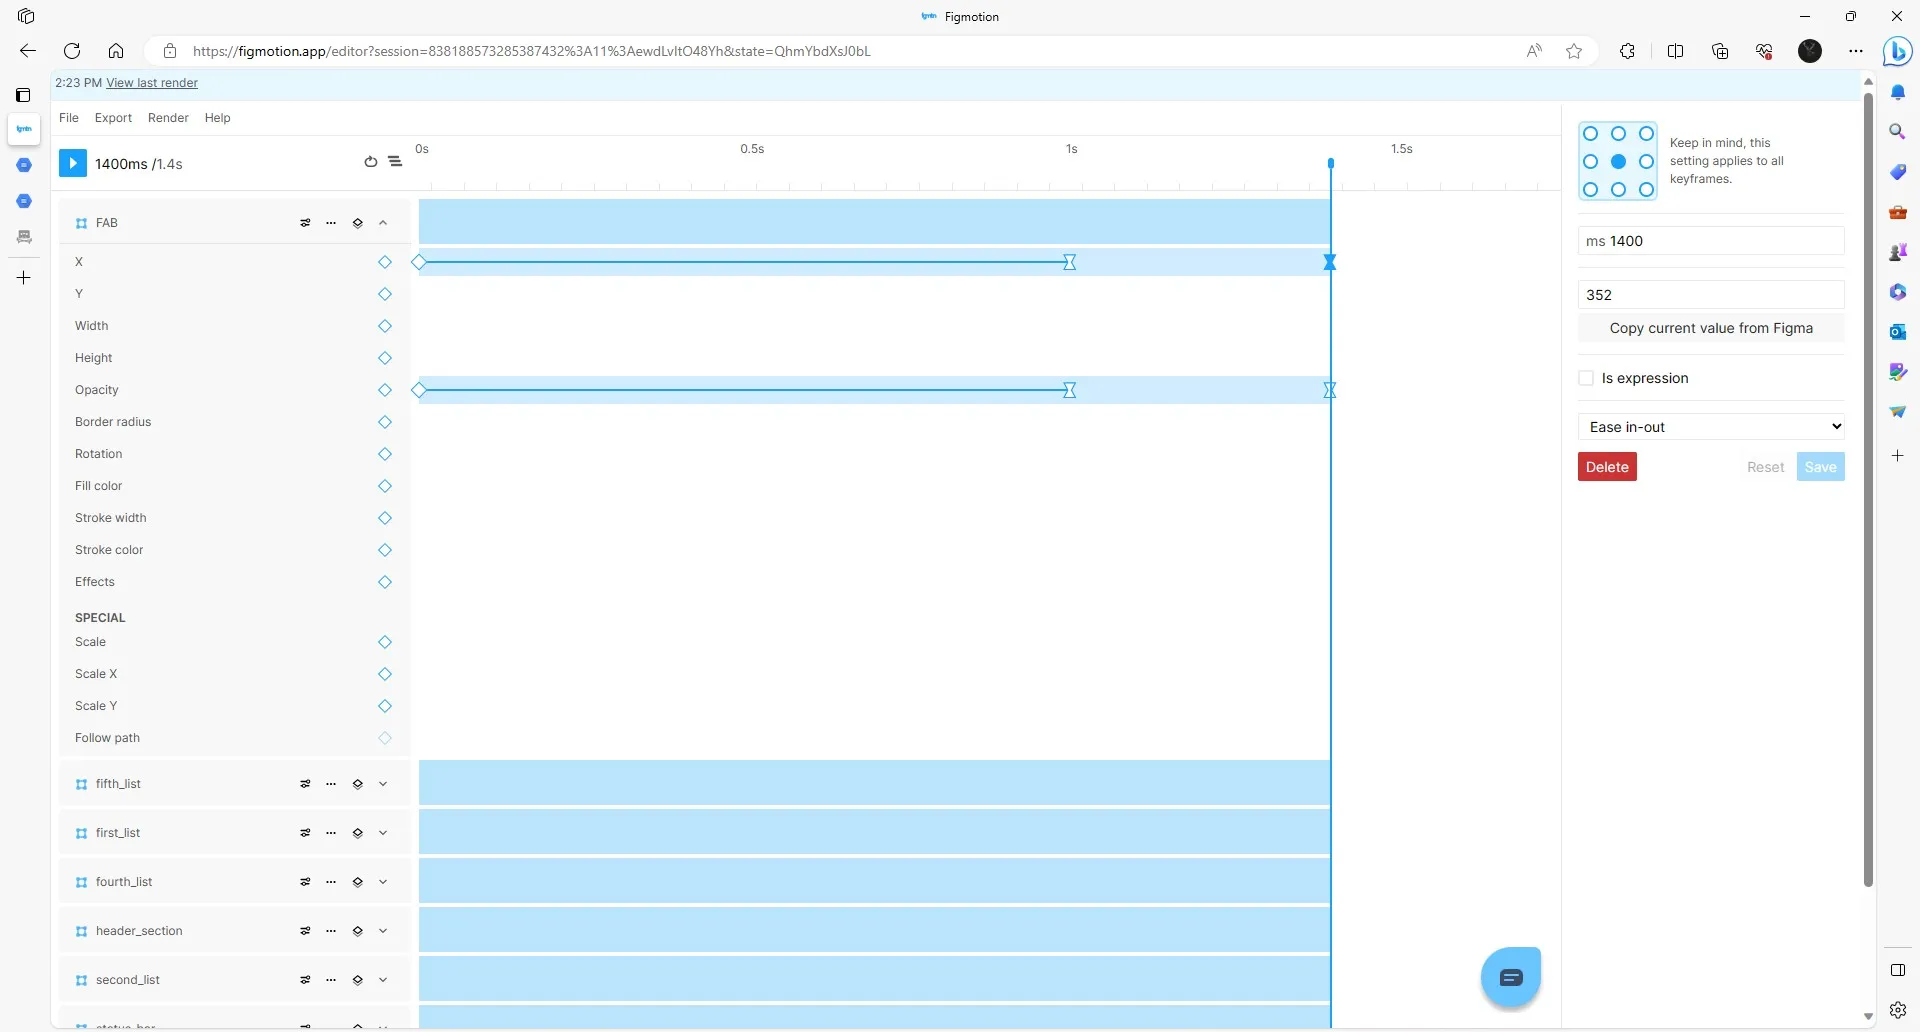
To show in more detail, let’s add the animation properties to the FAB. So, at 0ms, the X value is at 412 with an ease-out transition. Then, at 1000ms, the X value is at 384 value with an ease-in-out transition. And finally, at 1400ms, the X value stays the same as the value at 1000ms. For the opacity, the opacity value at 0ms is 0, and the value at 1000ms and 1400ms is 1, with the same transition types as the X values.
We could see how the set animation looks with the blue play button. In the video, you should see the brown FAB button move in from the right to the left, and see the opacity increase.
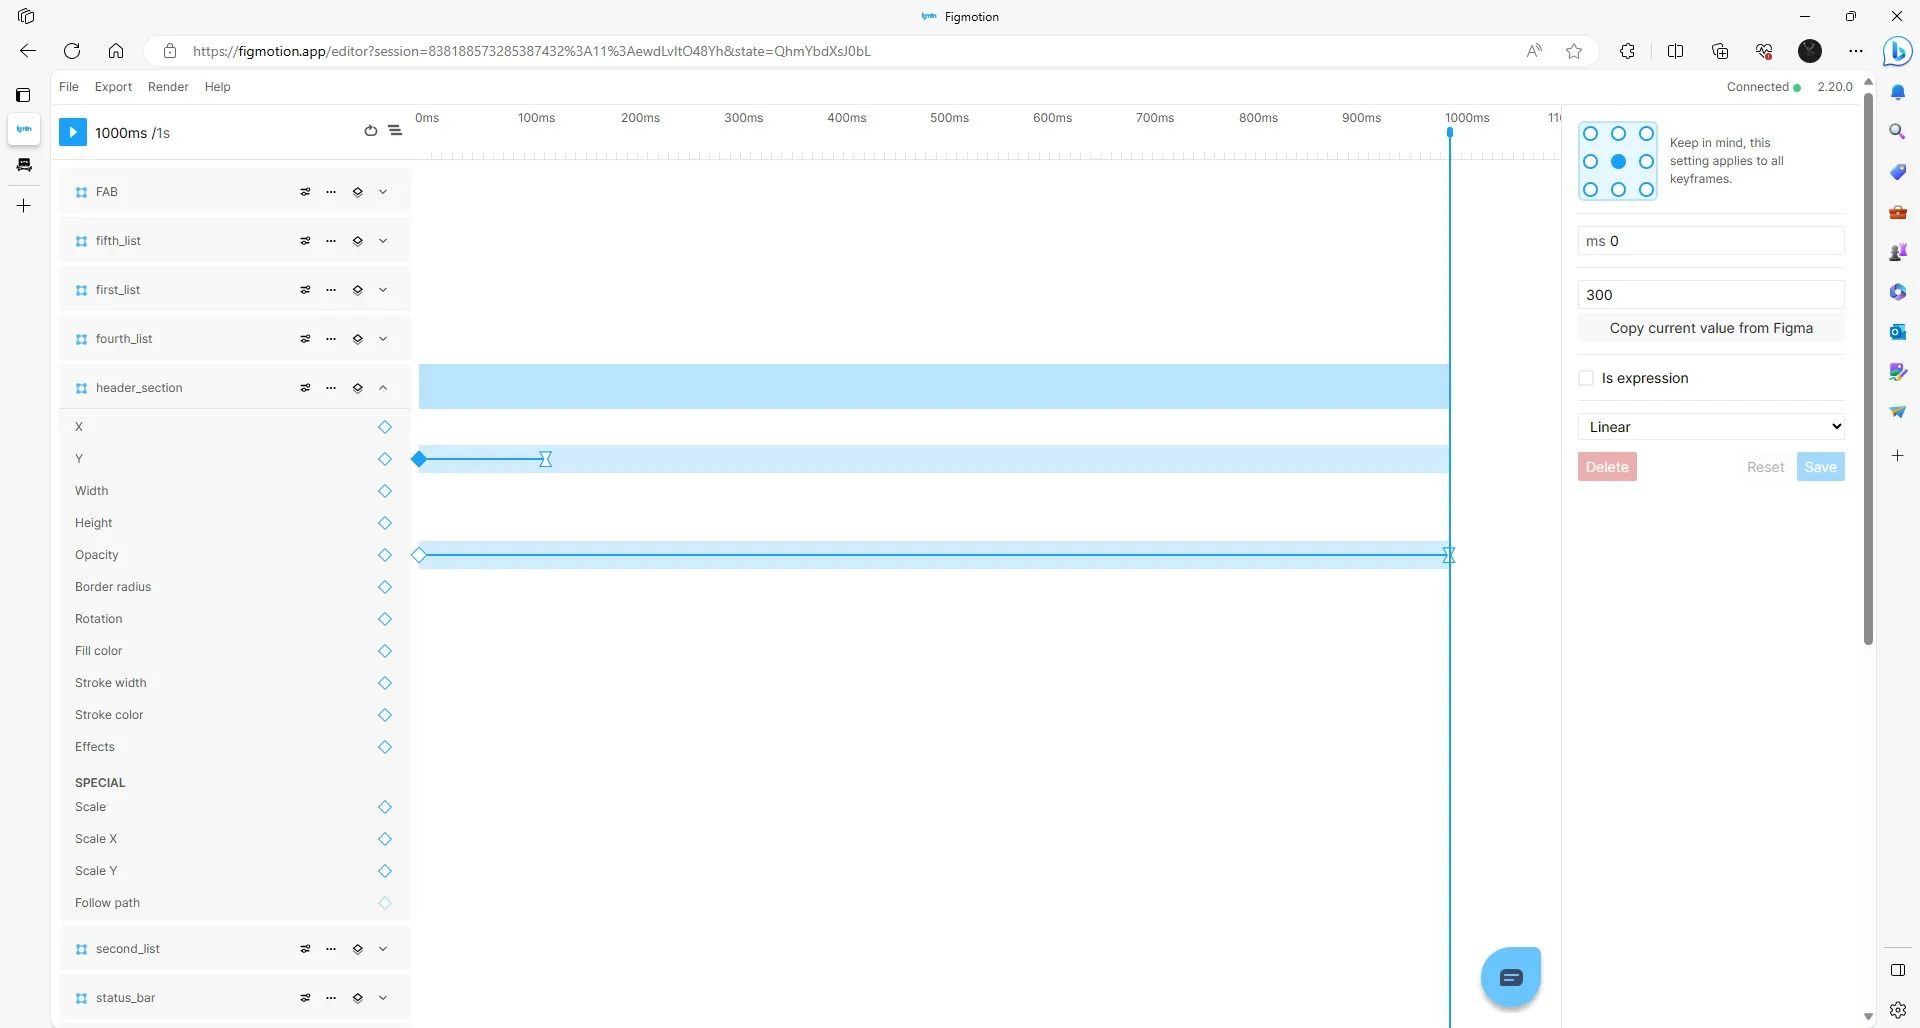
Now, let’s set the animation properties to the header_section. Given that we want to move the layer from bottom to top, we need to apply the Y property/keyframe. We want it to be quick, so we will set the changes to happen within 100ms. At 0ms, the Y value is 300, and at 100ms, the Y value changes to 90, with an ease-in transition type. Also, as the header_section is moving, we want to increase the opacity. Therefore, at 0ms, the opacity value is 0.29, and at 1000ms, the opacity value is 1000ms. The opacity value doesn’t follow the same timeline as the Y value.
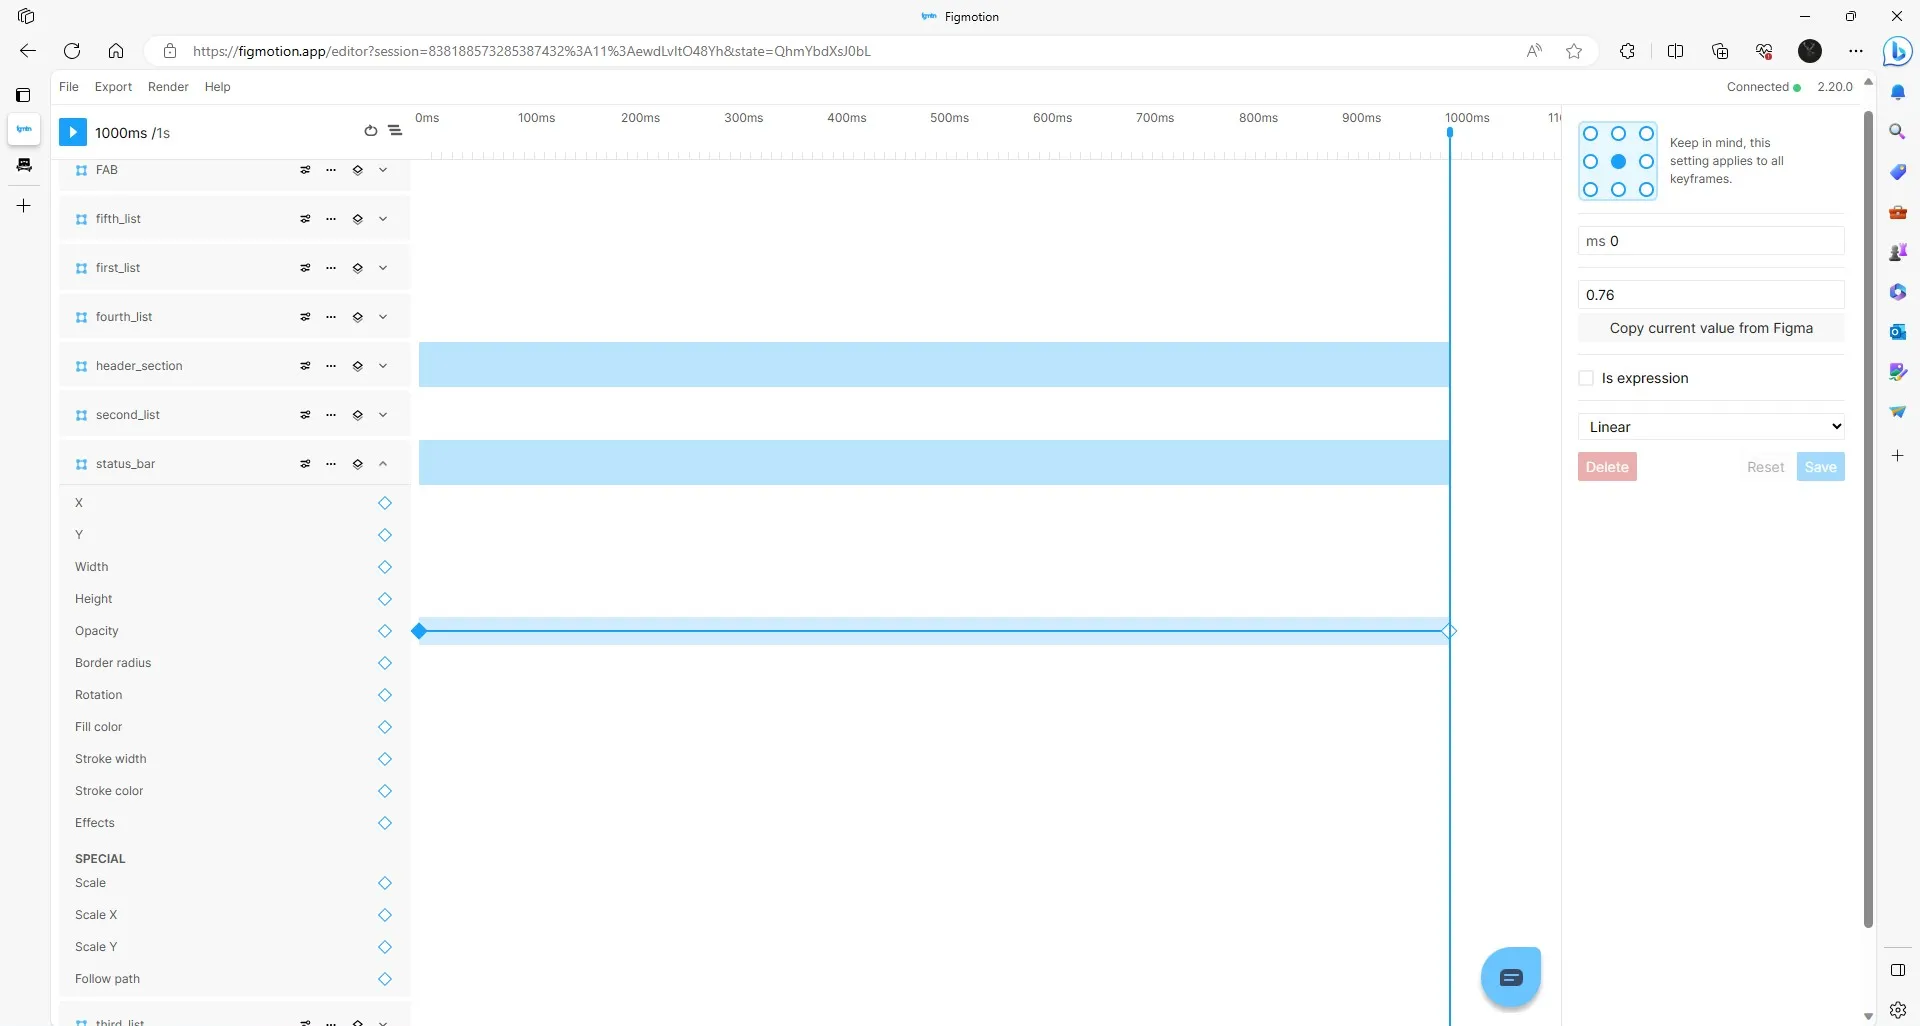
For the status_bar layer, we only need to apply an opacity animation. At 0ms, the opacity value is 0.79 with a linear transition type, and at 1000ms, the opacity value is 1 with an ease-in transition.
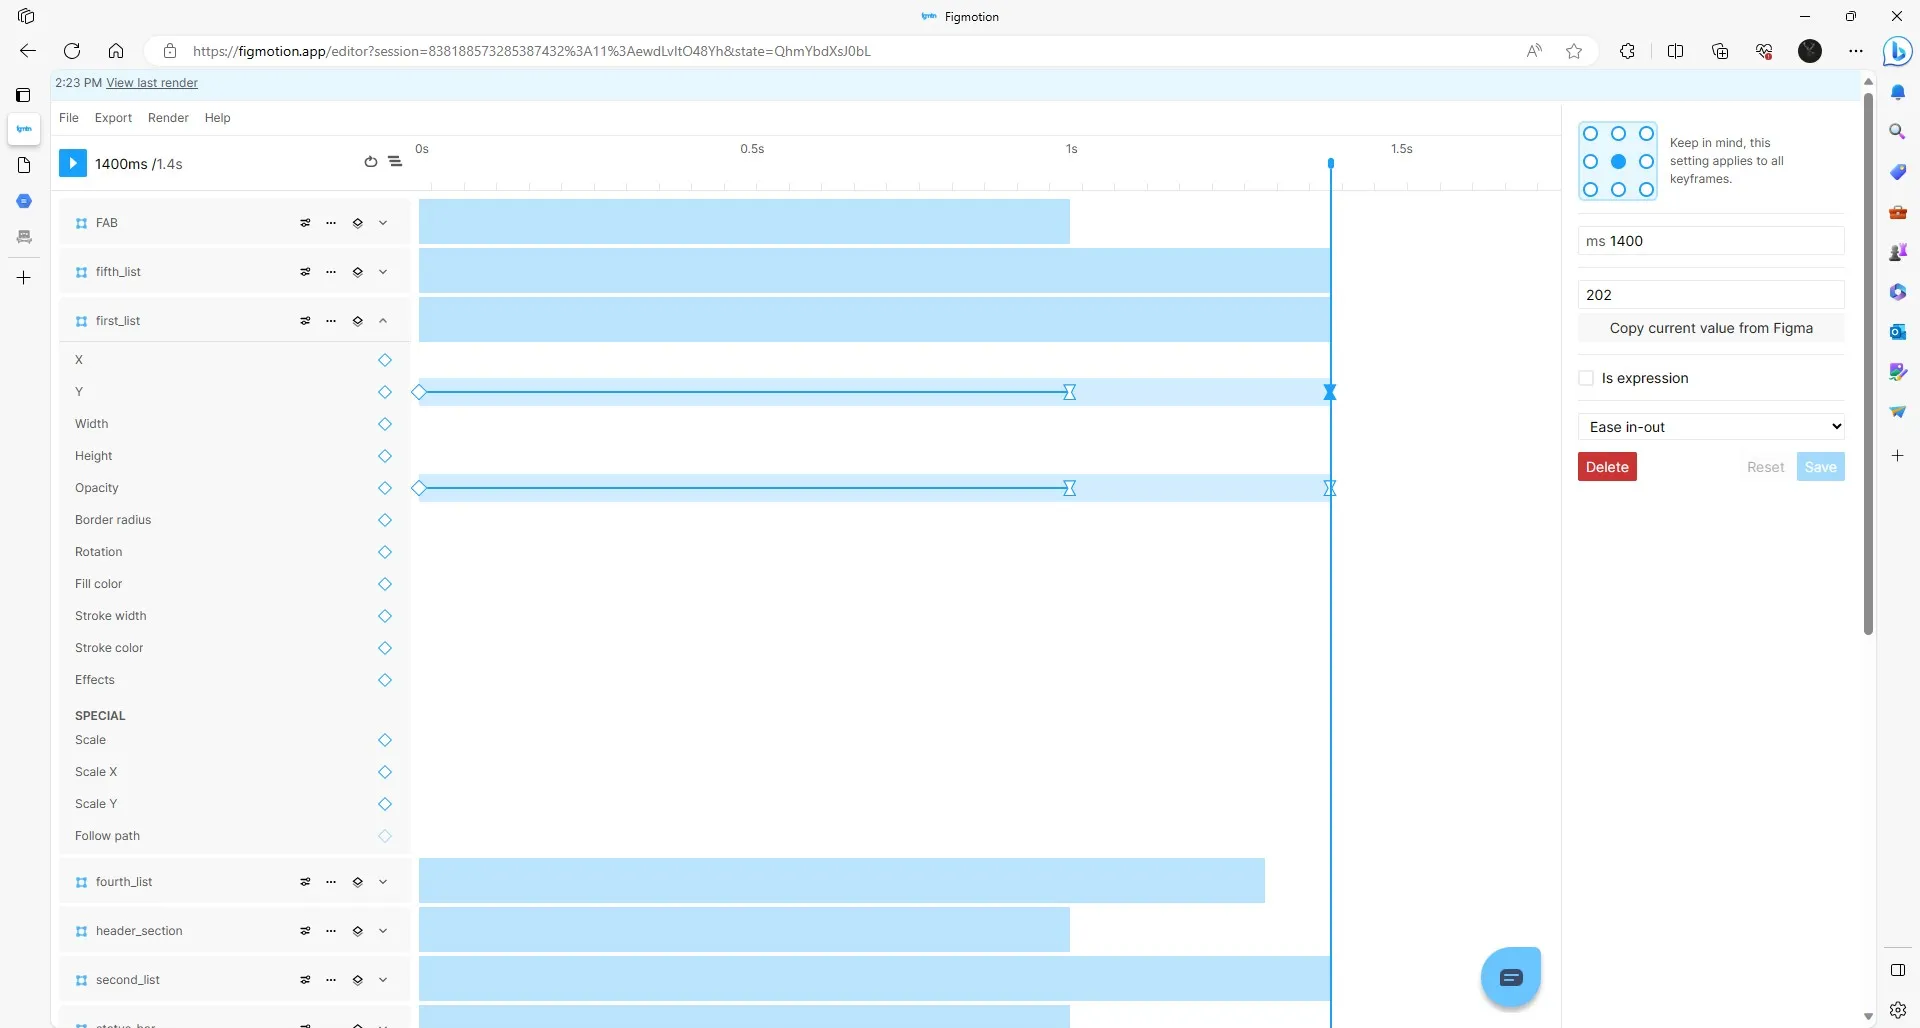
For the first_list layer, the goal is to move the layer from the bottom of the frame to the final position in the design. The value of the bottom is set as a value below the height of the frame (770) at 780. This same value will be used for all the list layers.
With that, at 0ms, the Y value is 780 with a linear transition layer, and the 1000ms, the value is 202, the final position(with an ease-in transition).

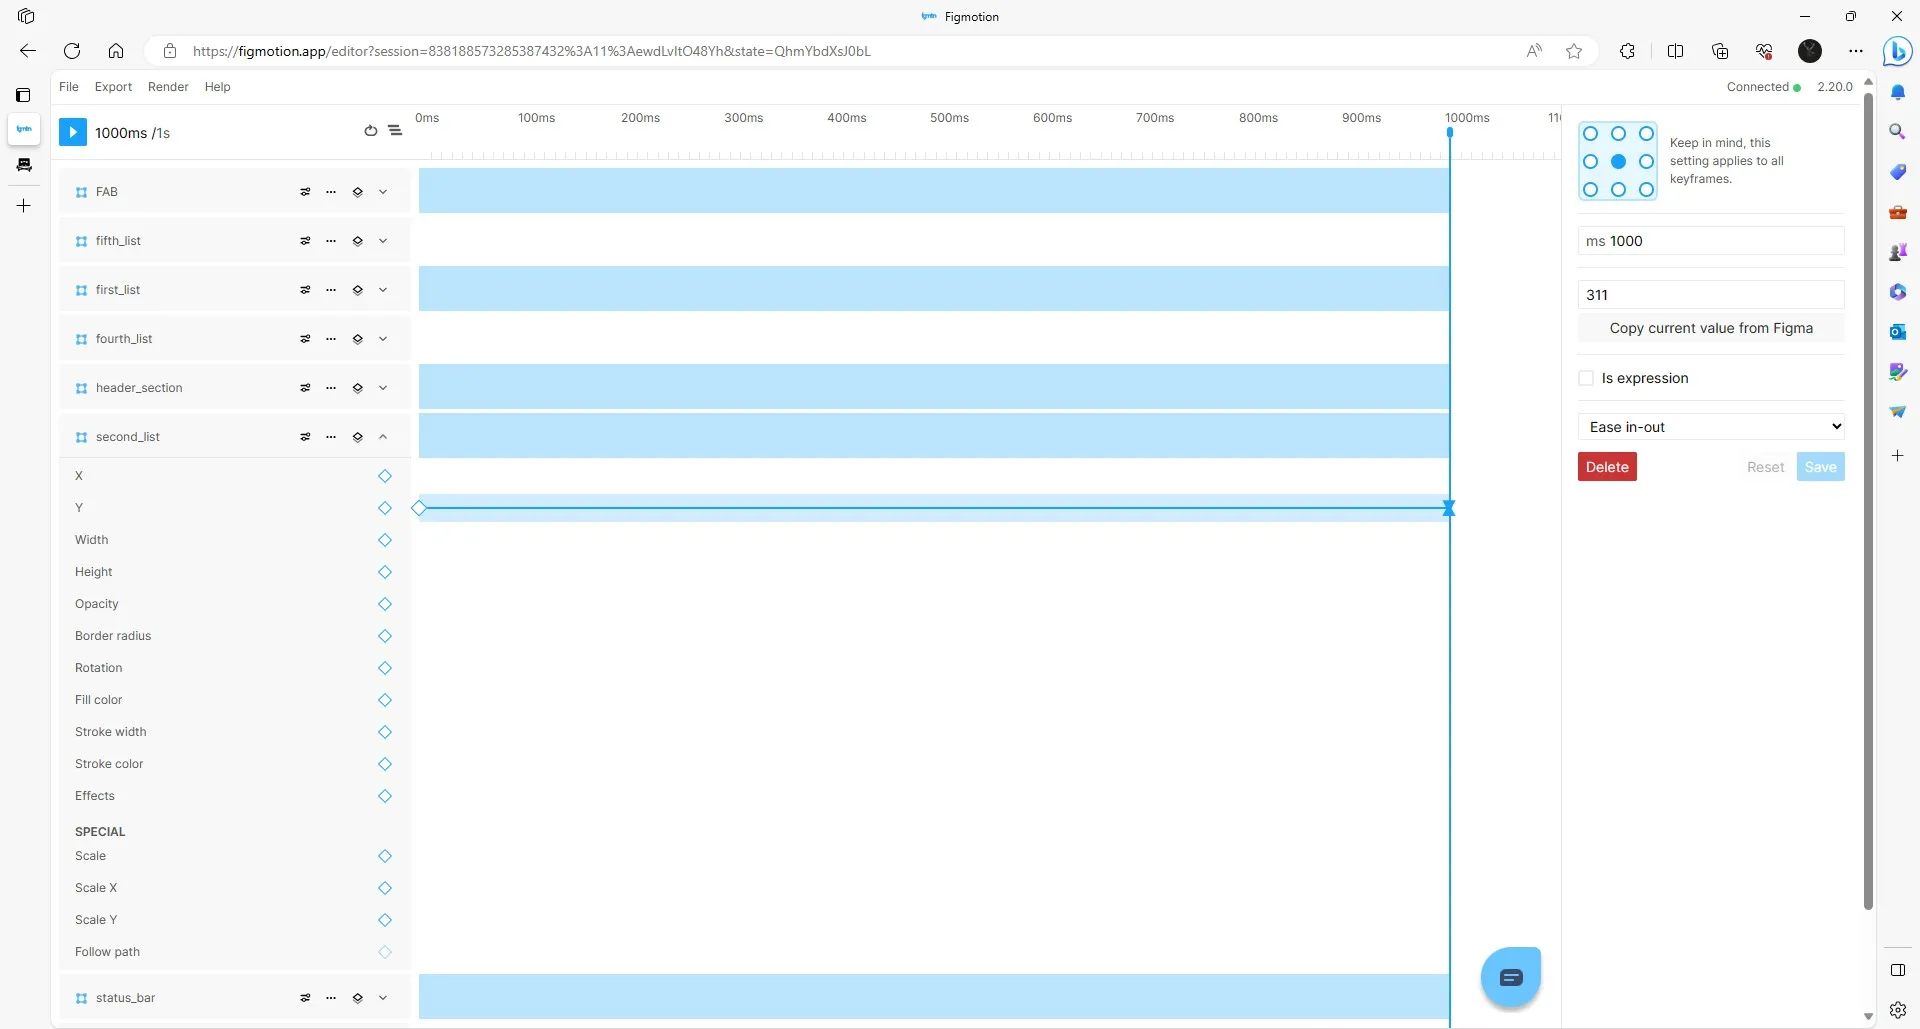
Similar to the first_list layer, the second_list layer starts at a Y value of 780 (for 0ms) and ends with 311 (for 1000ms). But the 1000ms is an ease-in-out transition.
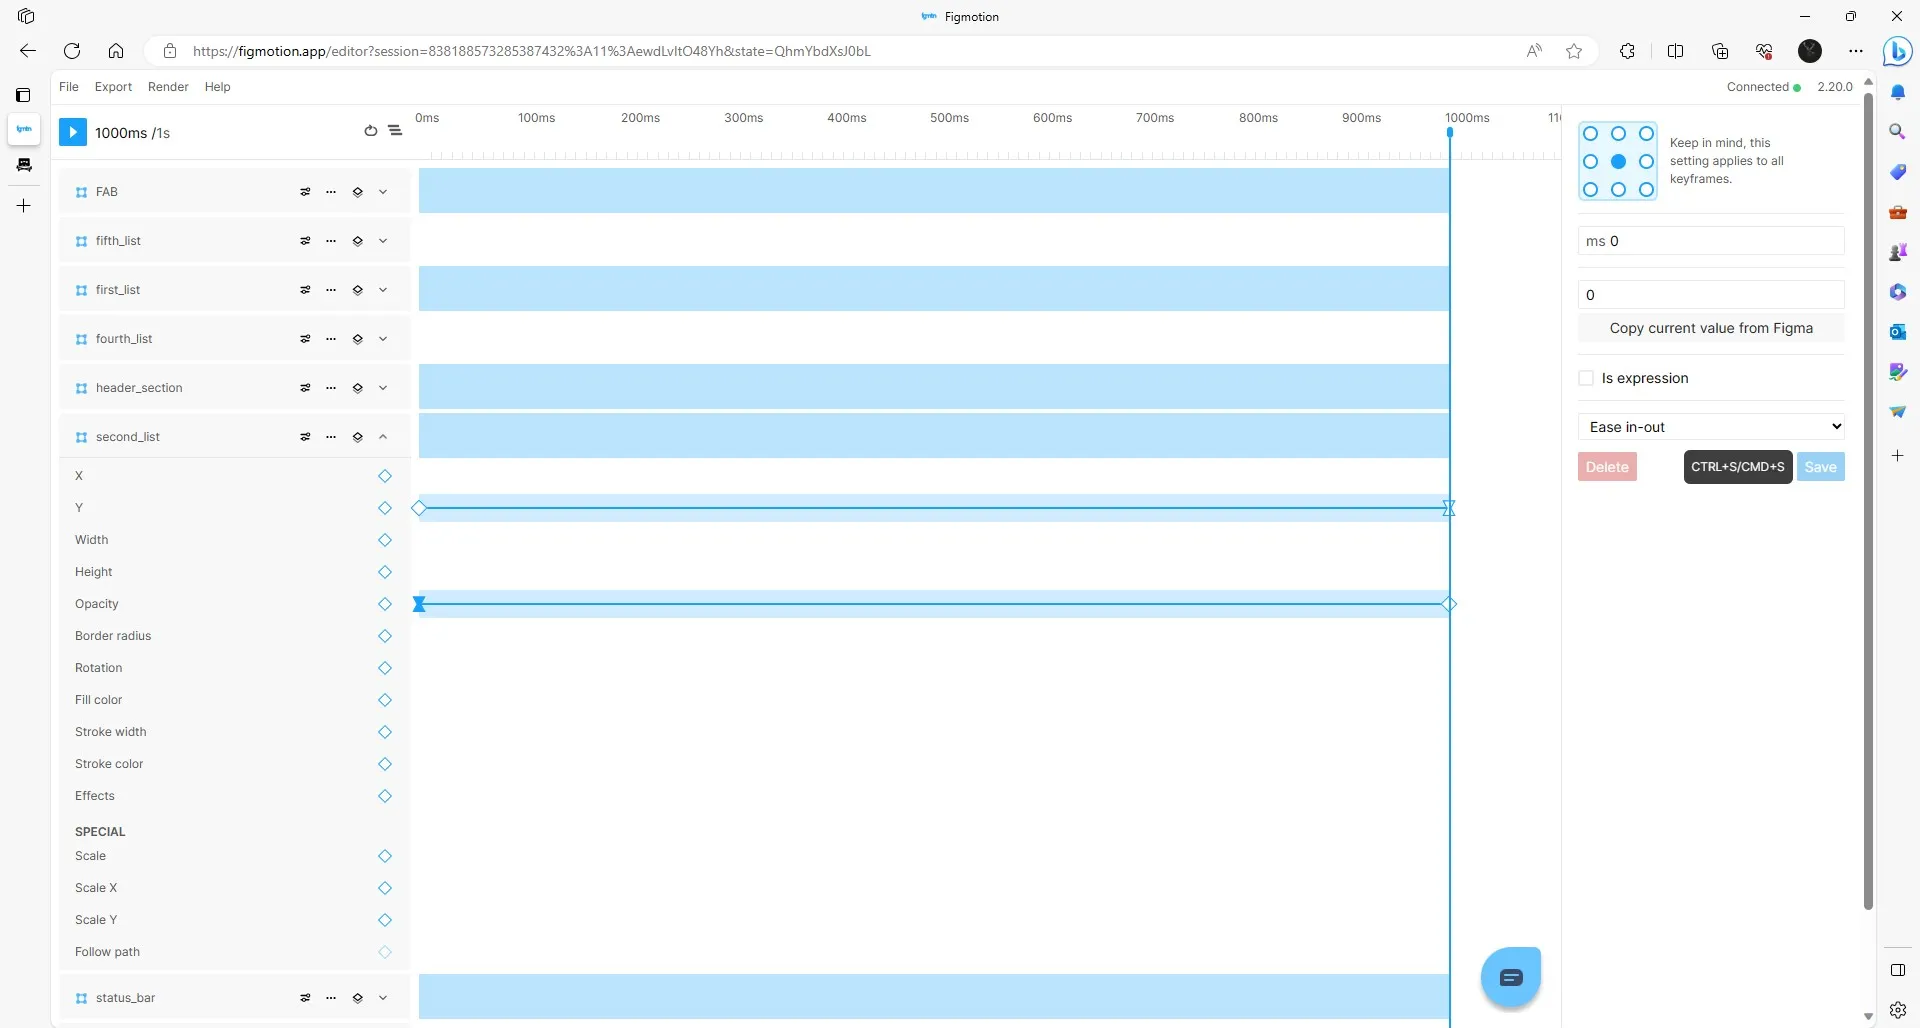
To allow the other list below to be seen, we will apply an opacity animation (at 0ms, 0 and at 1000ms, 1) with ease-in-out transitions.
For the third_list layer, we apply the Y and opacity animation. At 0ms, the Y value is set to 780 and the opacity value is 0. While at 1000ms, the Y value is set to 413 and the opacity is 1. The ease-in-out transition is used throughout.
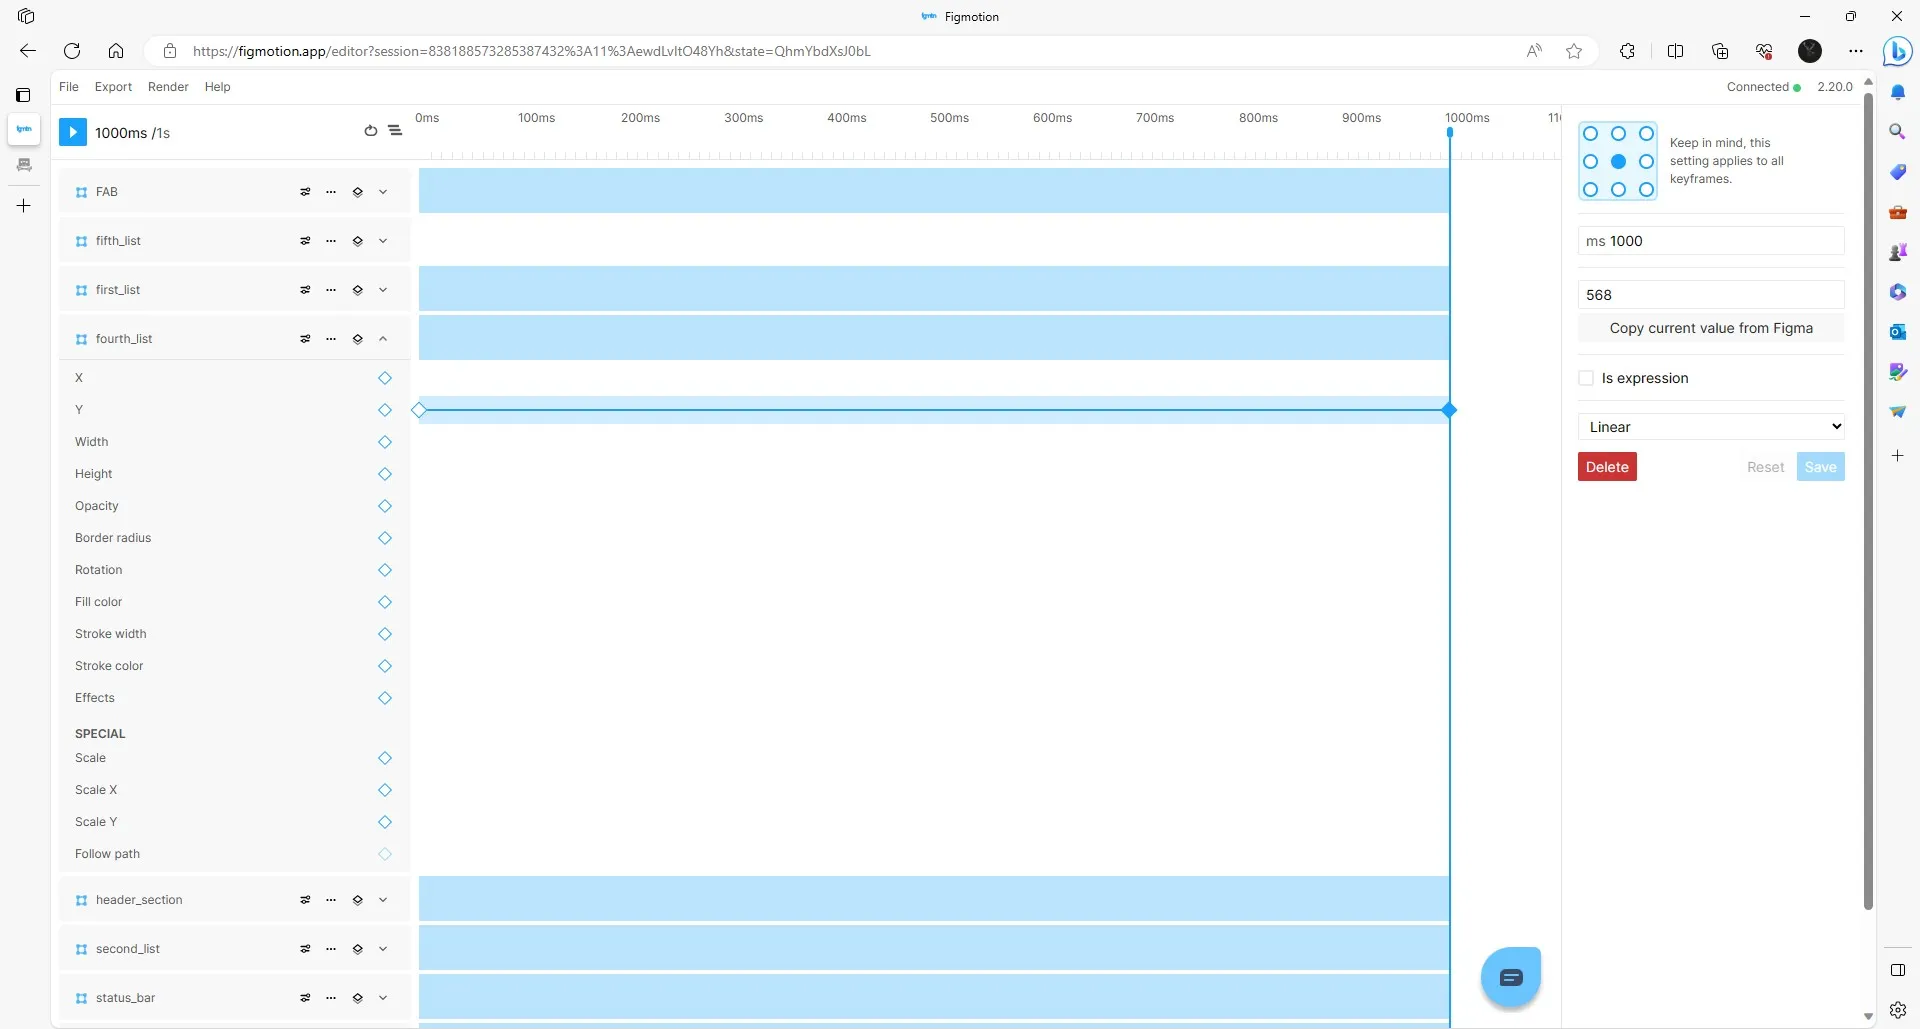
The fourth_list layer has a Y value of 780 and 568 at 0ms and 1000ms respectively with 0 and 1 opacity values.
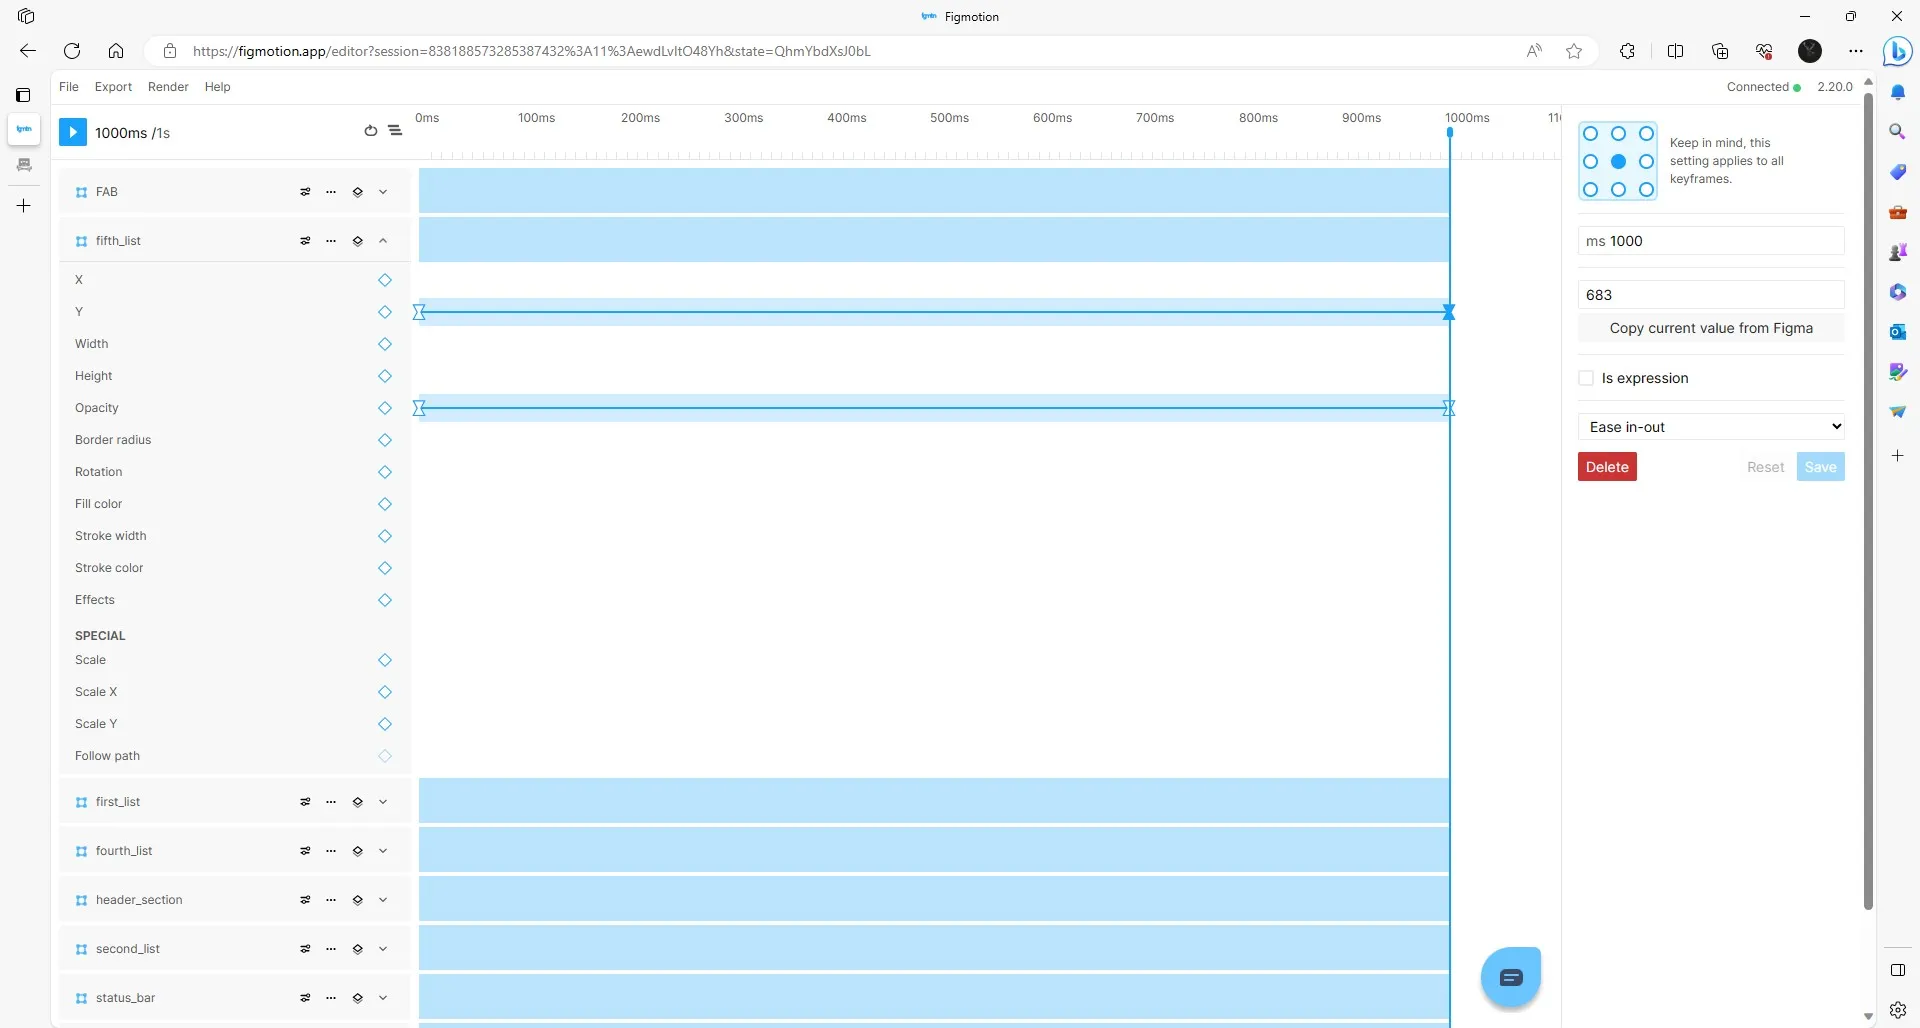
Similarly, the fifth_list layer starts at 780 (at 0ms) and ends at 683 (at 1000ms)for the Y value. Just as with other list layers, the opacity value starts at 0(at 0ms) and ends at 1 (at 1000ms).
To check out all the animation, you can click the blue play button or you can render. To show you, we rendered the animation based on the properties set above. With these animation keyframes, we get the below. However, as you might have noticed it is not as smooth as you expect, and that’s the beauty of Figmotion, you can continue where you left off and make changes.
To make the animation smoother, we will extend the timeframe for each list. For the first_list layer, we will keep the timeframe to 1000ms. For the second, third, fourth, and fifth list layers, we will extend by 100ms each. Therefore, the second list is 1100ms, the third is 1200ms, the fourth is 1300ms and the fifth list is 1400ms.
The fifth_list layer changes to the animation end are shown below.
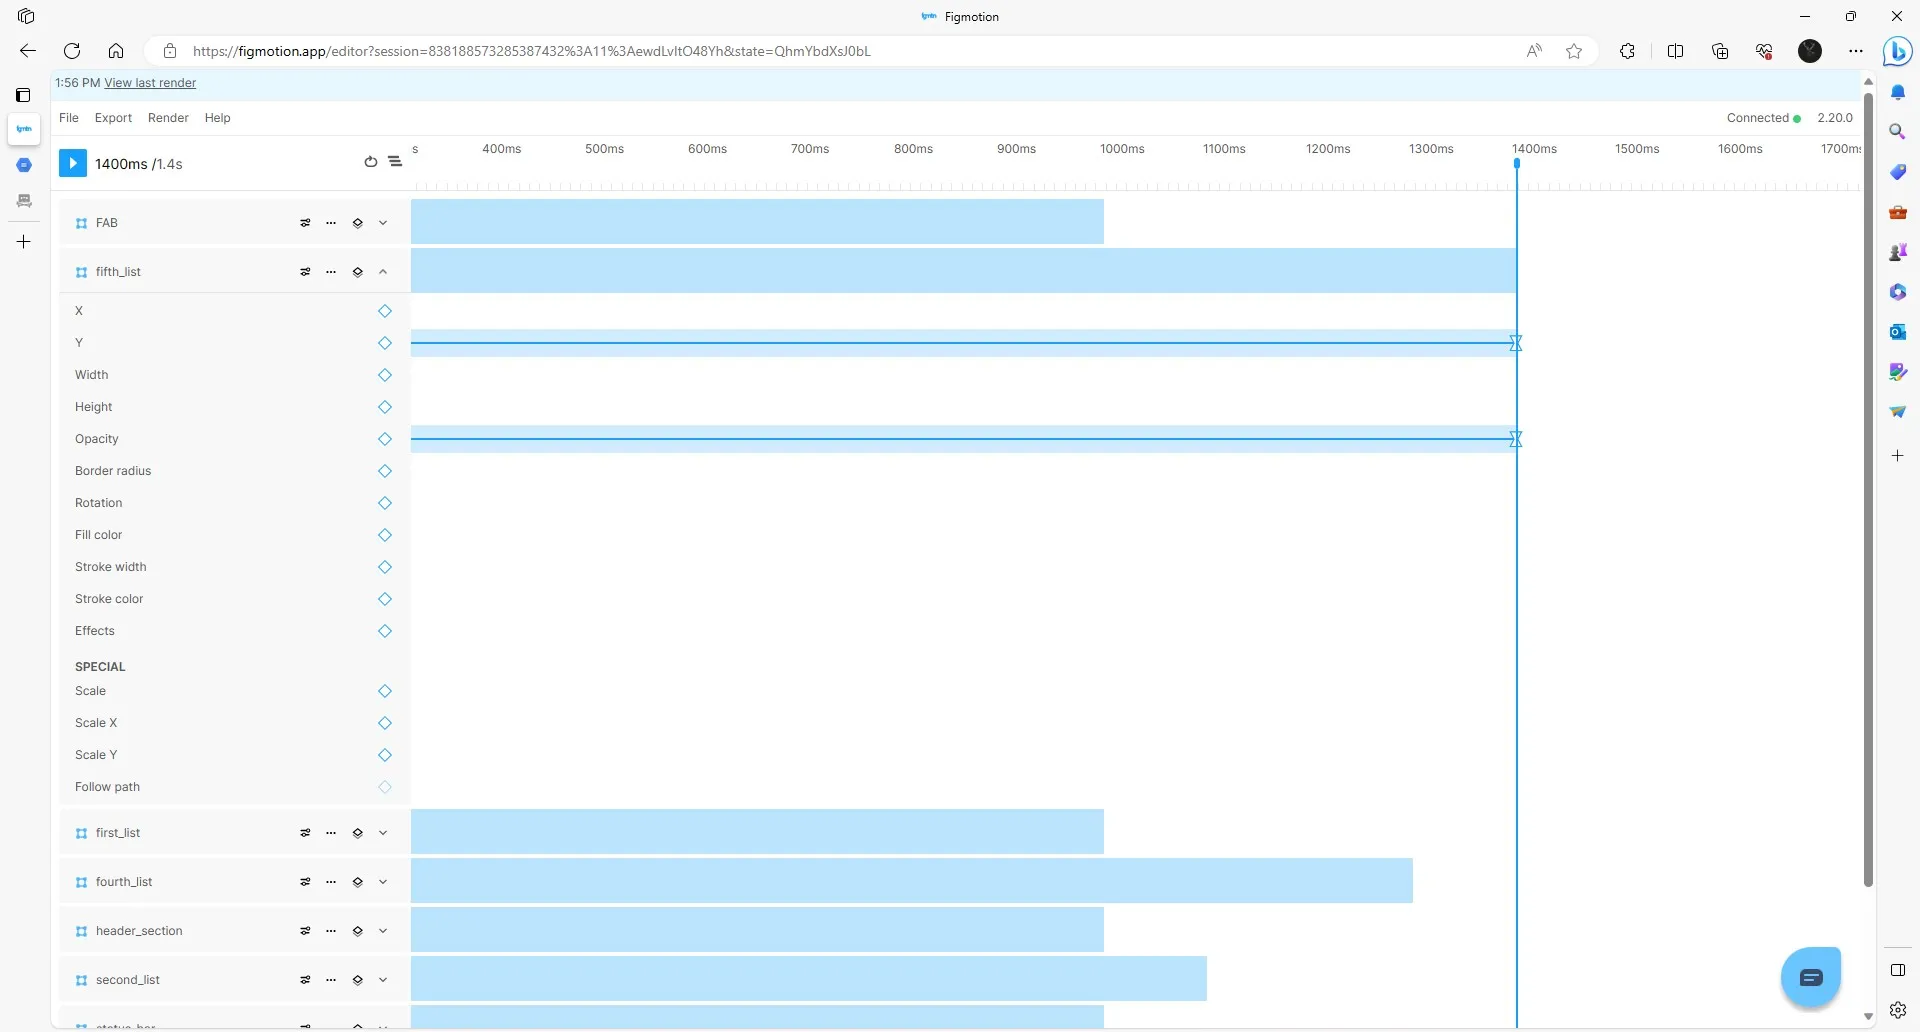
To maintain the smoothness, we will extend all the layers' timeframe to 1400ms by maintaining the same values at 1000ms (or the respective end) at 1400ms, just like the first_list layer here.
Or the FAB layer.
With the changes, we get a more improved and smoother animation experience with our Notes app
What’s the use of our design if we don’t share it? With the Figmotion UI, we either export or render the animation. We can export as Framer Motion (React), Lottie, JSON, or CSS. These are formats and mediums more familiar with developers who will translate your design and facilitate better collaboration with developers through exportable animation files.
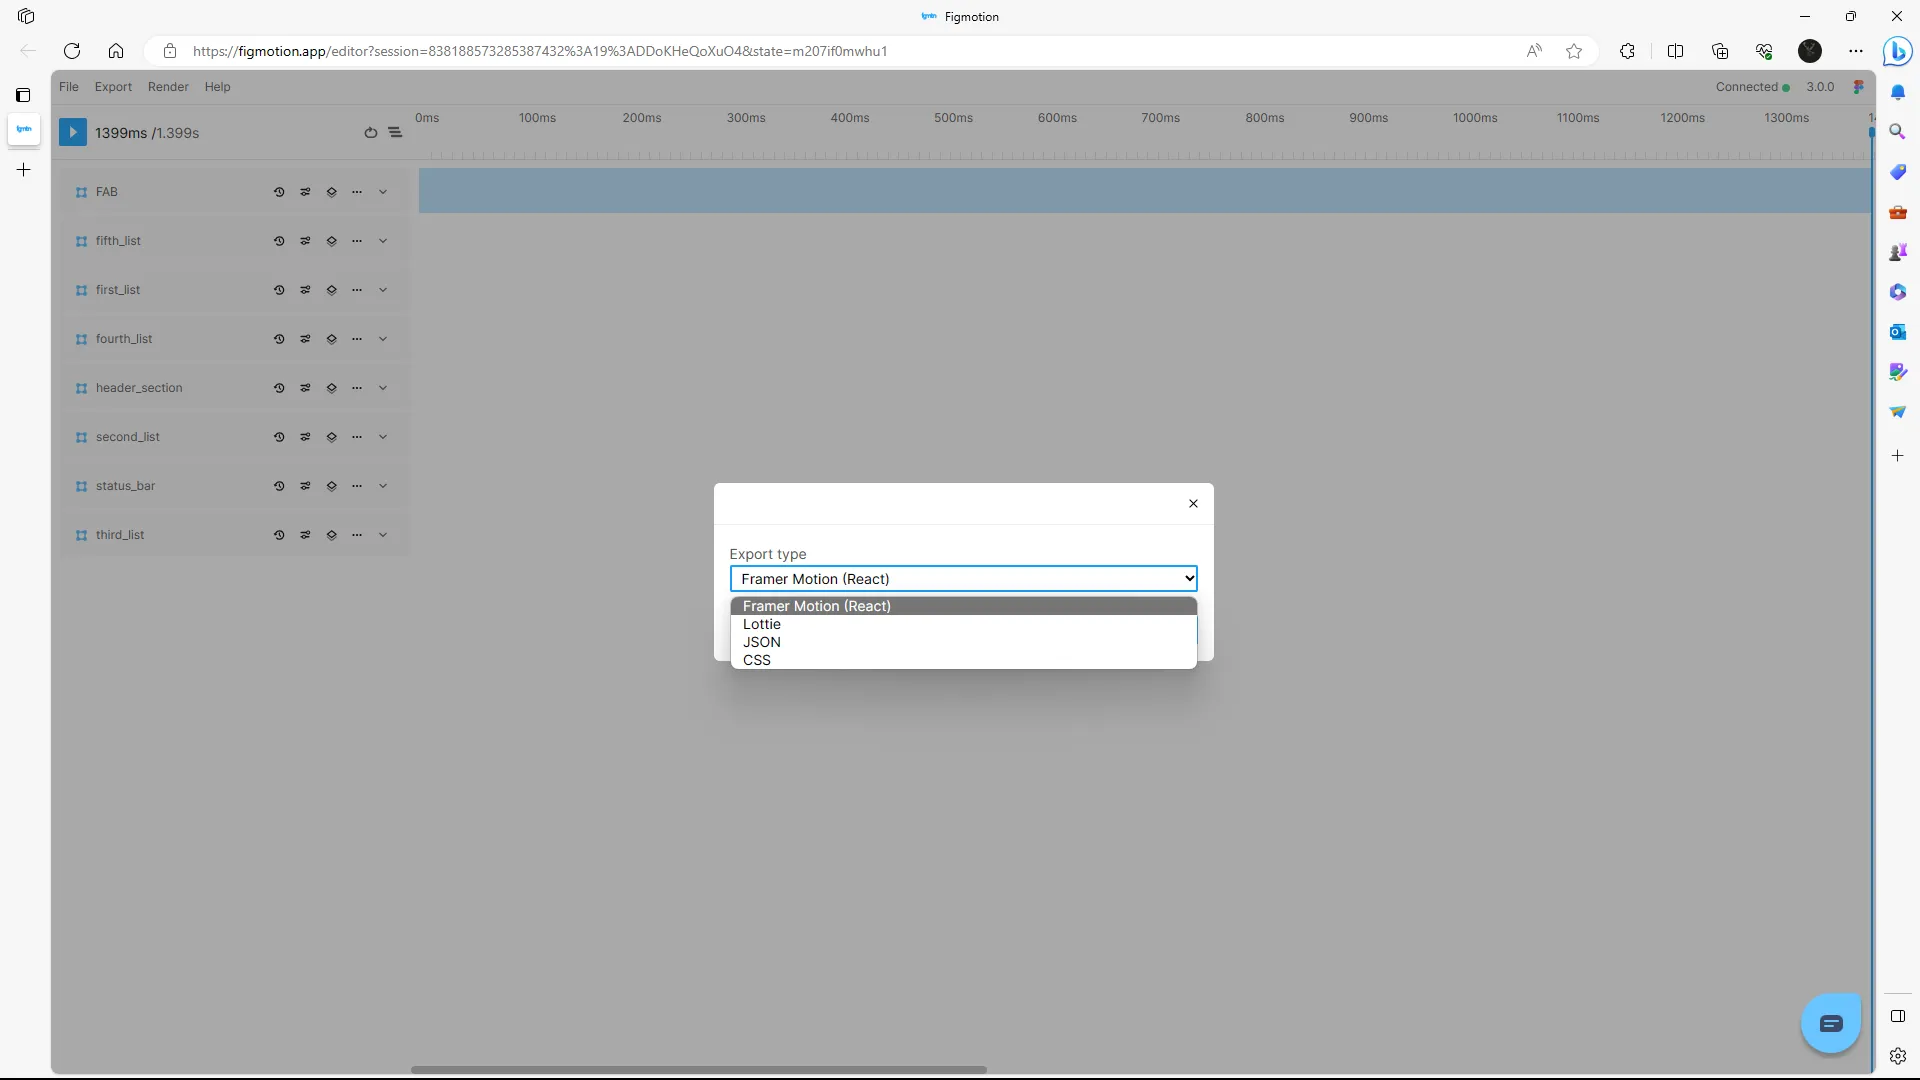
Lottie is a file format for vector graphics animation, and it allows us to easily integrate high-quality animation into any native app. Also, Lottie comes with an iOS, Android, and React Native library.
However, if you just want to share animation in a visual medium, the render option is for you. With the render option, you can export the render in an MP4, GIF, WEBM, WEBP, or PNG format.
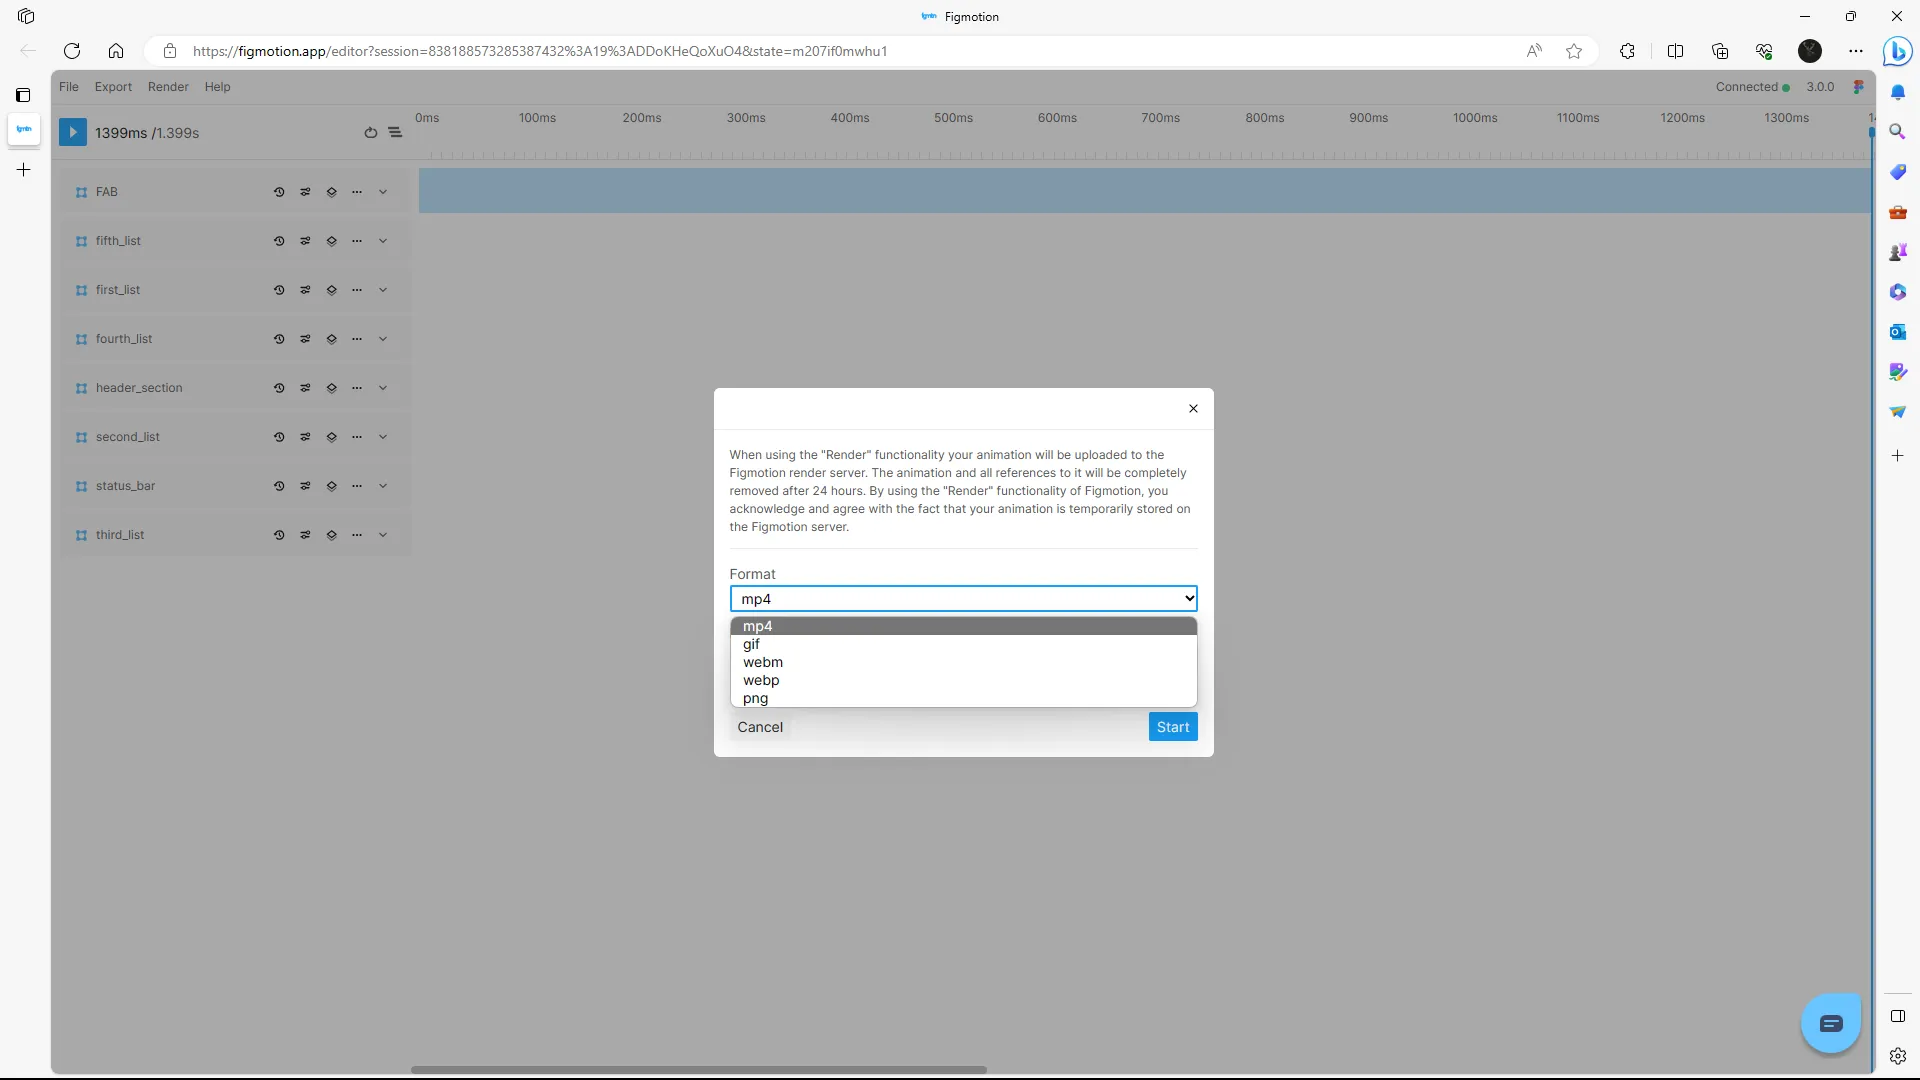
The render export format will depend on your use case. If you want a quick medium to show the animation, GIF might just be right, but if you want a more detailed format, MP4 is probably better.
For some tips, make sure to check through the Figmotion Docs for more information about each and every property. Also, make sure to always name your layers in a manner that you can easily understand. In addition, know where you want your layers - a quick paper sketch could help a long way.
More importantly, understand what your developer wants and make use of the appropriate export medium to communicate the animation you want for each of your frames.
For designers, the Figmotion plugin is a lifesaver. Quick and fast animation processes are possible with the aid of the plugin with much and fast integration with your Figma design. Changes within the Figma app are quickly reflected within the Figmotion Web UI, so ideas can be quickly brought to life.
Overall, the Figmotion plugin provides a way to animate every frame and layer within your design file to bring life in a less complicated manner.
Stay up to date with the latest design news and cutting-edge softwares, sent straight to your inbox!
.jpg)

.jpg)
.jpg)