Figma
Motion - UI and Games Animation plugin on Figma

September 30, 2023

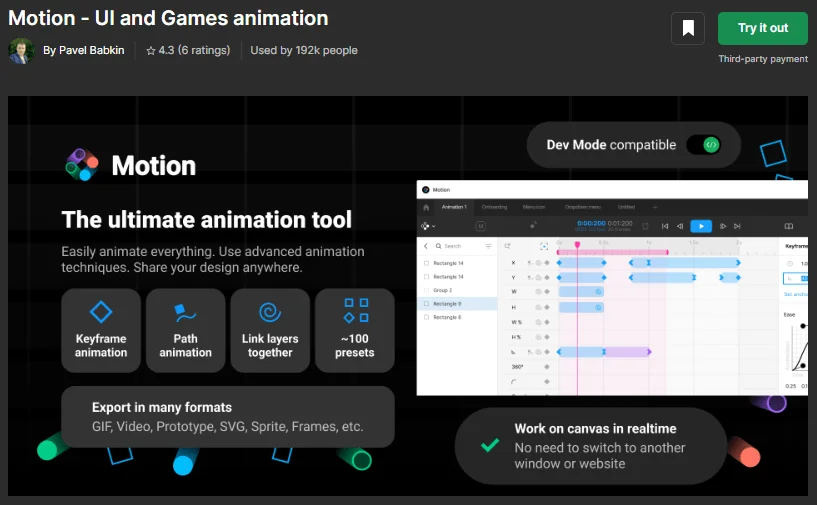
The Motion plugin on Figma allows you to animate everything. Yes, quite literally everything. That’s why this plugin is today’s topic – stick around to find out what this plugin does, how to install it, how to use it, and much more.
The Motion plugin allows you to animate everything on your canvas, by using simple editing tools. It may look a little complicated when you first look at the plugin, but it’s rather easy to use once you get the hang of it.
And yes, it’s relatively quick to get the hang of it.
What makes this plugin special is that you can control every aspect of your animation. Simply said, you will transform your canvas to resemble an easy video editing app. Your designs will look more advanced, modern, and intricate.
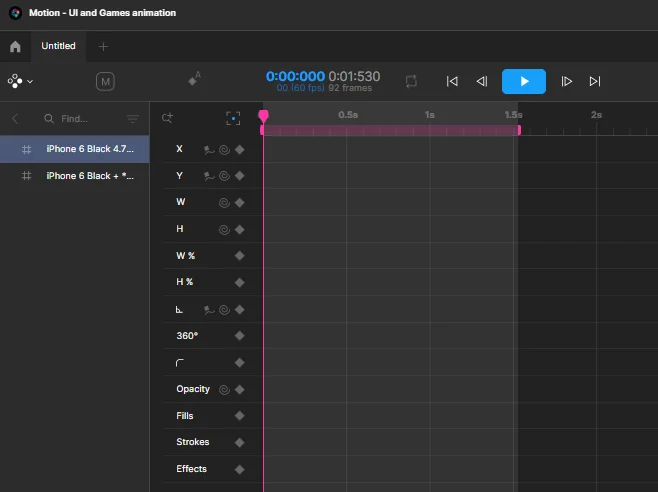
The plugin has a set of aspects you can edit for any object you choose. Some of these are their position (x,y), width and height, angle, opacity, etc.
You use keyframes to set the time when the change will happen. For example, in second 0 the opacity is 0% and in second 3 the opacity is 100% – therefore creating a seamless transition between the three seconds.
This plugin also allows you to make the animation smoother by using effects.
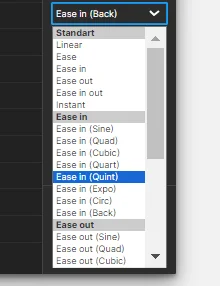
As you can see, the Motion plugin offers a range of smooth transitions ready to use.
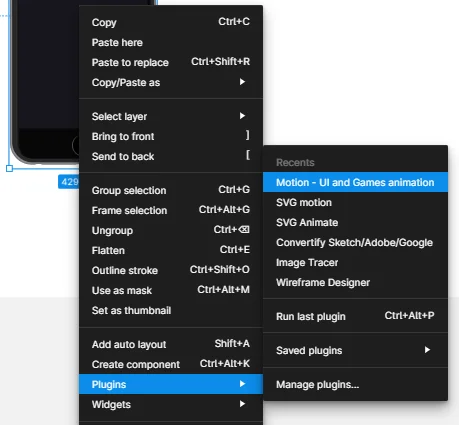
You can install the Motion plugin like any other plugin in Figma. Visit the official page of the plugin on the Figma community site, and click Try it out.
Don’t forget to click the Save button next to it, so you can easily use the plugin anytime you want.
Make sure you are logged in to your Figma account, and the plugin tab should open itself on a blank canvas. Just press Run, and you’re done.
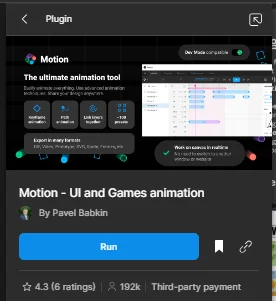
This plugin offers for you to use it in Developer Mode (Dev Mode) if you want to.
The creators of the plugin have offered this Starter’s Guide for anyone to learn the basics of it. However, we will still be showing you a brief walkthrough of how to use the plugin, so you get the general idea.
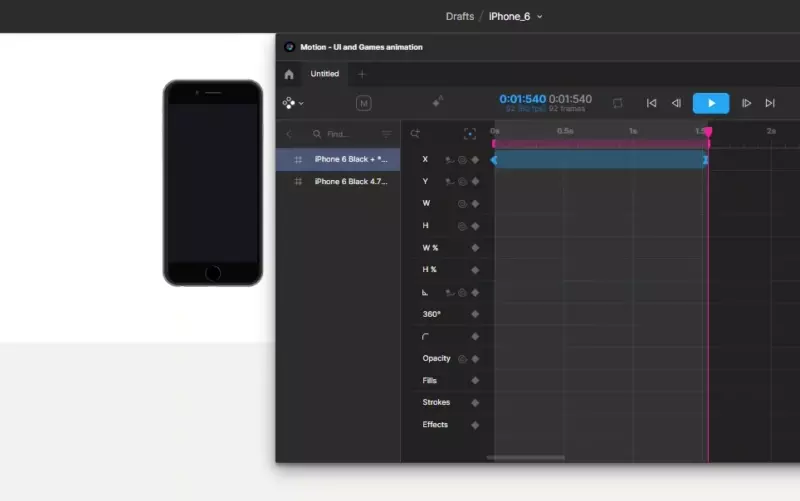
This can be pretty much anything on your Figma frame.
The plugin offers plenty of options. Position, width, height, opacity, effects, etc. We will be using the x position for now, but all of them work the same.
You can place a keyframe by clicking the little diamond symbol next to the setting you are changing.
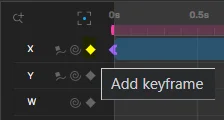
When you place a keyframe, you can click on it and it will show you the details of the object for that second.
In this case, we will change the horizontal position of the object. The original was at 390 (you can see that at the first keyframe) and now we will be setting it to 900.
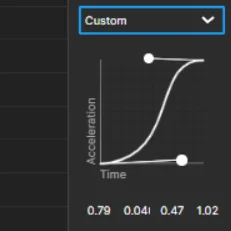
This will make the animation smoother.
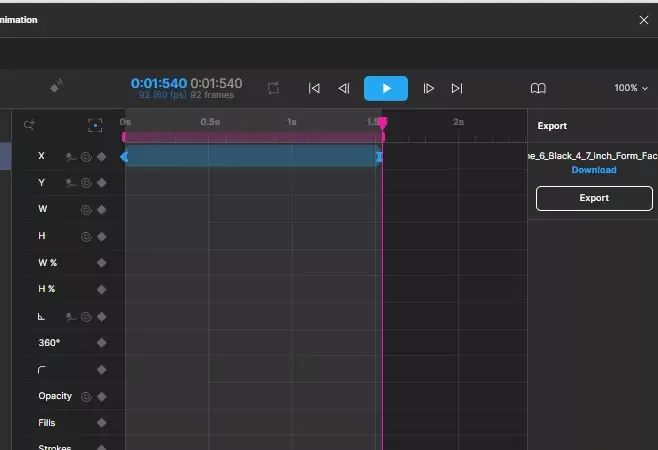
Motion plugin offers plenty of file formats that you can export your animation in. The choice is yours, but keep in mind what your Figma version supports.
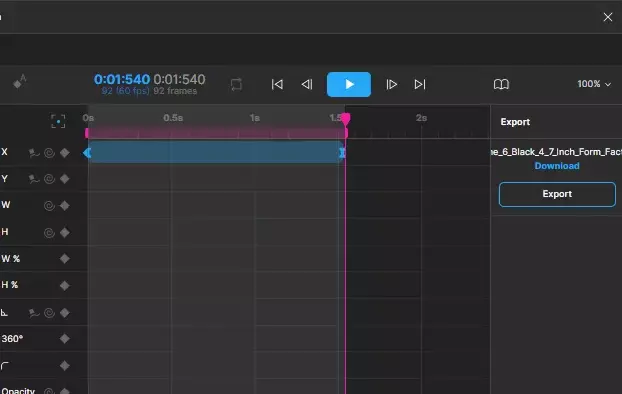
If you want to make your designs move, the Motion plugin is a great way to start with. It gives you full control over your project and offers a wide range of file formats that you can export your animation.
It is designed in such a way that it is easy to use, considering all the services that it offers. Give it a try, you might love it!
We hope this article answered your questions about the Motion plugin on Figma, and helped you create your animation.
If you are interested in learning more about Figma, feel free to check out our other resources. We have free and easy guides to follow, and plenty of other articles!
Sr. UI/UX Designer and Consultant with over 10+ years of experience working with Fortune 500, large enterprises and funded startups. Having worked on hundreds upon hundreds of design projects, collaborated with 40+ clients from all around the world and taught design to thousands of students I am very grateful that I have the opportunity to give back to the design community and help other become better designers.
Stay up to date with the latest design news and cutting-edge softwares, sent straight to your inbox!
.jpg)

.jpg)
.jpg)