Figma
How to use the Slice tool in Figma

September 29, 2023


Cropping your complex designs into easy-to-handle elements no longer has to be a boring task.
Introducing Figma’s Slice tool – an efficient feature that’s useful for slicing up complex designs into smaller, more manageable pieces.
In this guide, you will learn how to use the Slice Tool in Figma to boost the creativity and productivity of the designer in you.
So, if you’re ready to uncover the basics of the tool to master using it effectively, let’s dive right in!
The Slice Tool is a powerful tool in Figma that can export your designs for different screen sizes and devices.
You may use it in various situations, and it is especially suitable for times when you need to slice up complex designs into smaller pieces.

Here are a few examples to begin with
By following the 5-step method illustrated below, you can use the Slice Tool to create professional-looking designs and improve your design workflow. Open your Figma account right now and try it as you read!
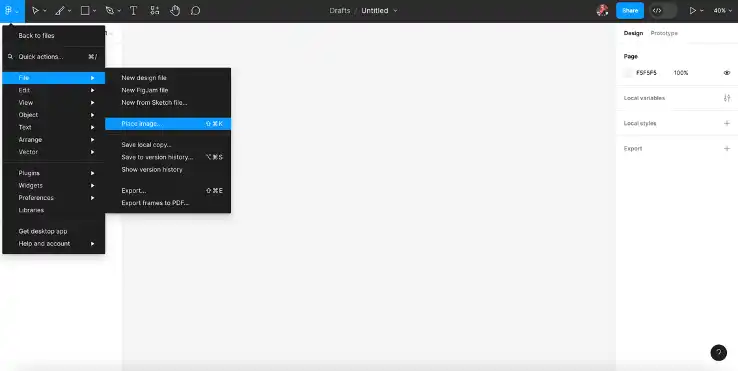
Sign in to your Figma account and open the design that you wish to edit. You can also adjust the size of the frame beforehand as per your preference by using the editing panel on the right-hand side.
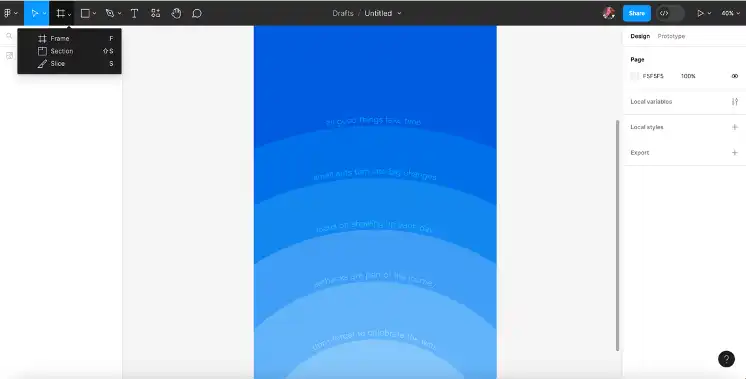
Tap on the Slice Tool located in the top-left corner of the toolbar. Now, select the object or part of the image that you want to slice. For this, you can either choose a single element like a button or icon, or a group of elements such as a header or footer. For the image below, we have chosen a certain portion to slice.
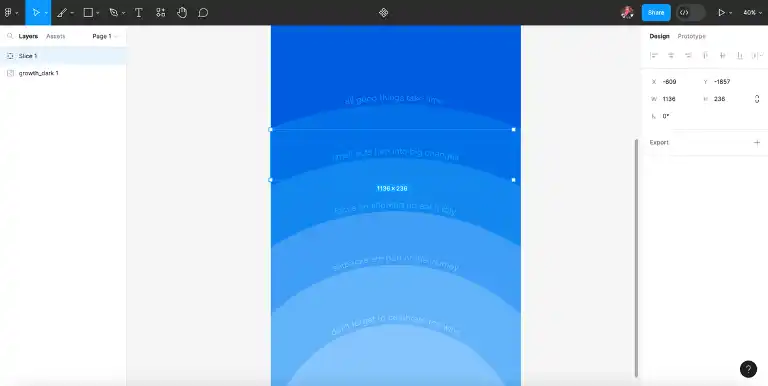
Using your mouse or trackpad, drag and drop the Slice Tool across the design to create a slice, or a rectangular selection, around the desired area. This will slice the element or group of elements however you wish. You can also adjust the size of the desired area by dragging the small square that appears at the corners of the slice.
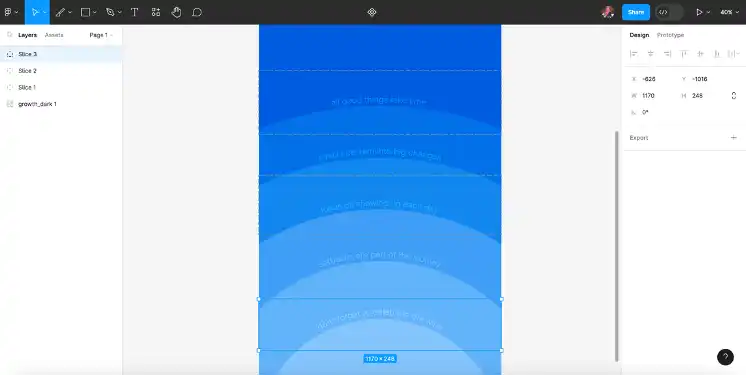
Feel free to create as many slices as you need by repeating the same method, depending on the complexity of your design and how you want to export it. In this tutorial, we have created 3 slices.
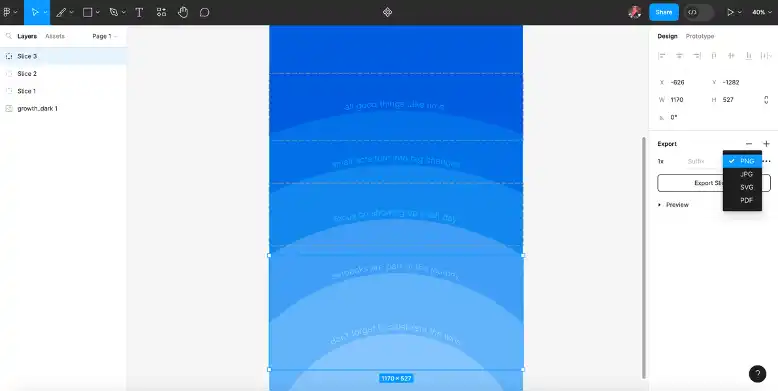
Once you are finished slicing, click the Export button located in the editing panel on the right of the Figma window, to export your slices. You can select to export them in different formats such as PNG, JPG, PDF, or SVG.
Overall, the Slice Tool in Figma is an excellent feature to improve your design workflow and create more professional-looking designs. By following the step-by-step tutorial in this article, you can save time and create better designs.
Furthermore, you can easily export your designs for different screen sizes and devices, slice up complex elements into smaller, more manageable pieces, and collaborate with other designers conveniently.
It’s time to replace the old-school crop tool with the Slice Tool in Figma which makes it extremely simple to edit and update your designs in one go!
Sr. UI/UX Designer and Consultant with over 10+ years of experience working with Fortune 500, large enterprises and funded startups. Having worked on hundreds upon hundreds of design projects, collaborated with 40+ clients from all around the world and taught design to thousands of students I am very grateful that I have the opportunity to give back to the design community and help other become better designers.
Stay up to date with the latest design news and cutting-edge softwares, sent straight to your inbox!
.jpg)

.jpg)
.jpg)