Figma
How to Create Variable Width Strokes in Figma [Plugin]

October 2, 2023

![How to Create Variable Width Strokes in Figma [Plugin]](https://assets-global.website-files.com/6213d0acc06ba713b6822e8f/65201f1ff65a3ac72cd1af6e_How%20to%20Create%20Variable%20Width%20Strokes%20in%20Figma%20%5BPlugin%5D%20(1).jpg)
Variable width strokes in design are a handy tool that allows you to make your lines and shapes change in thickness as you draw them. It's like having a magic pen that can create lines that start thin, get thick in the middle, and then taper off to be thin again.
Using variable-width strokes on your design in Figma can make your project look more artistic and dynamic, almost as if it is hand-drawn. Learning how to do variable-width strokes can also help you create brush strokes, or in other cases, calligraphy. So if that’s what you are into, keep reading!
Creating strokes with variable widths in Figma is surprisingly easy!
First, you will need the Variable-Width Stroke plugin in Figma.
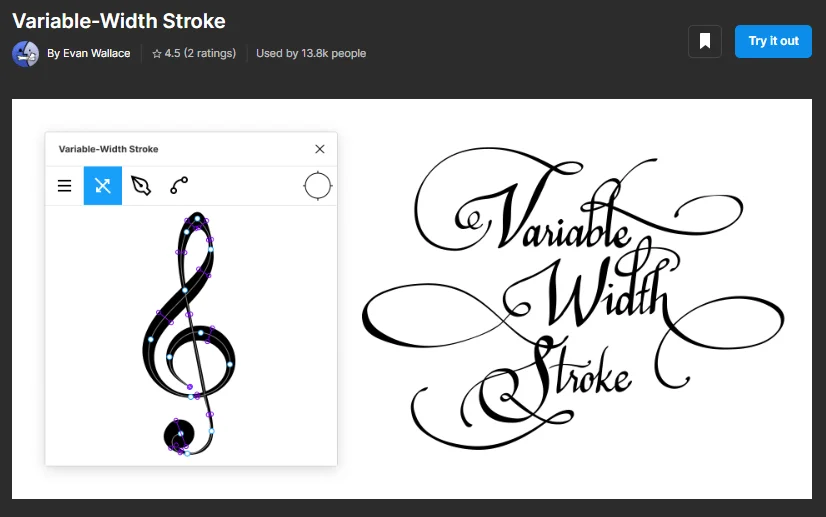
Simply click Try it out (and the Save button next to it), and press Run when the plugin tab pops up on your Figma project.
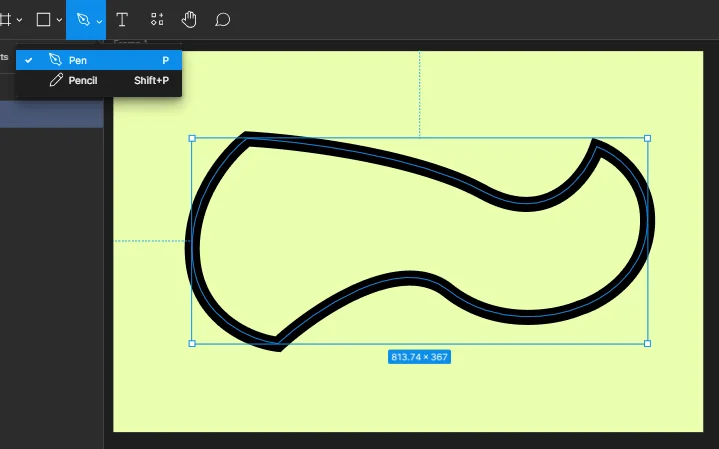
Be as creative as you want to be, or trace over already existent shapes or text. Keep in mind that you can only edit one stroke at a time.
Right-click on the stroke and follow the path:
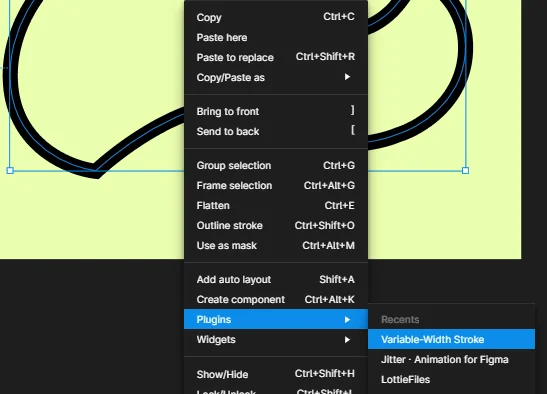
The plugin allows you to edit the stroke in other ways, not just width. You can adjust it, bend it, create new vectors, etc. It is easier than doing it within Figma’s actual canvas.
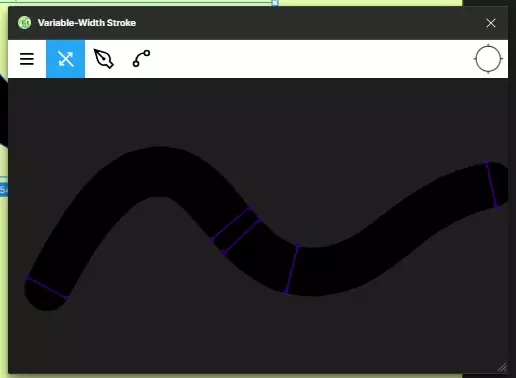
Press the CTRL button on your keyboard, and keep it pressed.
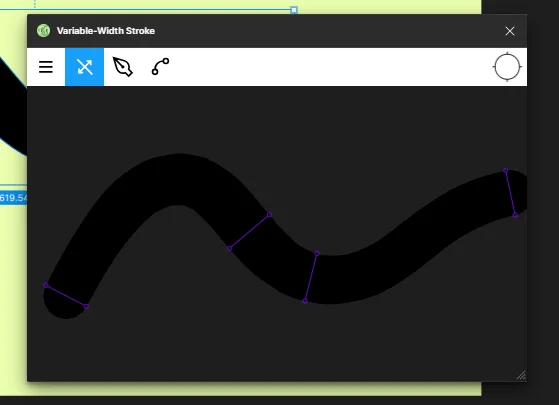
You will see the points (depicted as purple lines) where your stroke can be adjusted in width.
Click on one of the points, and change the width.
You can also add new points, by clicking anywhere on the stroke. That way, you can edit the stroke in any possible shape, and showcase your creativity. You can create new calligraphy fonts if that’s what you like.
Just remember to keep the CTRL button pressed.
There aren’t any particular buttons to save the design in the plugin, you can just close the tab.
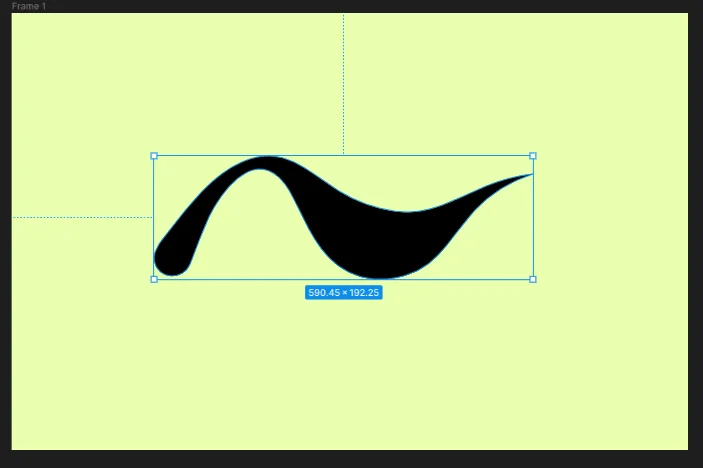
And that’s it! In just a few steps, you can now create amazing styles using the Variable-Width Stroke plugin.
We hope this article aided you and answered your questions.
If you are interested in learning more about Figma, feel free to check out our other resources and articles. We have plenty of easy guides to follow!
Sr. UI/UX Designer and Consultant with over 10+ years of experience working with Fortune 500, large enterprises and funded startups. Having worked on hundreds upon hundreds of design projects, collaborated with 40+ clients from all around the world and taught design to thousands of students I am very grateful that I have the opportunity to give back to the design community and help other become better designers.
Stay up to date with the latest design news and cutting-edge softwares, sent straight to your inbox!
.jpg)

.jpg)
.jpg)